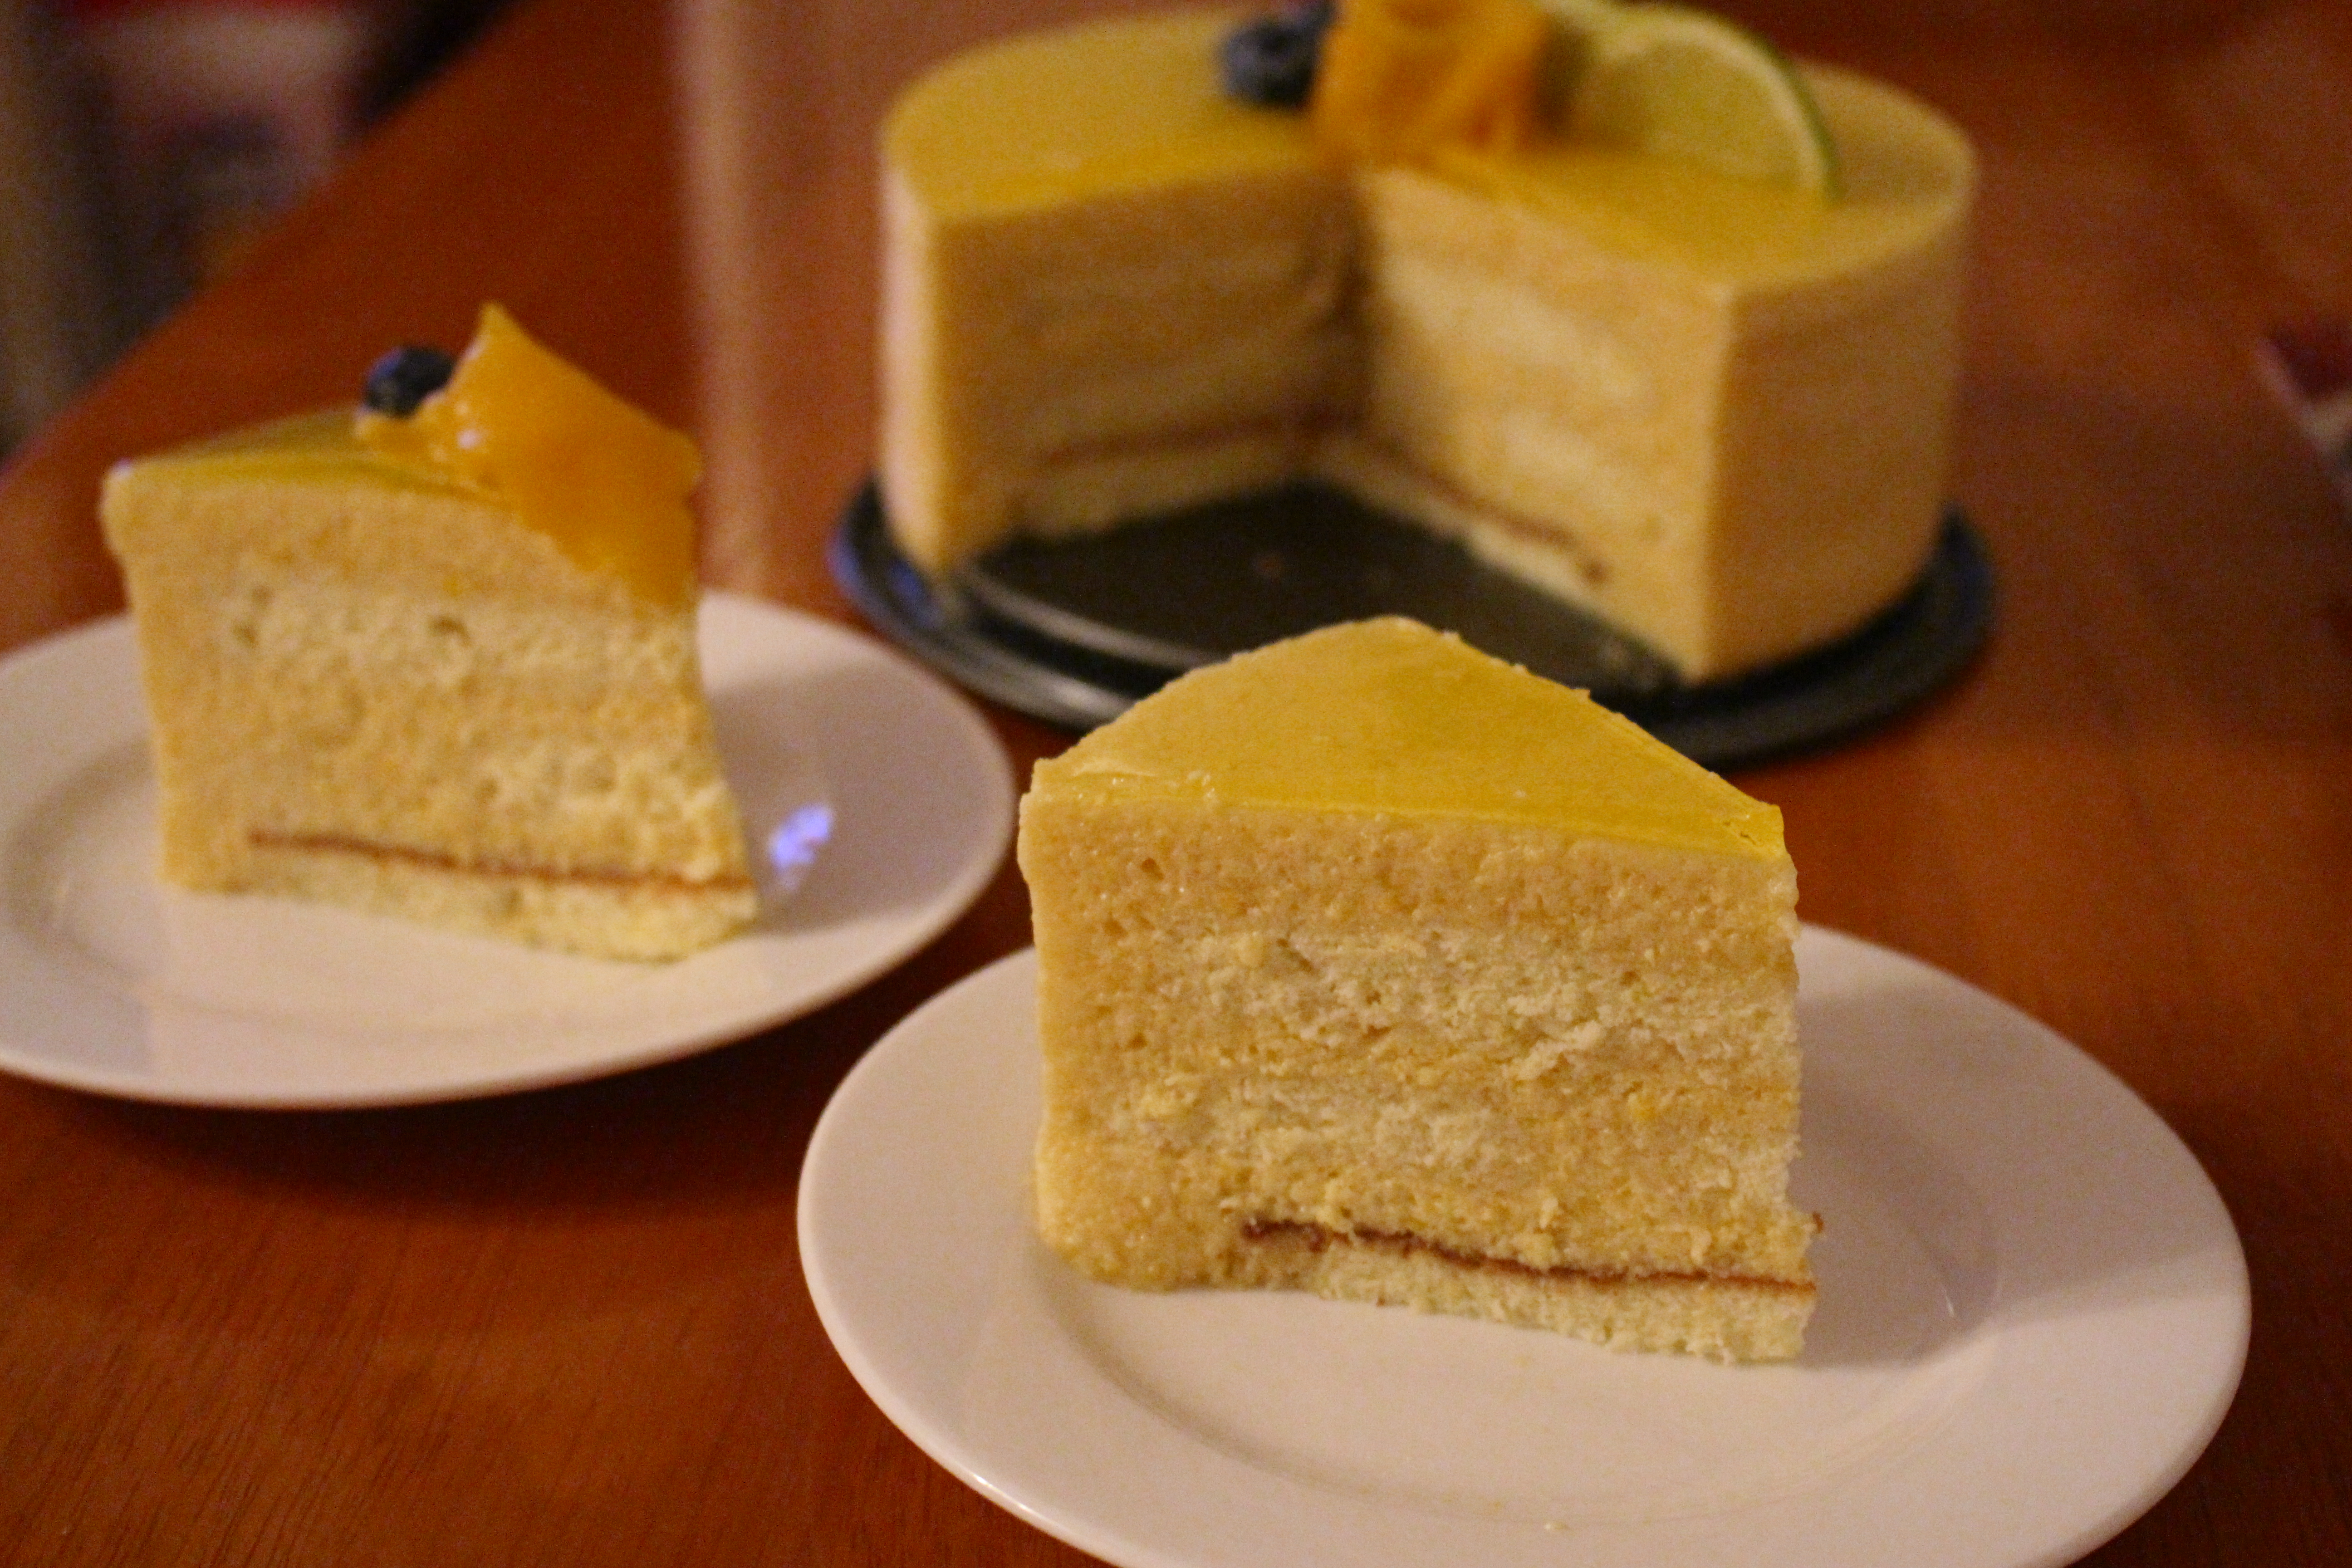
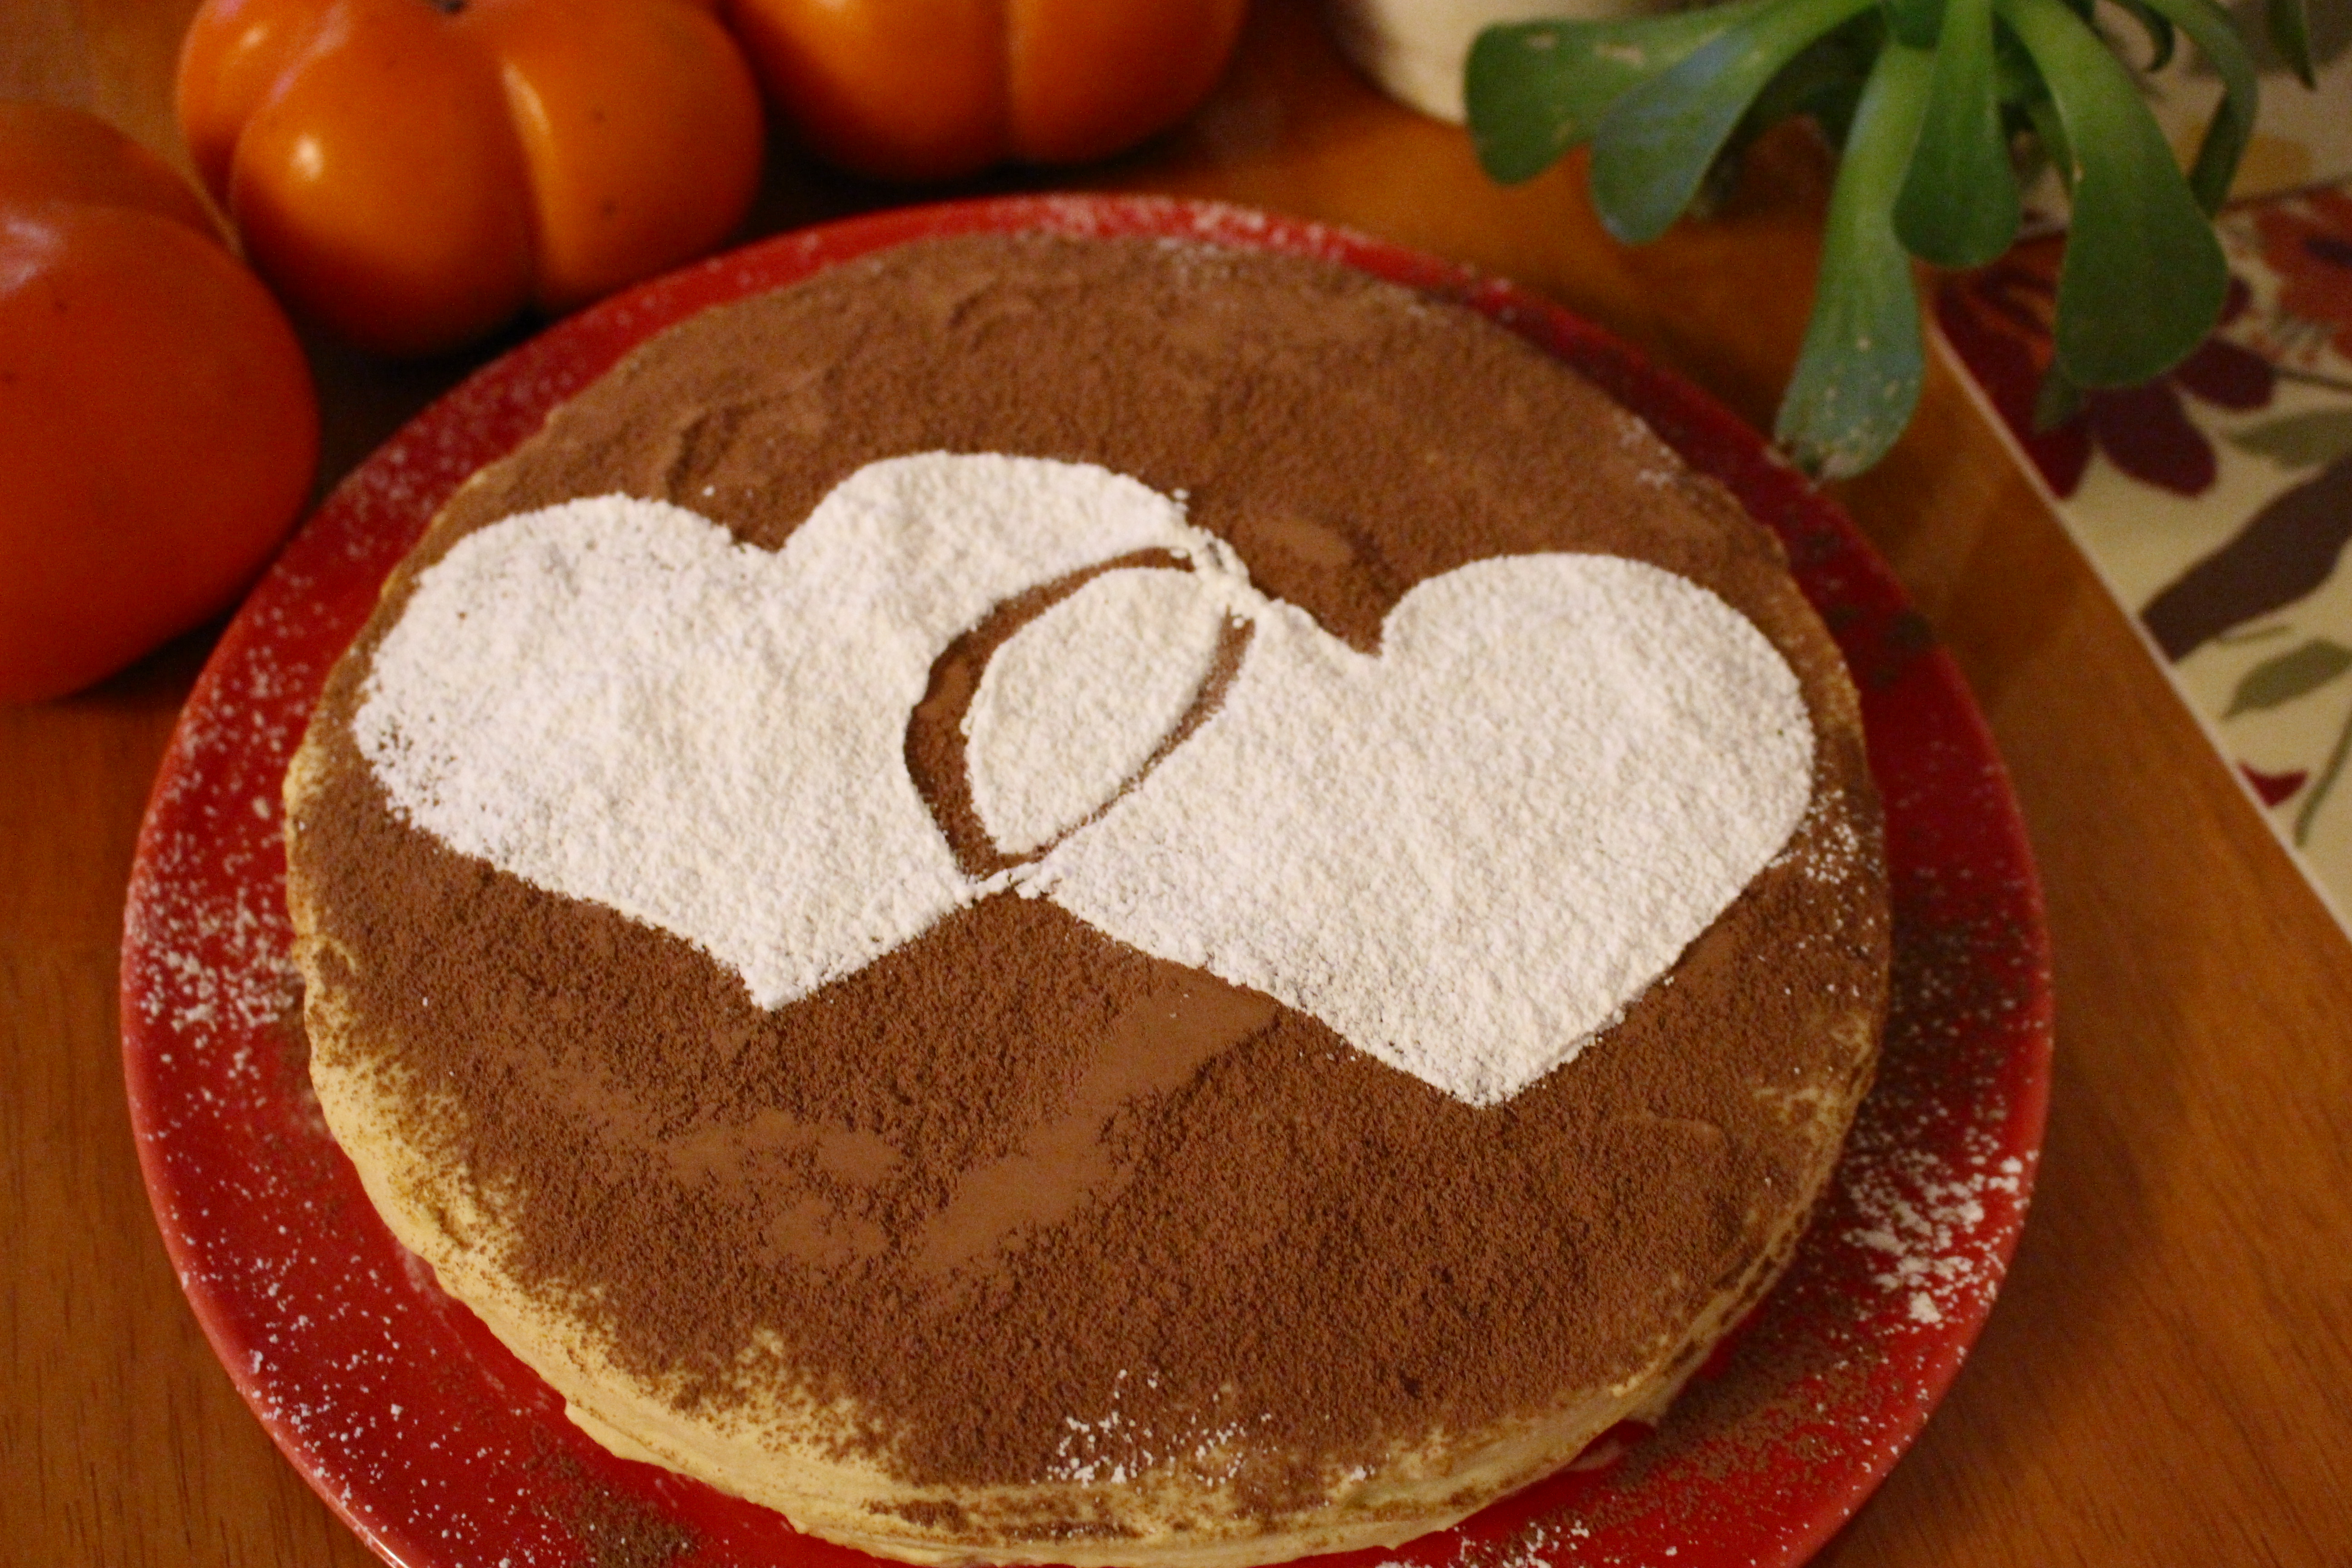
一直想做蛋糕卷,但又怕做不好所以一直没做。前一段时间看别人做的特别好,又让我心痒痒。于是乎上网狠狠的查了一下,结合了君之和Elmonte的方子做了这款蛋糕卷。
那天买不到橙子只好用柚子,味道有点苦,还是建议用橙子好点。
低筋面粉80克,鸡蛋4个,细砂糖50克(加入蛋清中),细砂糖25克(加入蛋黄中)鲜奶油 一杯, 芒果1/3 切丁
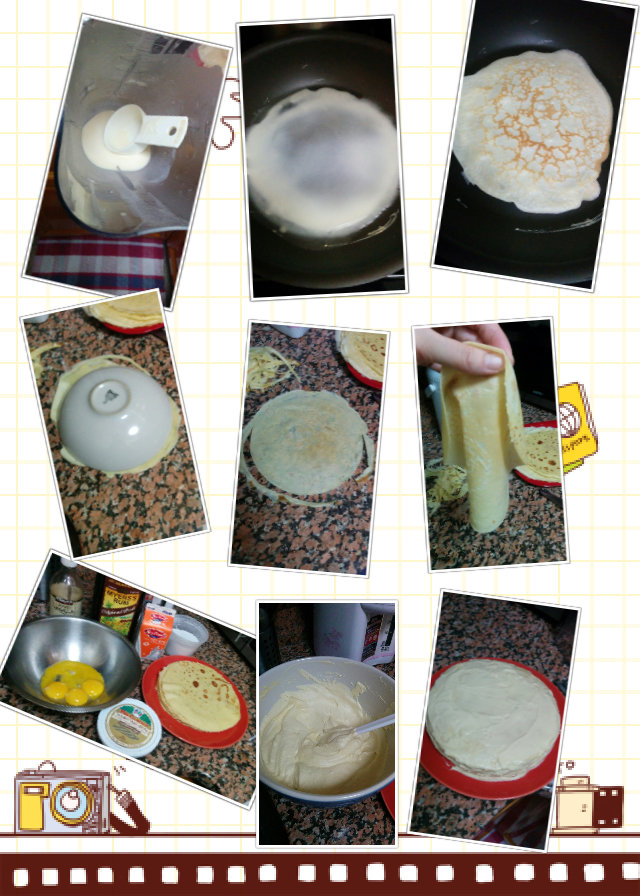
葡萄柚洗干净,切薄片
把葡萄柚放入小锅里,放入1/4杯糖和没过柚子的水,煮约10分钟至柚子皮透明。
把葡萄柚捞起,用厨房纸吸干水分
把葡萄柚放在铺了油纸的烤盘上。
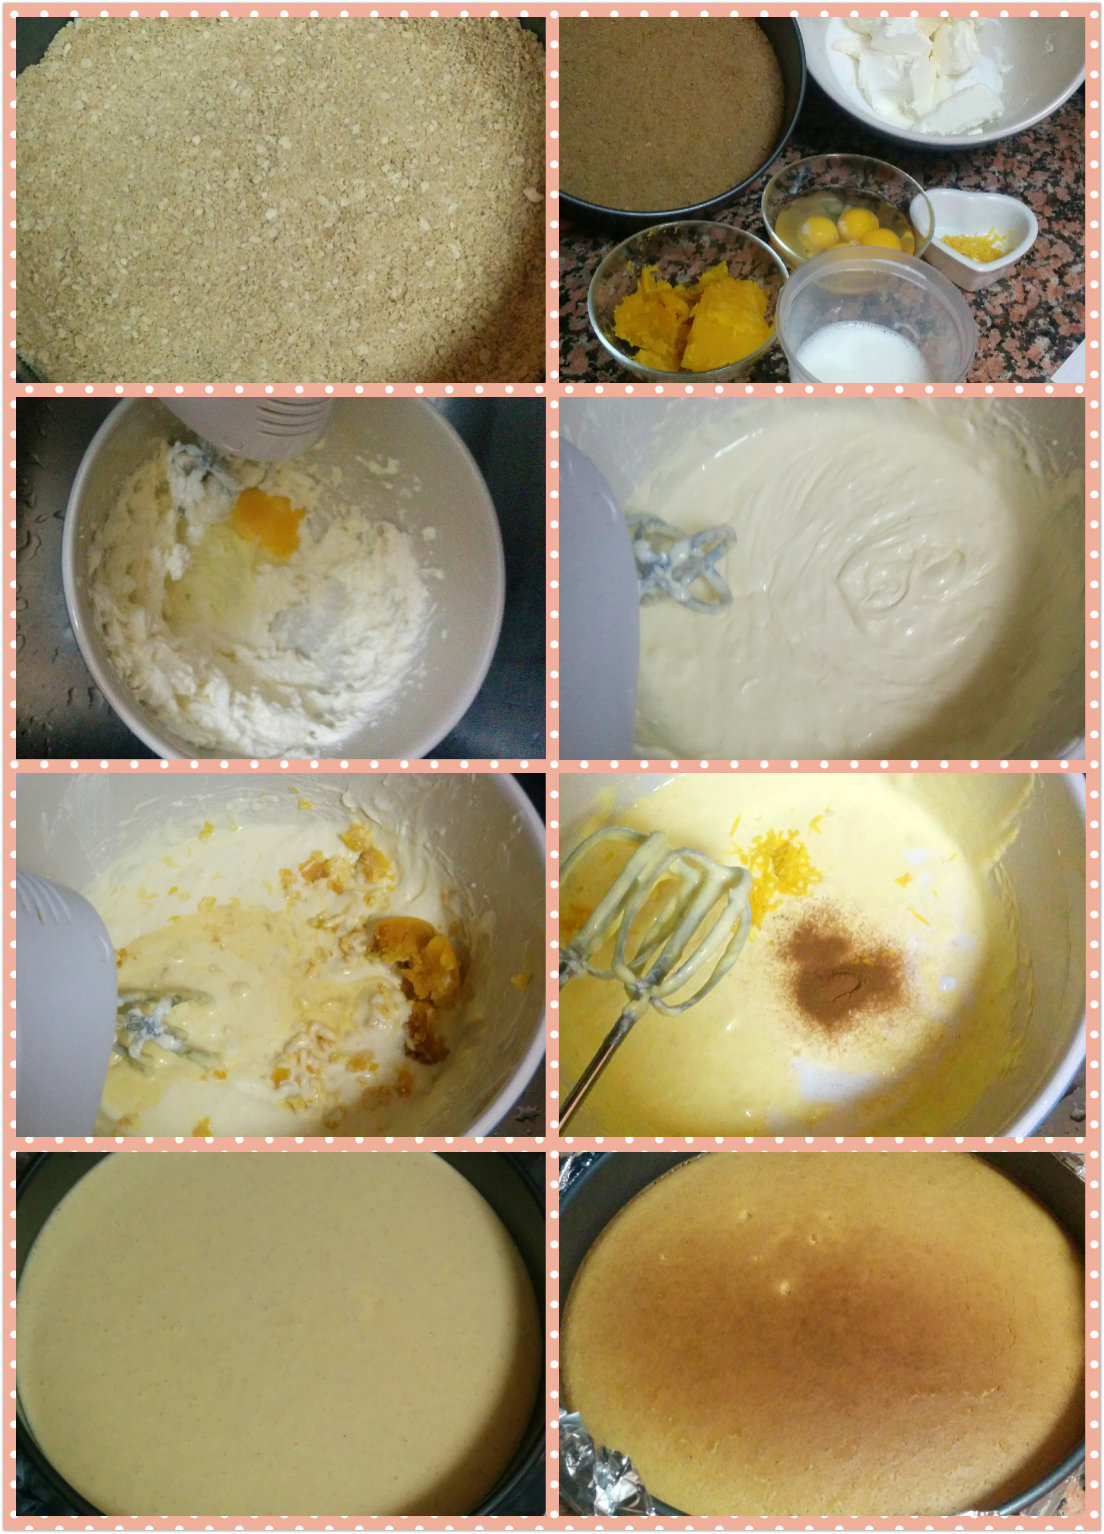
制作分蛋海绵蛋糕
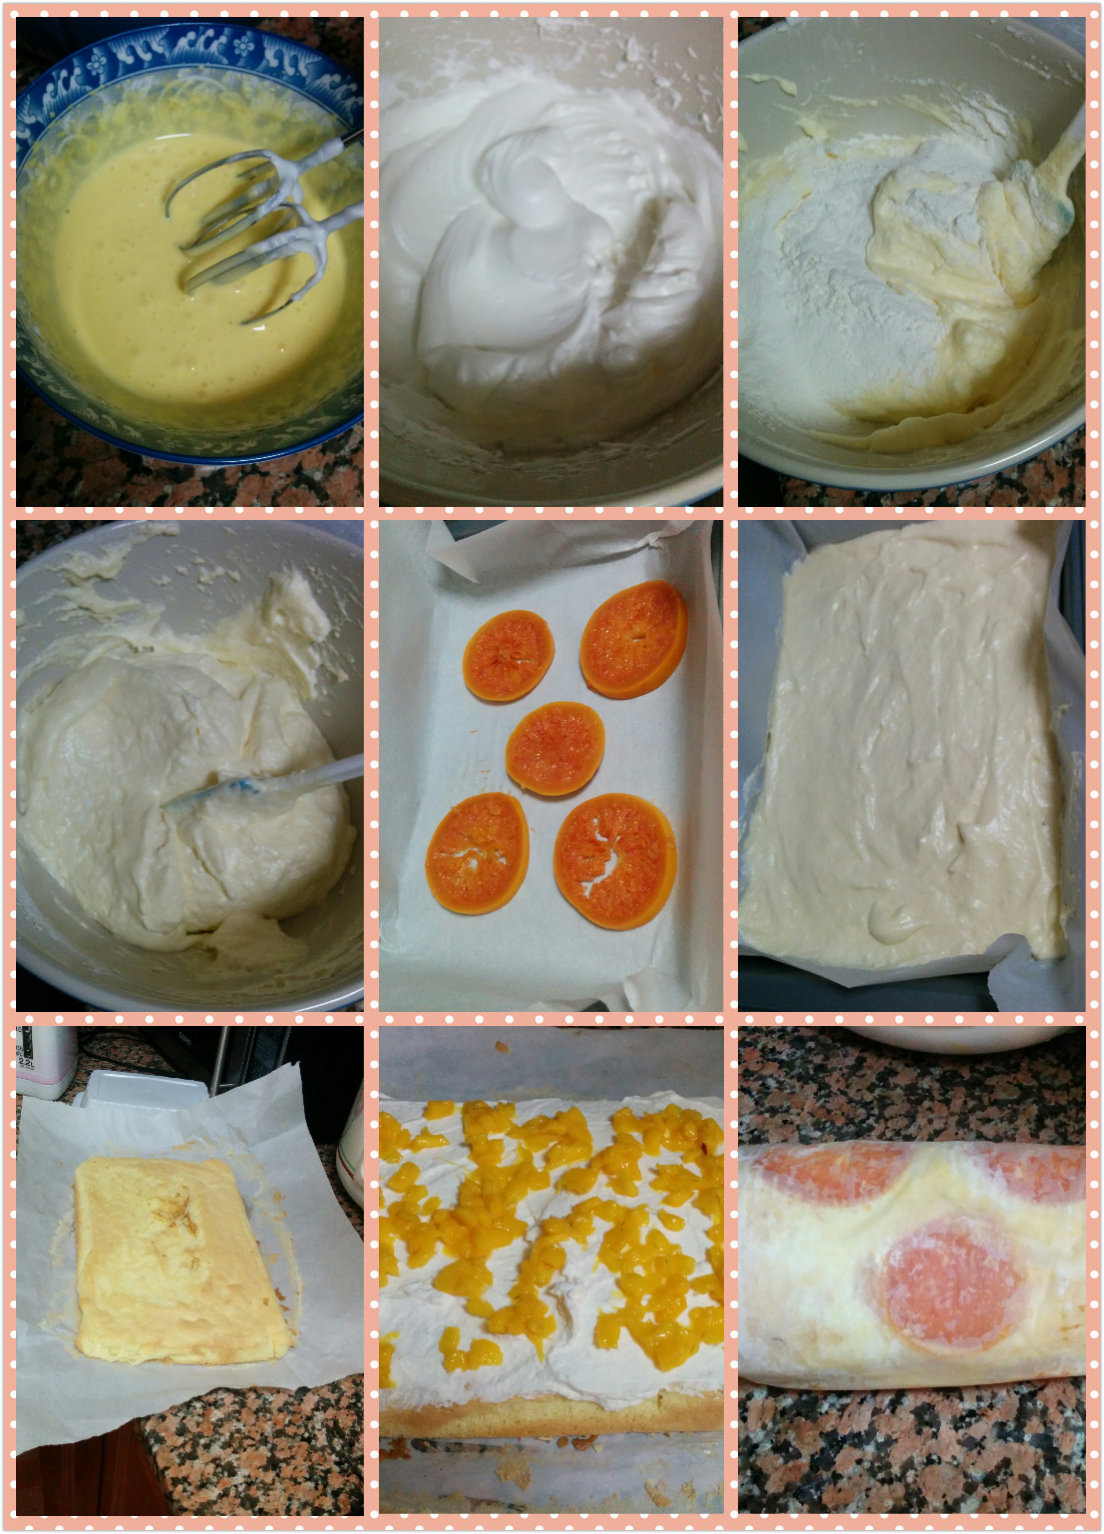
鸡蛋的蛋黄与蛋清分开。盛蛋清的盆必须干净且无油无水。将细砂糖分三次加入蛋清并用打蛋器打发至可以拉出直立尖角的干性发泡状态。
蛋清打发好以后,立刻打发蛋黄。蛋黄加入细砂糖,用打蛋器打发。打发到浓稠、体积膨大且颜色变浅的状态就可以了。
将一小半打发好的蛋清盛入蛋黄碗里。用橡皮刮刀以从底部往上翻拌的方式,将蛋黄与蛋清混合均匀。
混合好后全部倒入蛋清碗里。继续翻拌到完全均匀的状态。一定注意不要画圈搅拌。只要操作正确,此时鸡蛋仍保持浓稠、细腻的乳沫状态,不会发生消泡现象。
低筋面粉过筛后(请在打发鸡蛋前将面粉筛好),全部倒入打发好的鸡蛋里。
用橡皮刮刀从底部往上快速地翻动面糊,使鸡蛋与面粉尽快的混合在一起。这一步请尽快完成。同样要注意,不要画圈搅拌。
将拌好的面糊倒入铺了葡萄柚的烤盘里。放入预热好180摄氏度(355F)的烤箱,中层,烤12分钟左右,烤到表面金黄色出炉。
出炉后,趁热从烤盘里提出来,撕开油纸。
把撕掉油纸的蛋糕放在一张新的油纸上,金黄色一面仍朝上,冷却。
烤蛋糕的时候,把鲜奶油加一大勺糖打发至硬性,放冰箱备用。
奶油铺在蛋糕上,再铺上1/3个切好的芒果顶,把蛋糕卷起来。
卷好的蛋糕,用油纸包好,放入冰箱冷藏半个小时使它定型。然后拿出来切片即可享用。

Always wanted to make a rolled cake , but I always thought it would be too hard for me, recently I saw someone else doing a really good one, so I decided to make one myself. I did a lot of research and finally combined Junzhi and Elmonte’s recipes to make this one.
I couldn’t find orange that day so I had to use a grapefruit instead. It tasted a bit bitter; I would recommend using orange.
Cake flour 80 g, 4 eggs, sugar 50 g (Add into egg whites), sugar 25 g (add into egg yolk) heavy cream 1 Cup, mango 1/3 diced
Wash grapefruit, sliced
Put the grapefruit into small saucepan, add 1/4 cup sugar and some water enough to cover grapefruit, Cook for about 10 minutes until the grapefruit skin is clear.
Remove grapefruit from the water, use paper towel to dry them.
Put the grapefruit on the parchment paper inside a baking tray.
Making egg sponge cake
First we need to separate egg yolk from the egg white. The container for egg white must be clean and free of oil and water. Add sugar to egg white in three times and whisk until when you pull the whisk out the end forms a upright pointed foam.
Once egg white is done, whisk the egg yolk with sugar until you see thick, fluffy form with a light yellow color.
Add a little less than half of the egg whites into the egg yolk. With the help of a rubber spatula mix from bottom to the top, mixing them evenly.
Then add the mixture all into the rest of egg whites in the bowl. Continue to mix until completely mixed. Be careful not to mix it in circles. If you do it properly, eggs mixture should remain thick and delicate foam.
Cake flour sifted (shift flour before making the egg mixture), pour all flour to the egg mixture.
From the bottom with a rubber spatula to quickly turn the batter, eggs and flour together as soon as possible. Again not circle mixing.
Pour the batter into the baking dish with the grapefruit on the bottom. In a preheated 180 degrees Celsius (355F) oven, middle-level and bake for 12 minutes, or until golden brown.
After the cake fresh out of oven, tear all the parchment paper off the cake.
Leave the cake on a new parchment paper to cool down.
When the cake is baking, add a tablespoon of sugar to the heavy cream whip it with a electronic mixer to solid form. Leave it in fridge.
Spread the whipped cream evenly on the cooled cake, then add 1/3 diced mango on top of cream, roll the cake.
Roll cake with the parchment paper, refrigerate for half an hour.