Preparation: The day before making and assembling the cake, make the Crepe Batter (see recipes below); refrigerate.
Crepe Batter: 6 tablespoons butter 3 cups milk 6 eggs 1 1/2 cups all-purpose flour 7 tablespoons granulated sugar Pinch salt In a small pan, melt the butter until lightly browned; remove from heat and set aside. In a separate, small pan, warm the milk until steaming; remove from heat and set aside to allow to cool slightly. In a large bowl using your electric mixer at a low speed, mix together the eggs, flour, sugar, and salt. Slowly add in the warm milk and browned butter. Pour the batter into a tightly-sealed container to refrigerate for several hours or overnight.
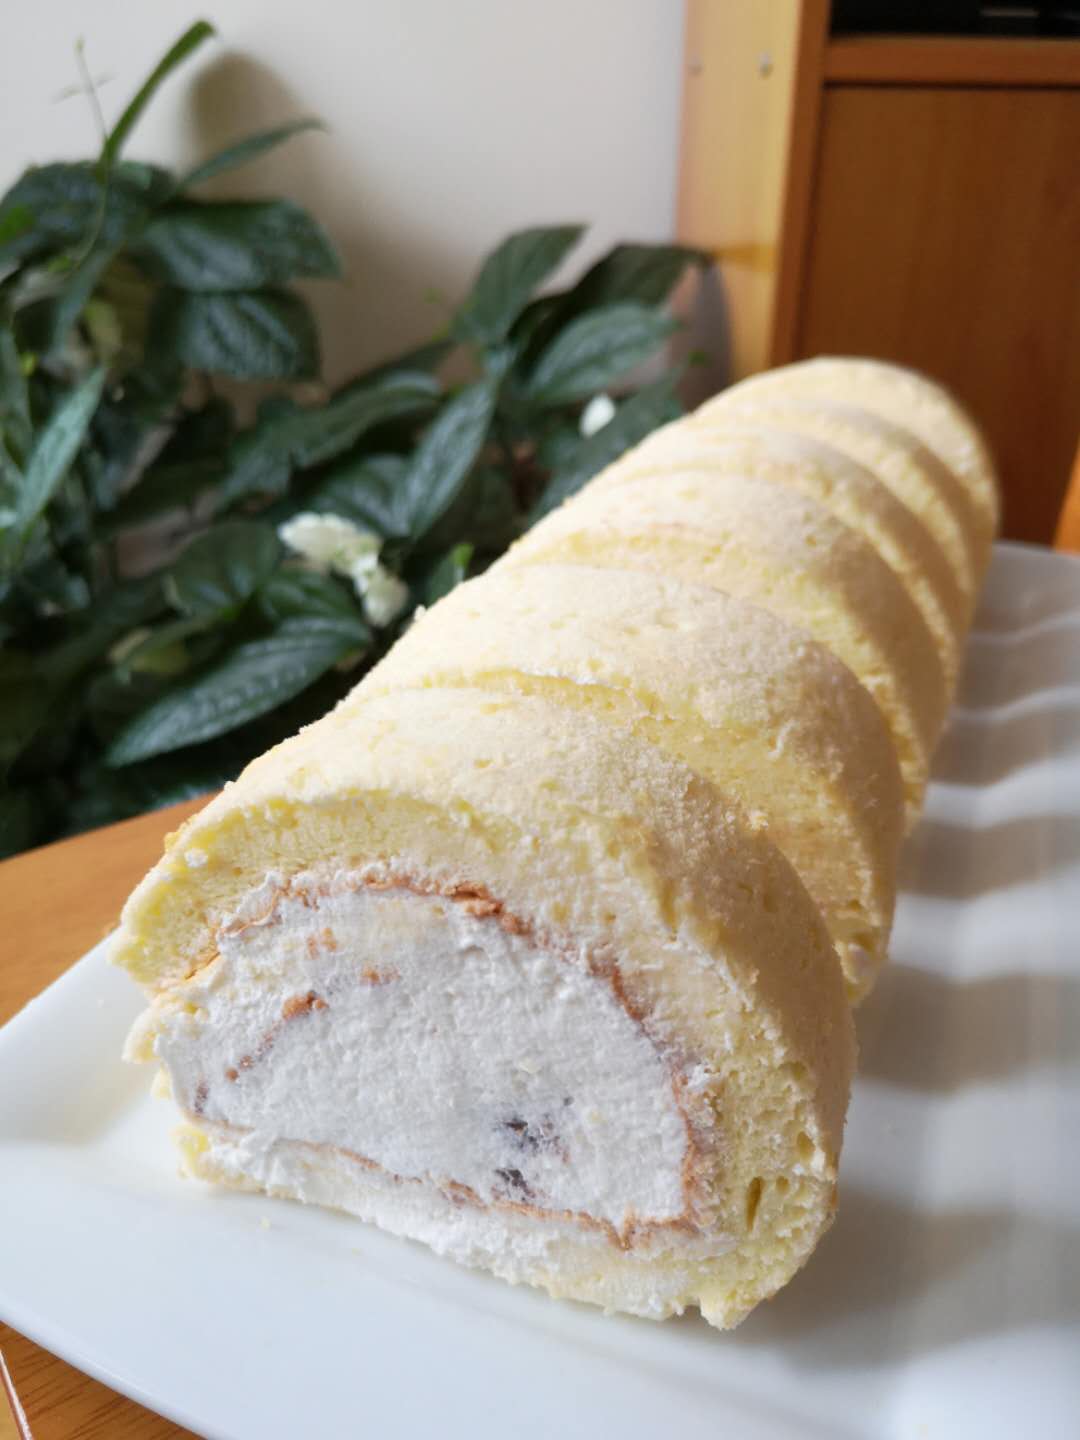
Taro fillings:
200g cooked Taro (steam over water until fork tender)
5Tbsp sugar
2tbsp cold water
Heavy cream 2 cups
Add first 3 ingredients together in a food processor and mix until taro is smooth.
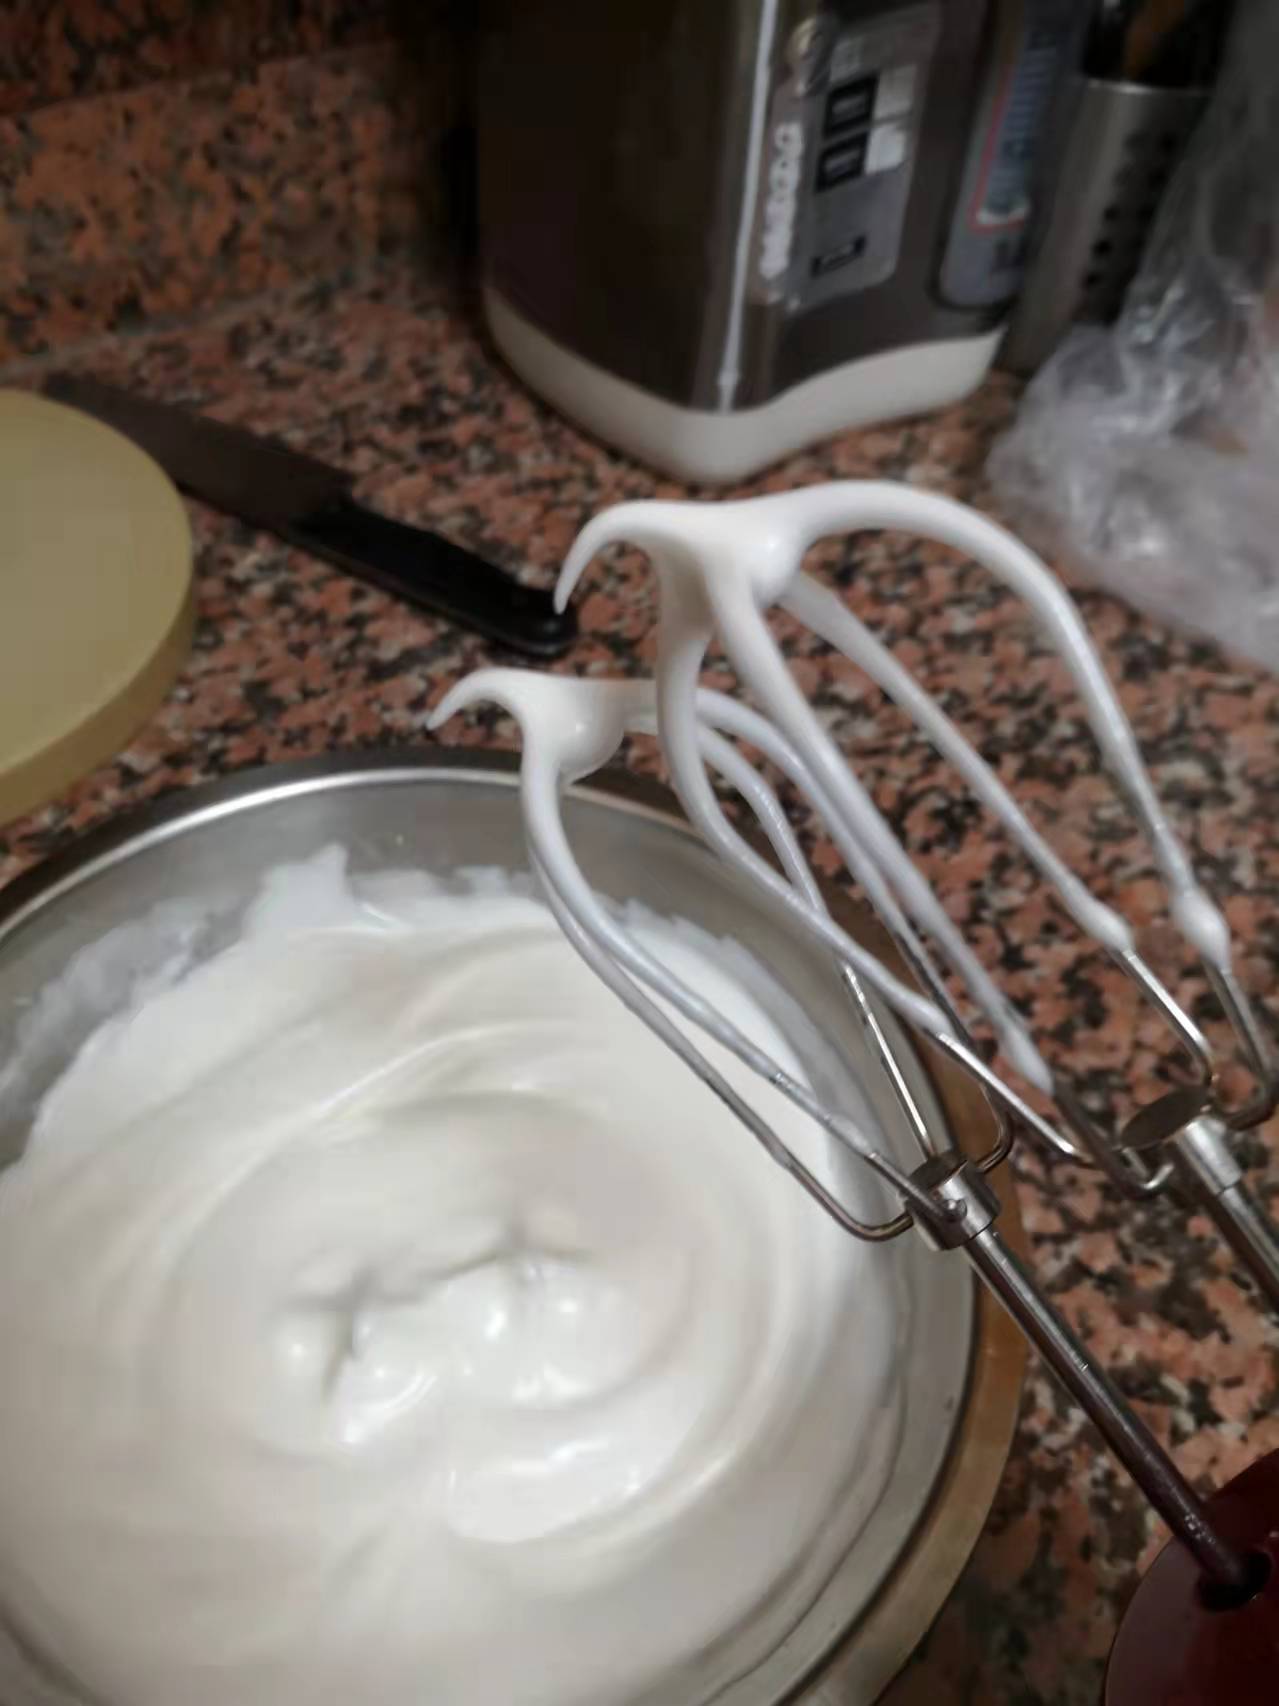
Add the taro mixture and heavy cream in a big bowl and mix with an electronic hand mixer until soft peak. keep in refrigerator.
Directions:
Remove the prepared Crepe Batter from the refrigerator and bring to room temperature:
Using a nonstick pan over medium heat. Evenly distribute approximately ¼ cup of batter; swirl to cover the surface of the pan. Cook approximately 40 seconds or just until the bottom of the crepe becomes lightly browned. Using your clean fingers, gently and carefully flip the crepe over and Cook on the other side for 20 more seconds. Remove the cooked crepe onto a prepared baking sheet or a big plate. Repeat this process until you have at least 20 perfect crepes. NOTE: You might need to prepare a few practice crepes in the beginning.
Remove the prepared taro Filling from the refrigerator:
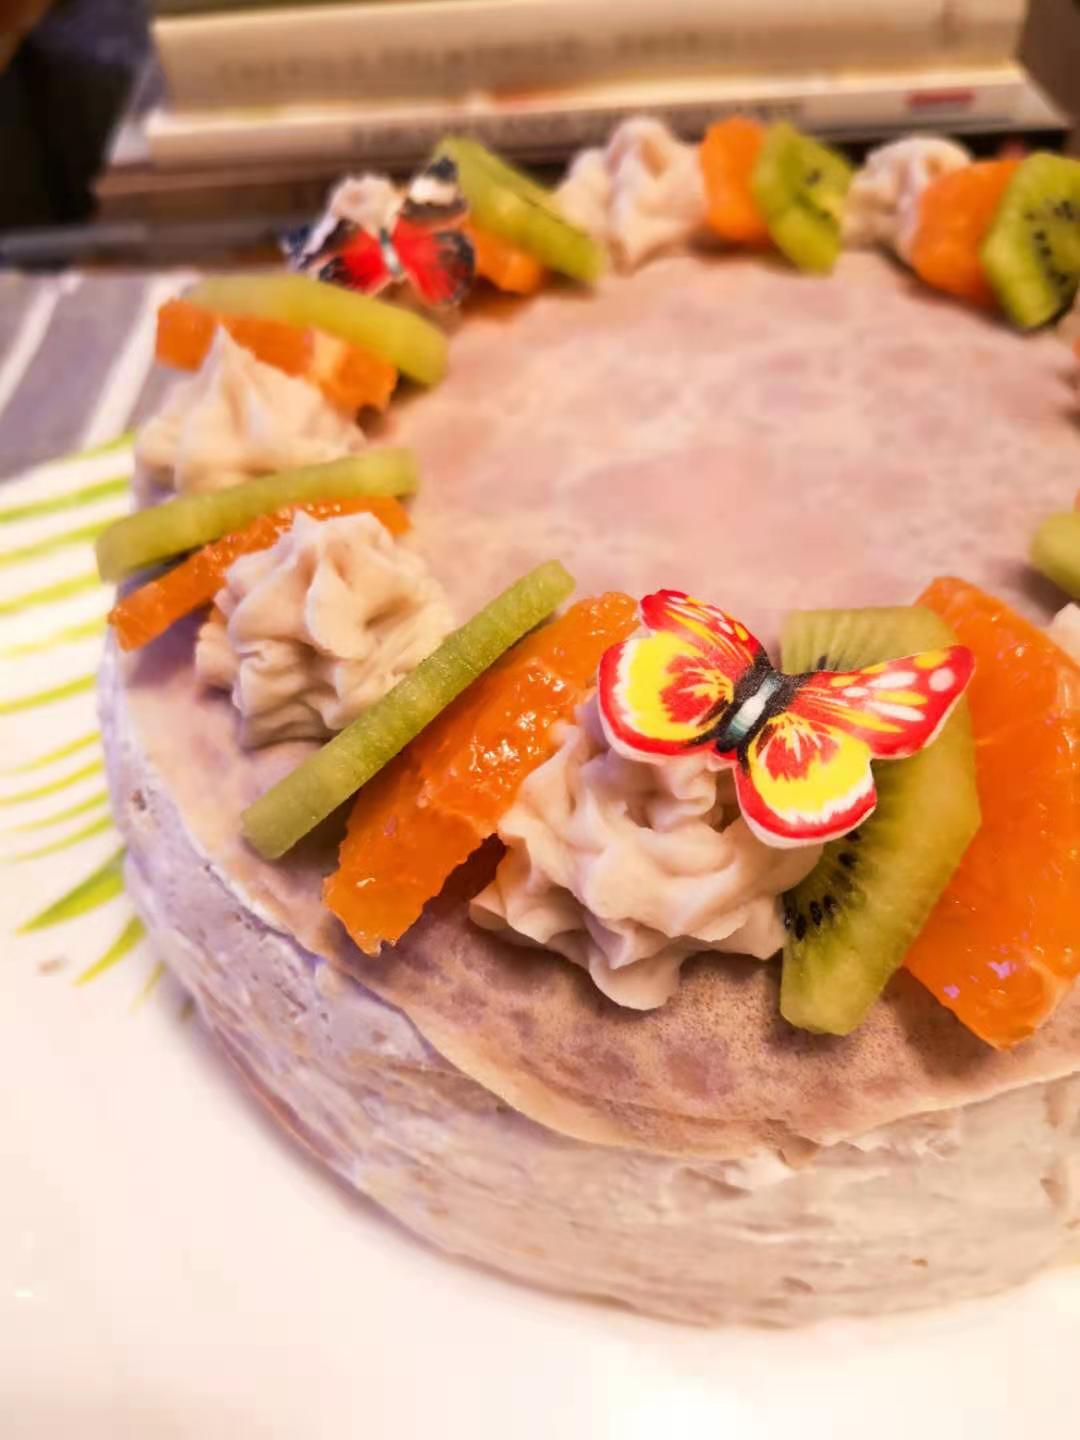
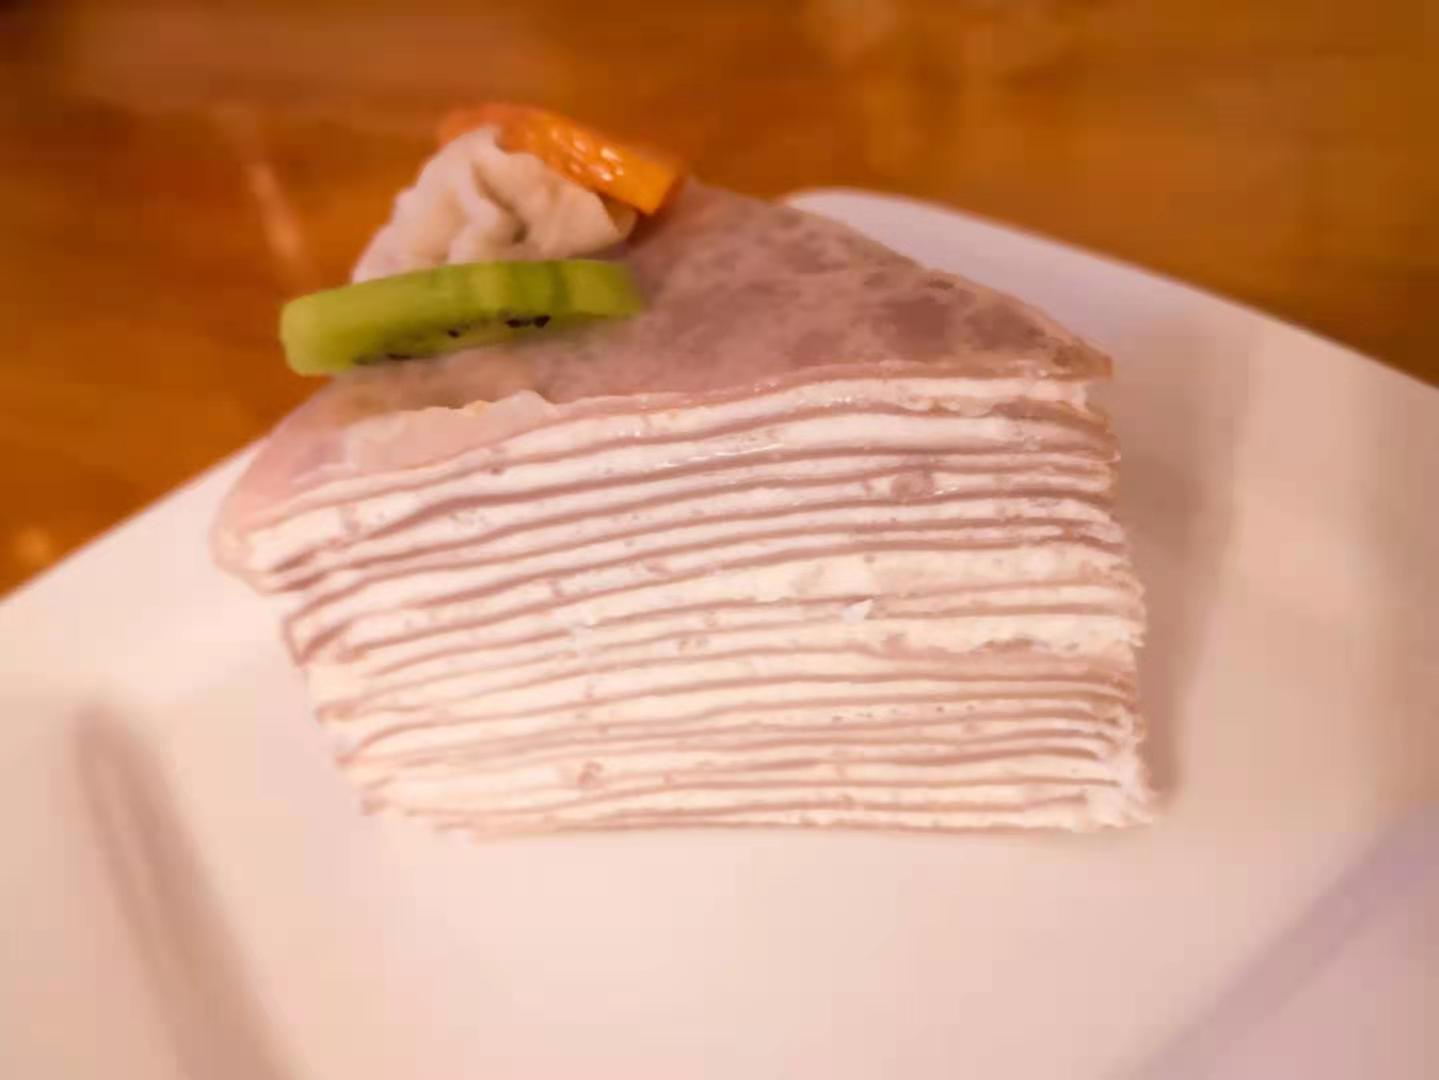
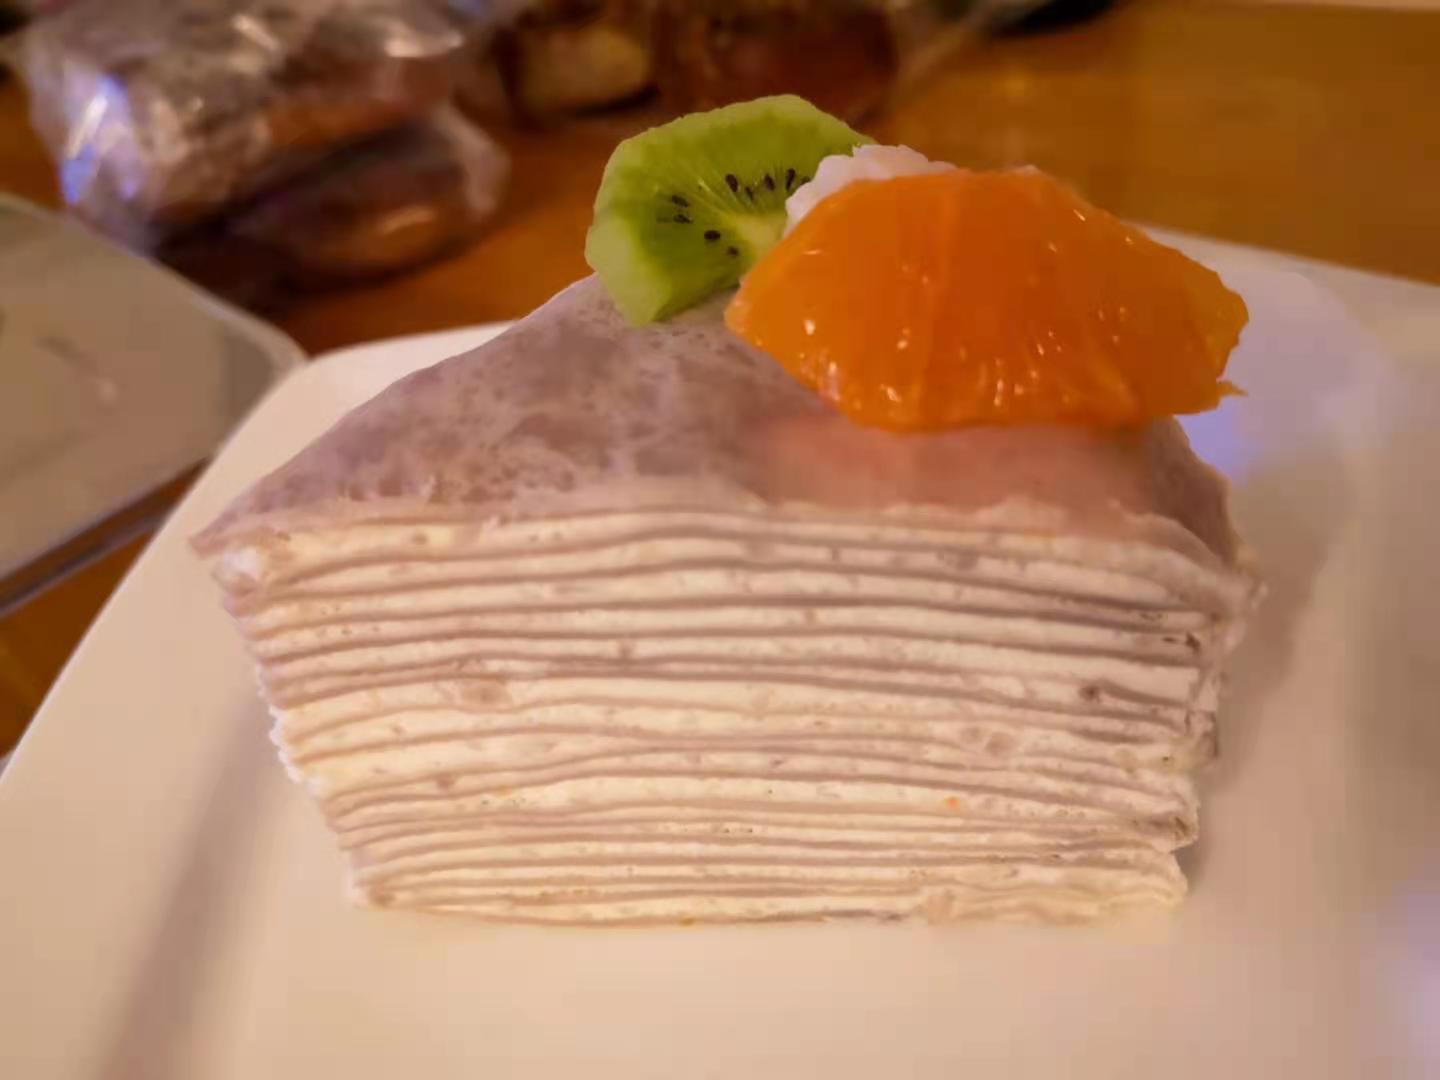
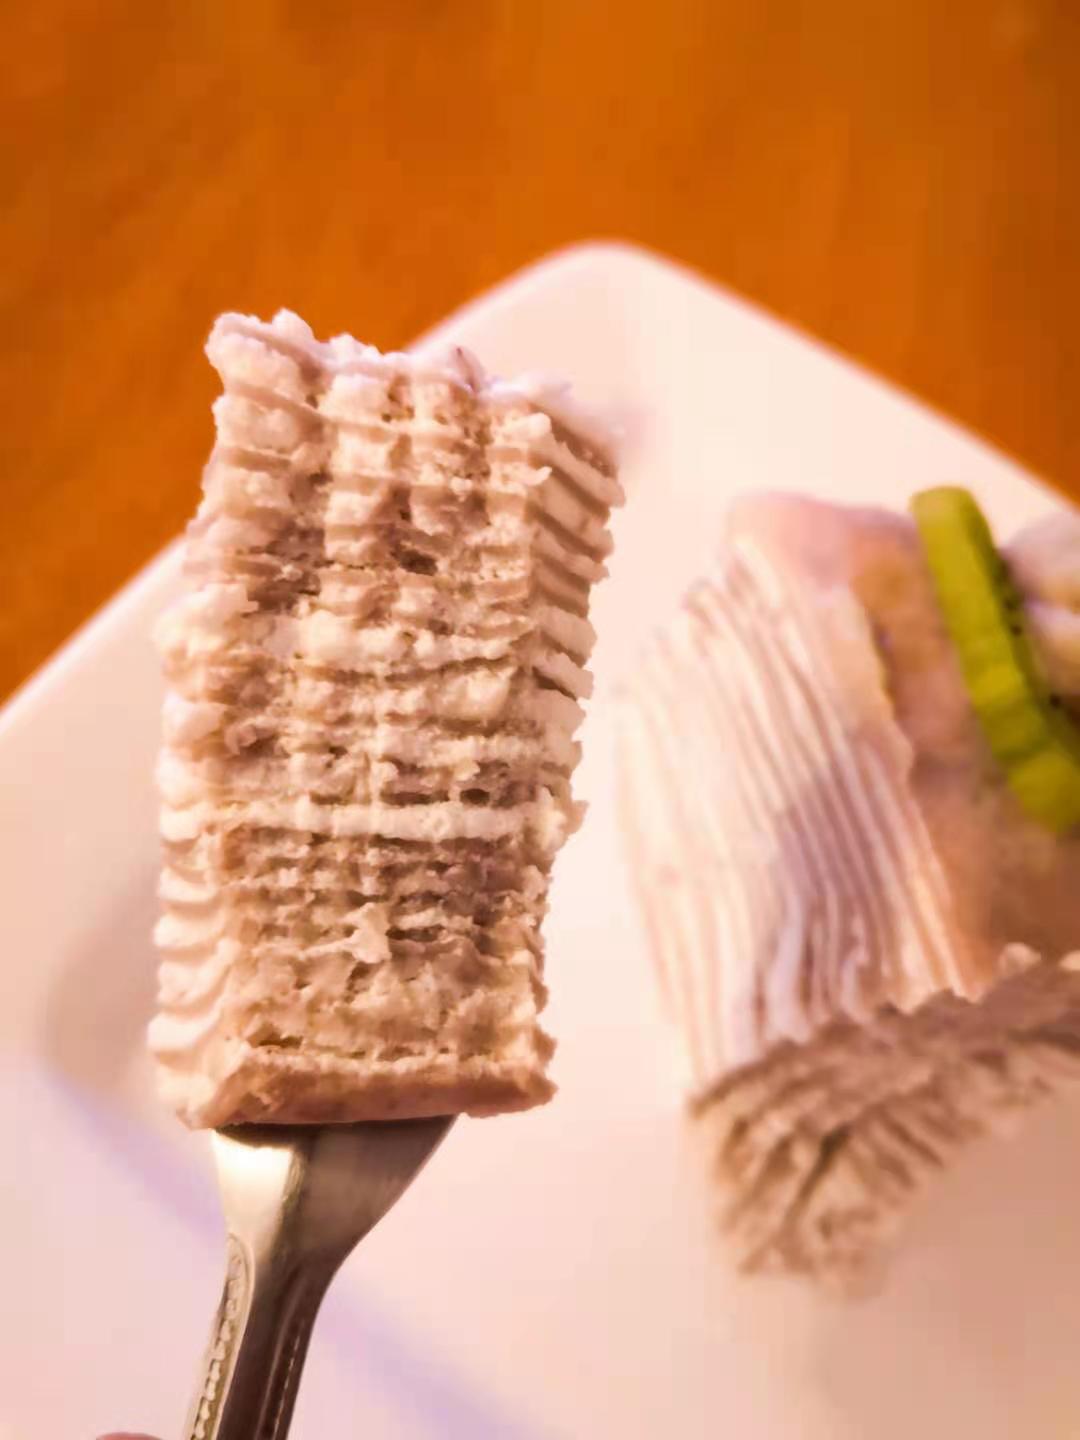
Assembly of 20-Layer Crepe Cake: Place one (1) prepared crepe on a large cake plate. With a small spatula or wide blade knife, completely cover the crepe with a thin layer of the pastry cream mixture . Cover with another dry crepe and repeat covering with the taro fillings until you have reached 20 layers. The 20th crepe will be the last or top layer.
Refrigerate the cake for a minimum of 2 hours. Allow to stand at room temperature for 15 to 30 minutes before serving. Dust with powdered (confectioners’ sugar).
Tips:
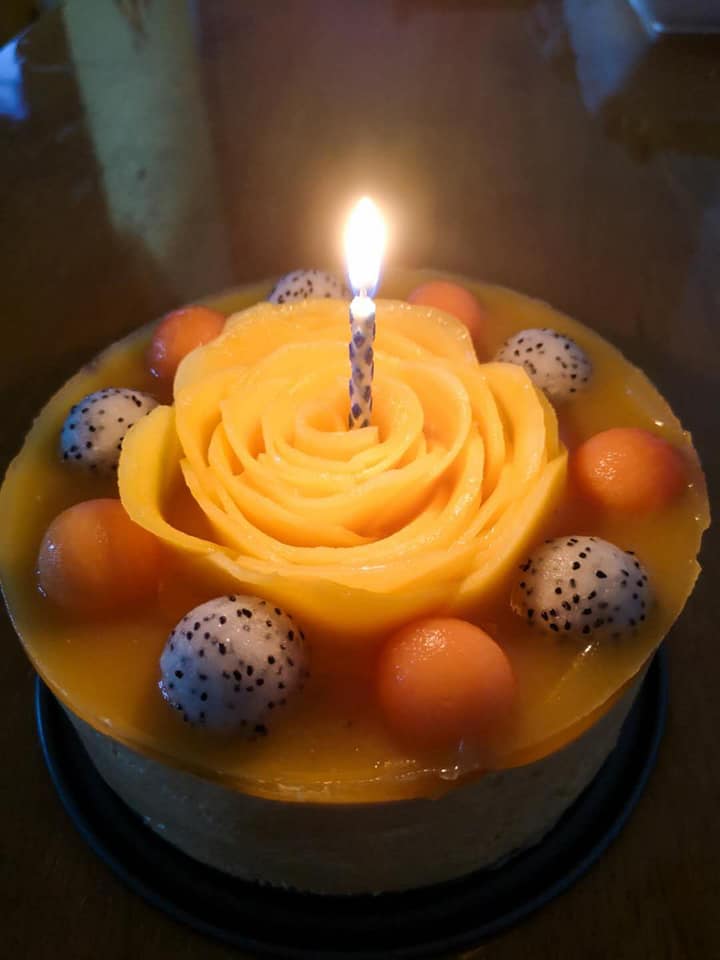
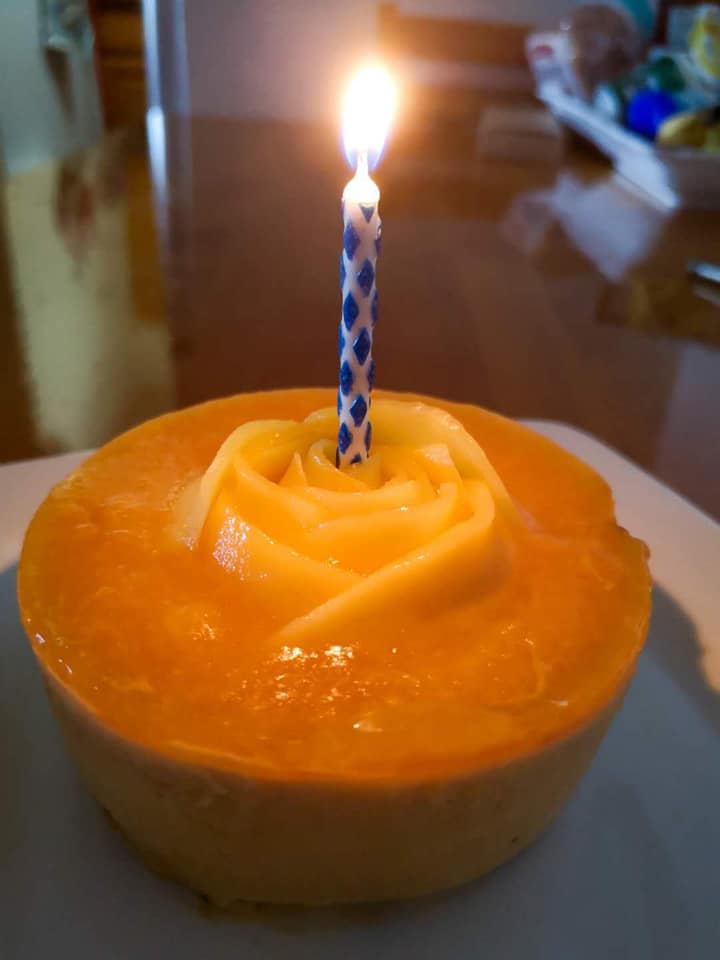
If you want to decorate the cake with more taro, you can use another 200g of cooked taro, 3tbsps condensed milk, 1tbsp water and process in a food process until smooth, then add 1/3 cup heavy cream and mix until smooth. It would be prettier if I had used strawberry to decorate the cake, but I used whatever I had on hand.
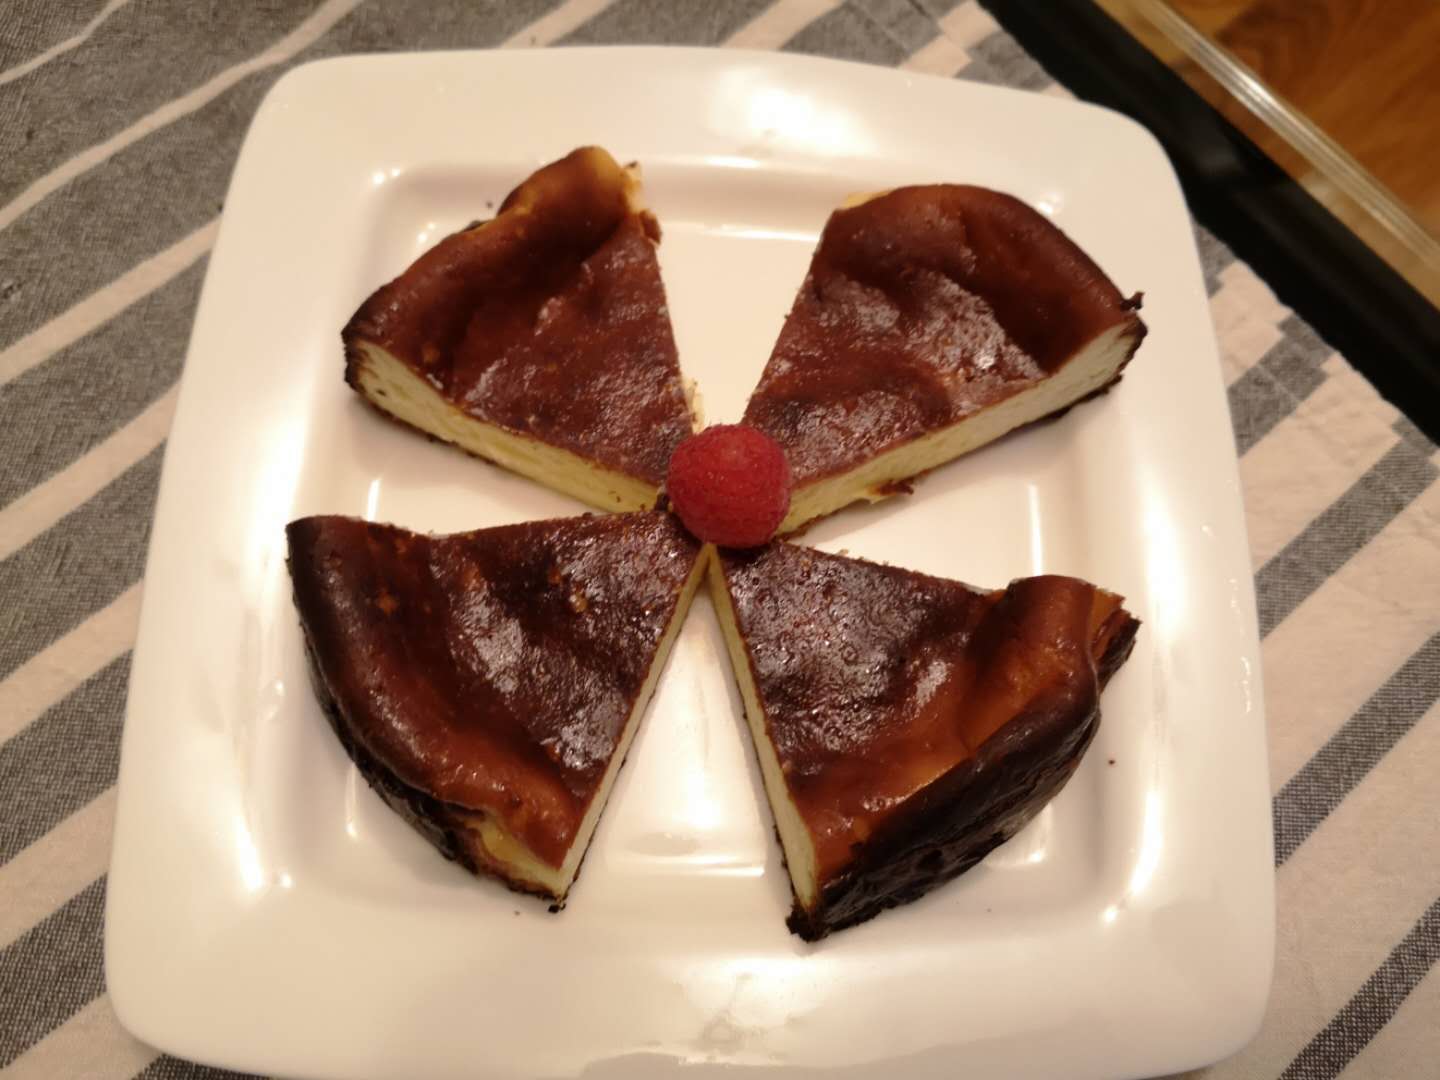
Instructions Checklist Preheat the oven to 400 degrees F (200 degrees C).
Spray a 6-inch cake pan with oil. Cut a sheet of parchment paper large enough to line the inside of the pan by a few extra inches. Press it into the pan, flattening any major creases. Trim away any excess paper from the sides until you have an inch or two of overhang.
Combine cream cheese, sugar, salt, and flour in a bowl. Stir and smear together with a spatula until very smooth and creamy. Add vanilla extract and 1 egg; whisk to combine. Whisk in remaining egg, Pour in heavy cream, lemon juice and zest and mix until smooth.
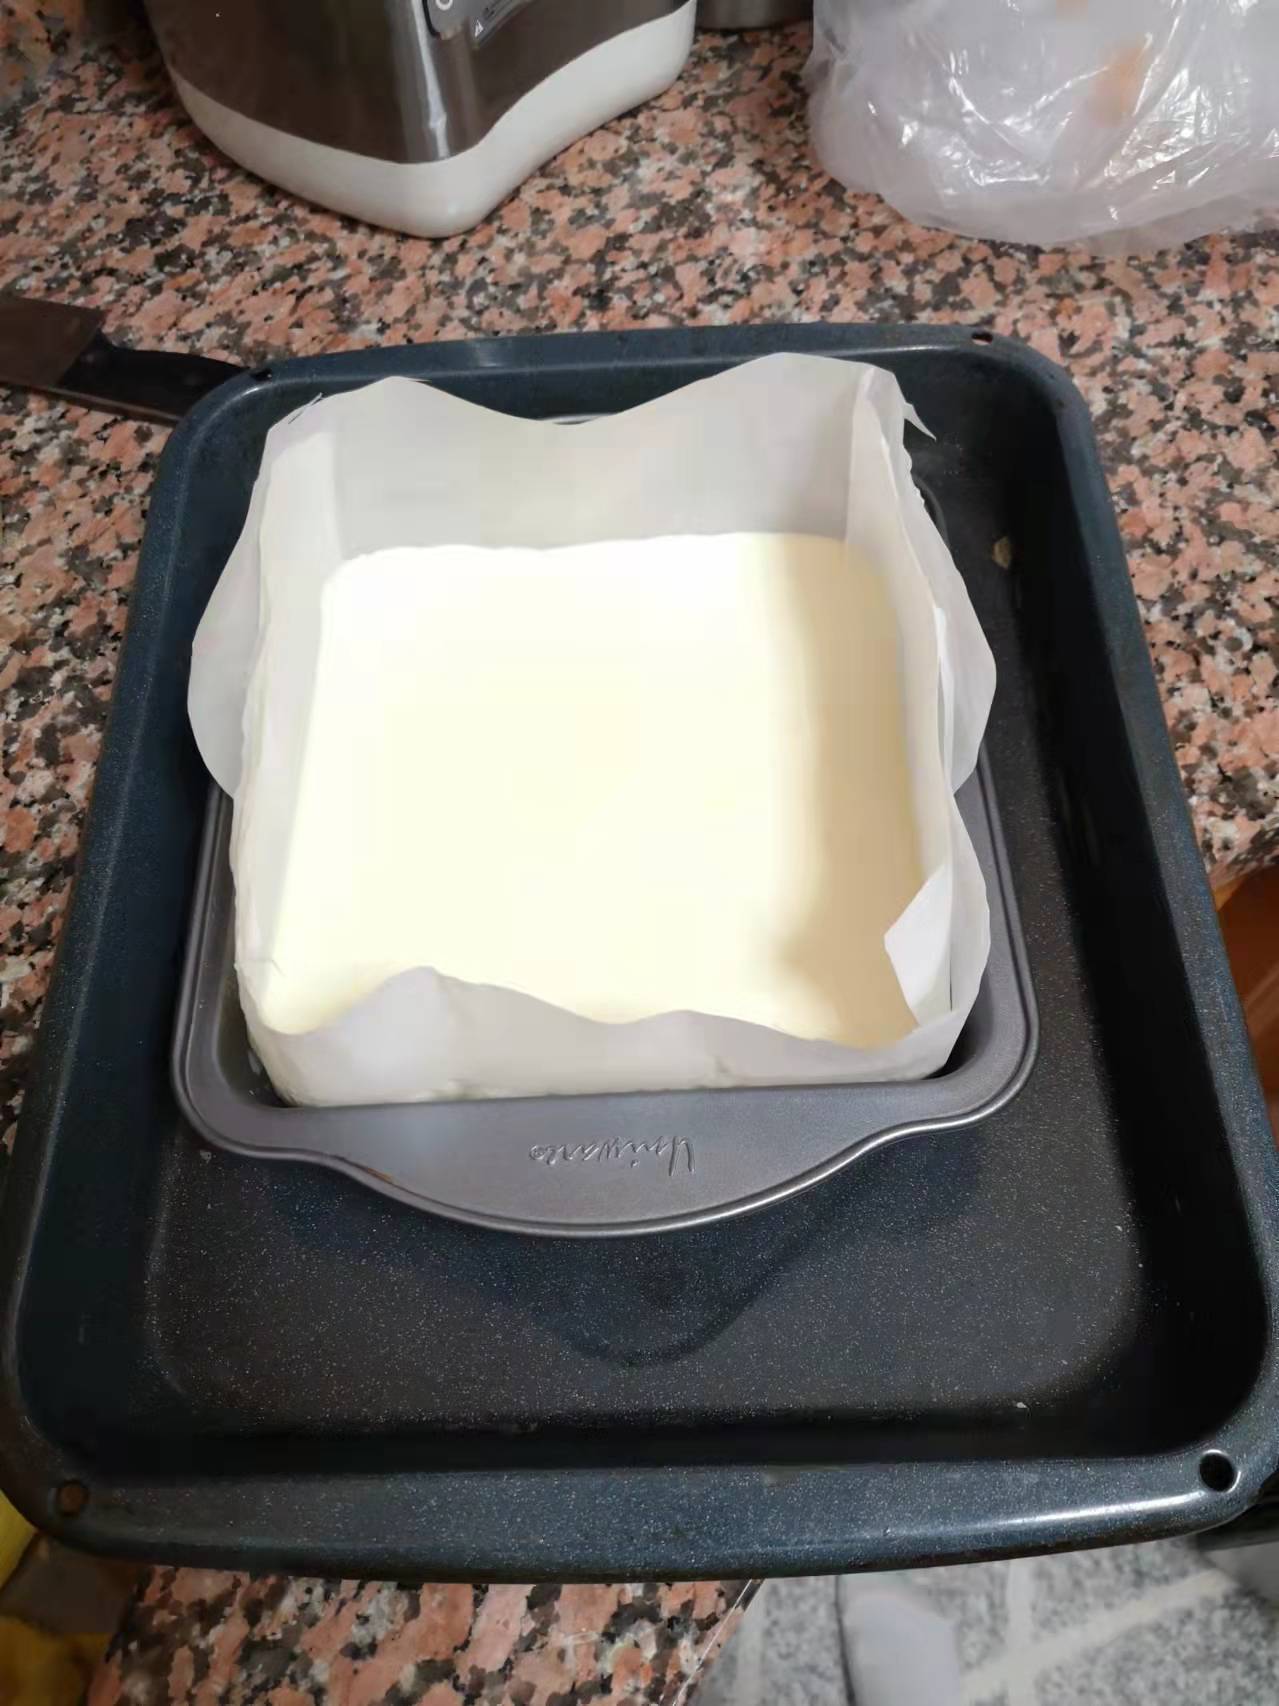
Pour batter into the prepared pan. Tap the pan against the counter to burst any excess air bubbles.
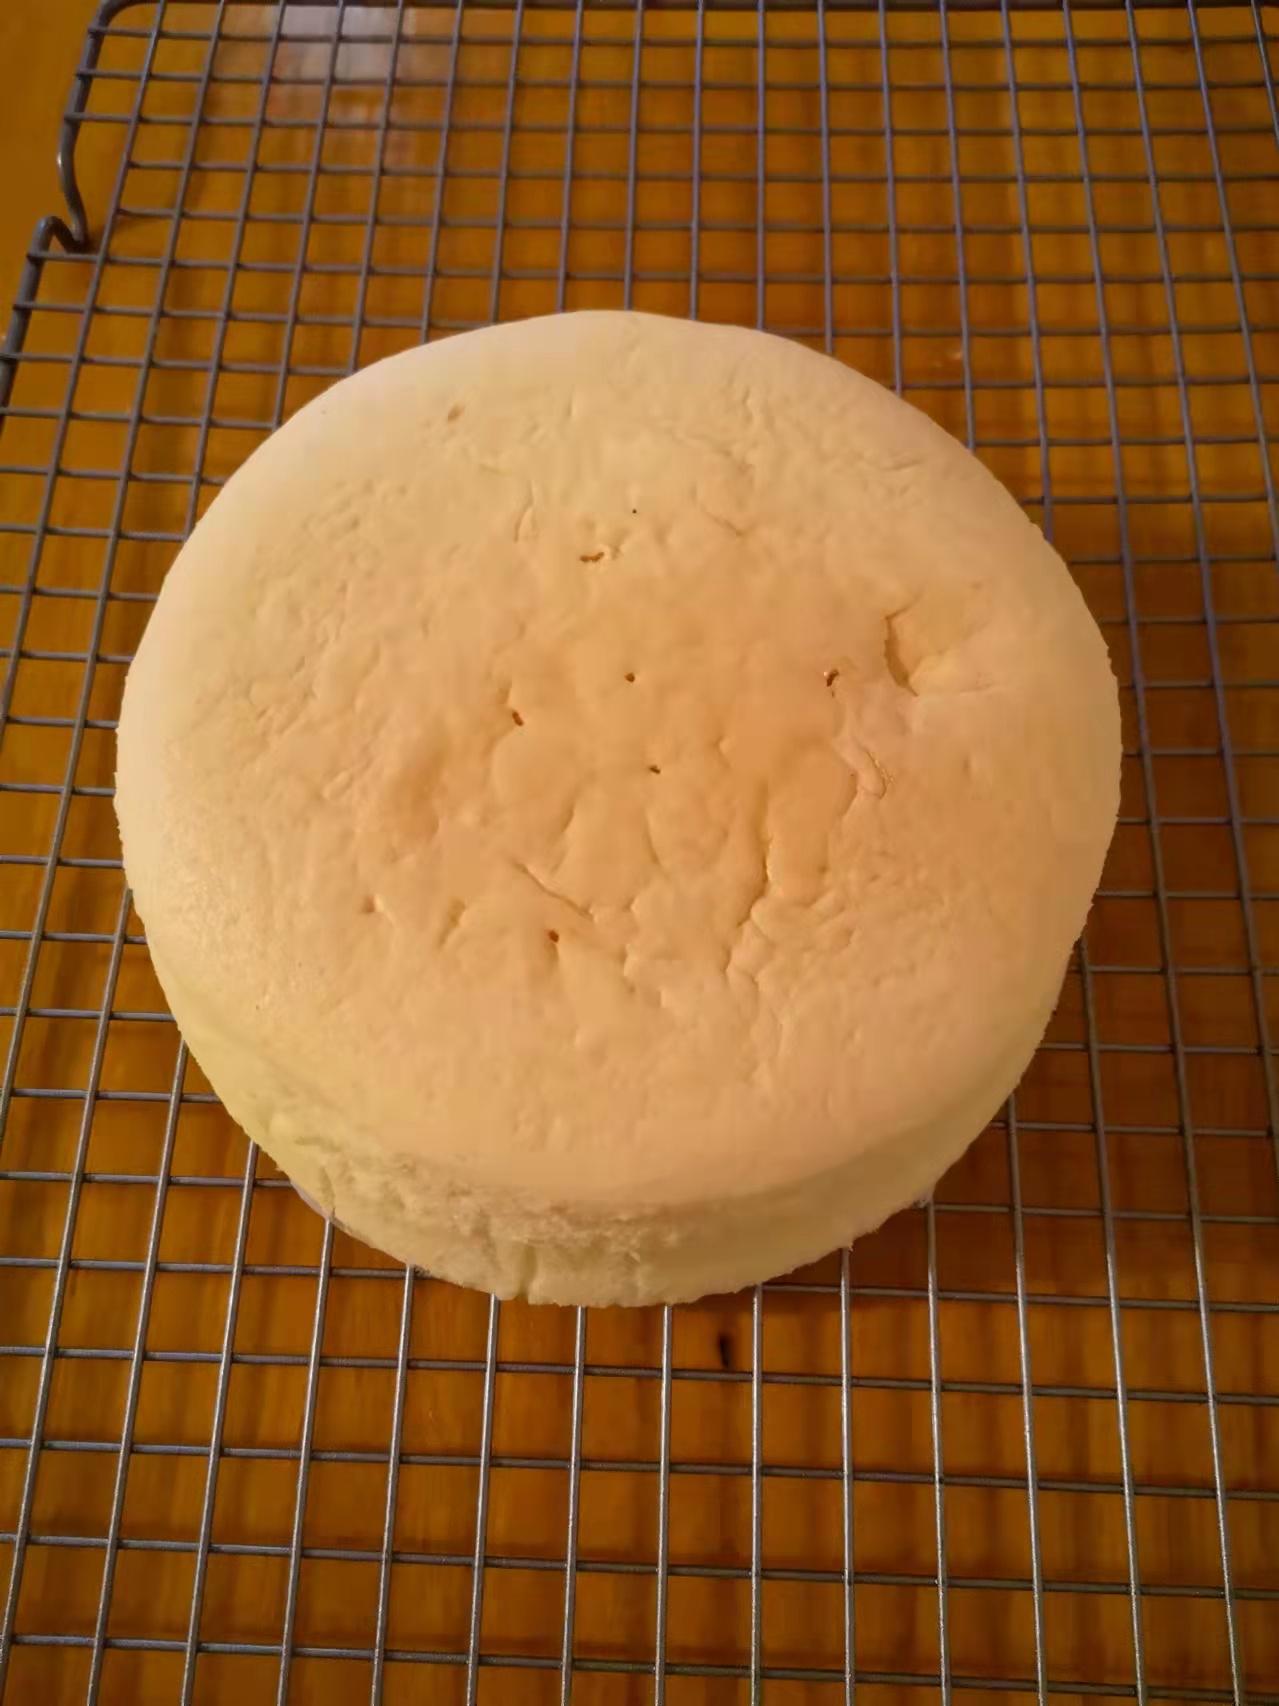
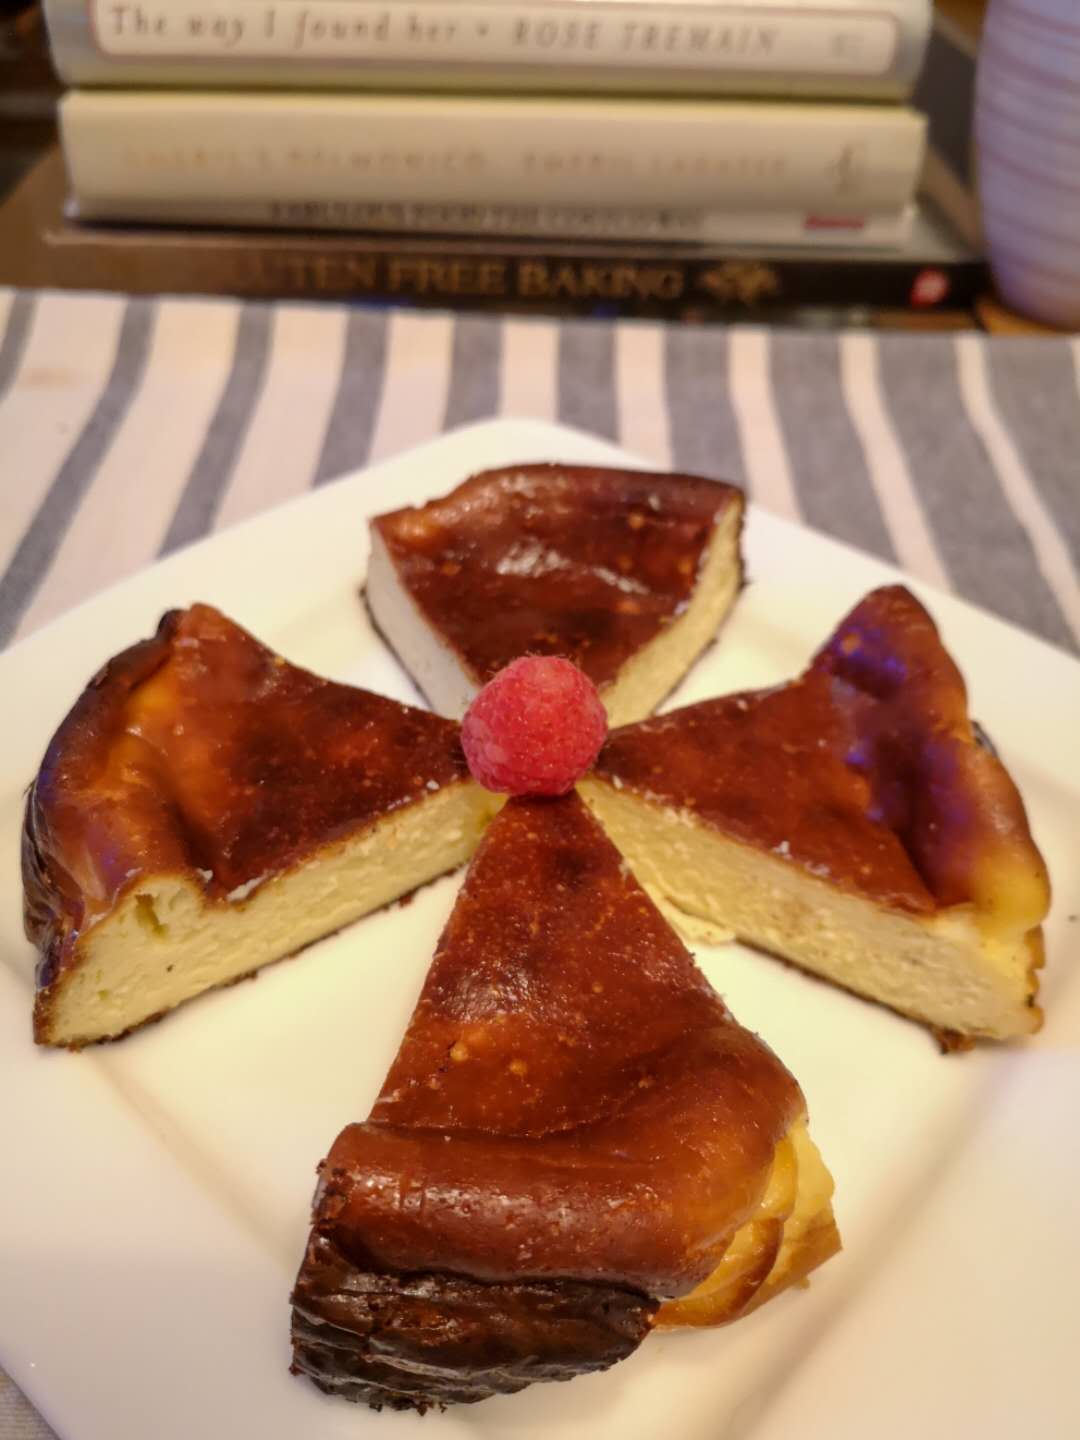
Bake in the preheated oven until puffed, very well browned, and nearly burned on the edges, 30to 35 minutes. Increase oven temperature to 425 degrees F (220 degrees C) for 10 more minutes.
Let cheesecake cool to room temperature, at least 25 minutes. Lift out onto a plate and peel back parchment paper. Refrigerate until thoroughly chilled. overnight preferred.
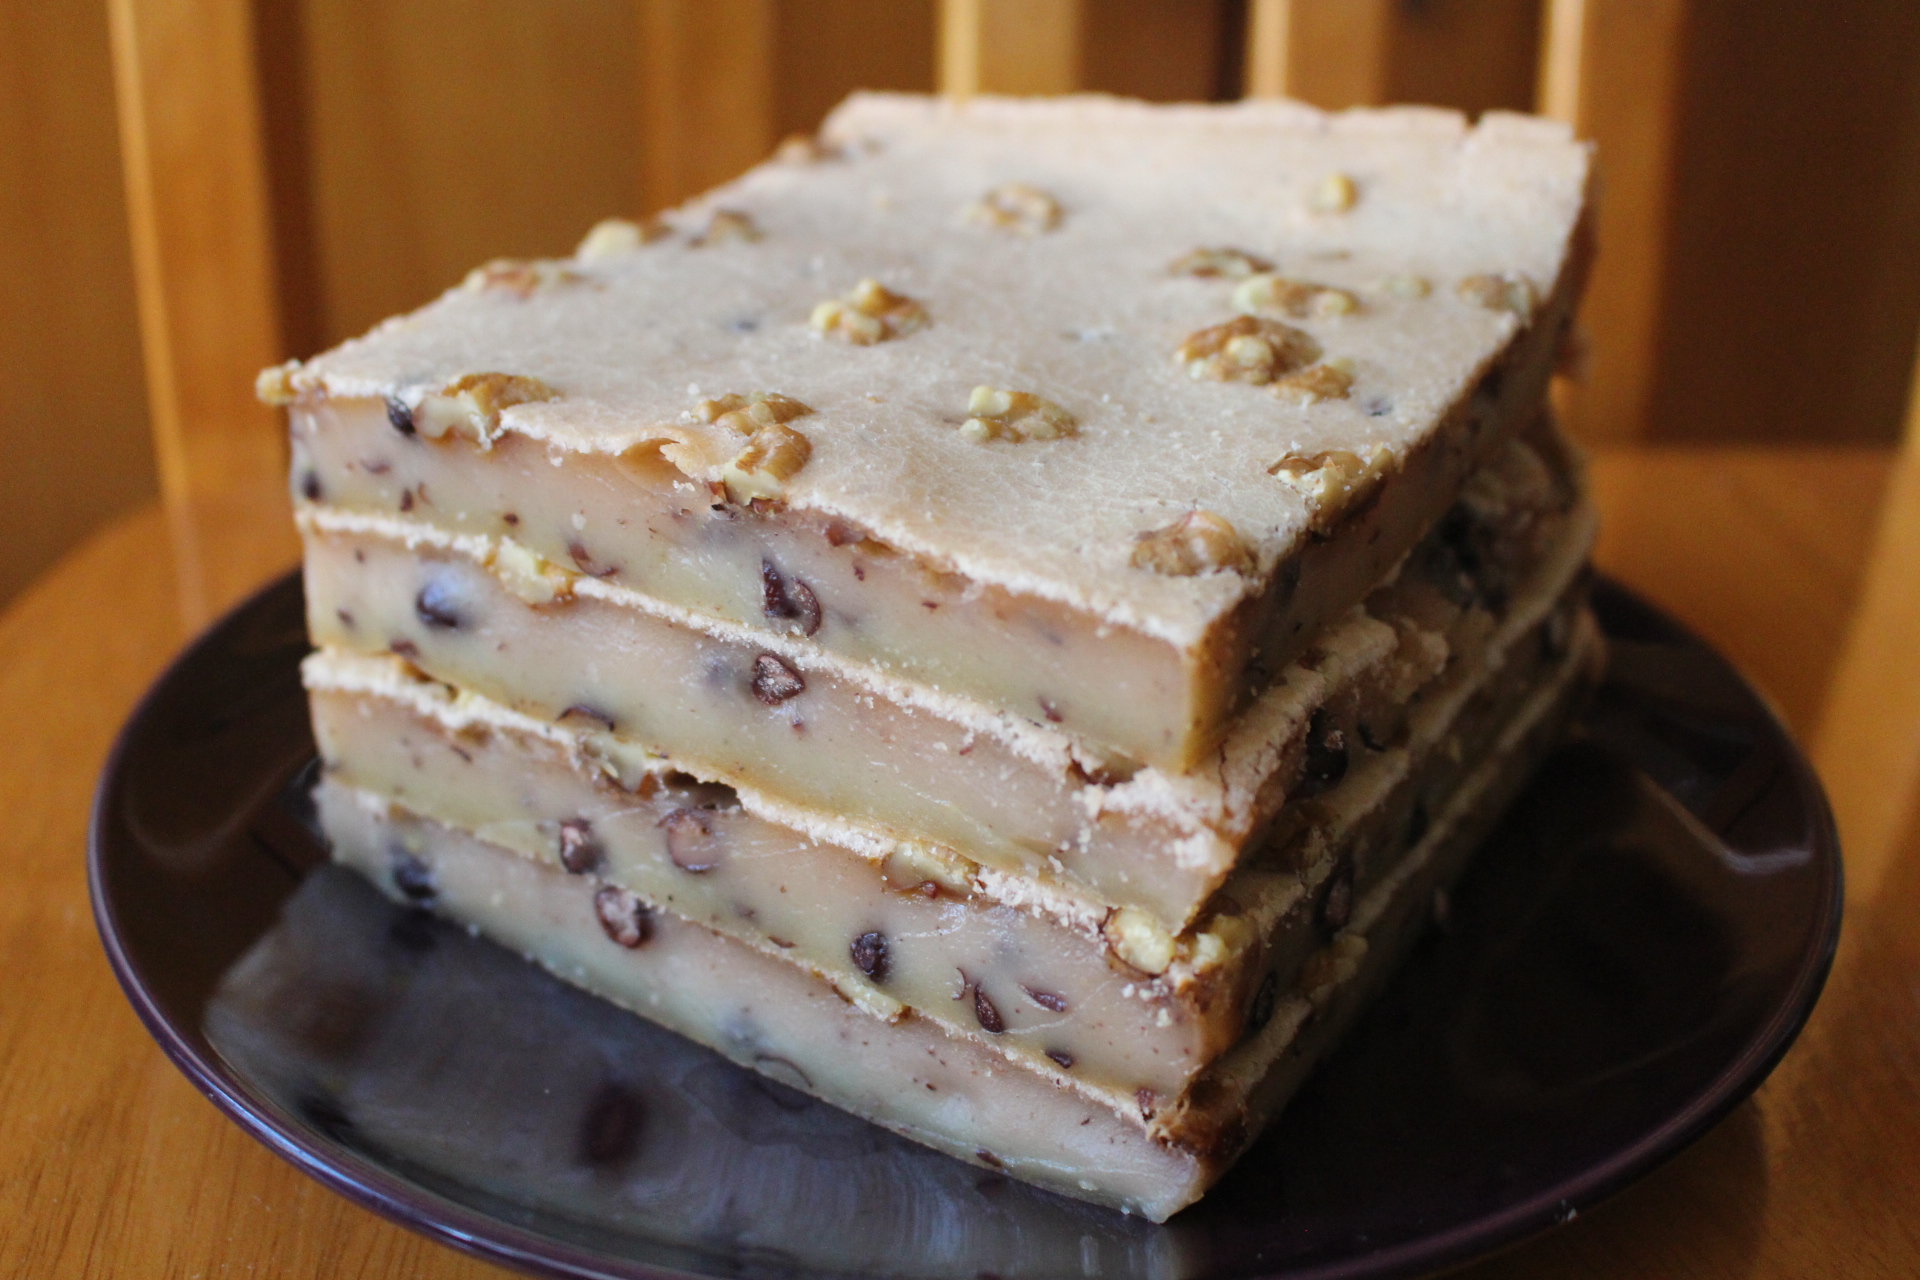
Chinese new year is coming, rice cake is one of the very traditional dishes for new year. But the traditional one is usually steam. I saw someone making this baked rice cake, I made one myself right away! This is much better than the steam one.
Fully cooked red bean 1 cup
Walnut 1/2 cup
Glutinous rice four 1 pound
Sugar 3/4 to 1 cup
Egg 3
Milk 2 cups
Vegetable oil 1/2 cup
Baking powder 1tsp
Direction:
Preheat oven to 350 F
Mix everything together except walnut.
Pour the batter into a glass baking sheet 10″ x 14″
Add the walnut on top of the batter
Bake in the preheat over for about 50 minutes.
If you don’t mind calories, use half coco nut milk and half milk. You will be surprise how good it tastes.
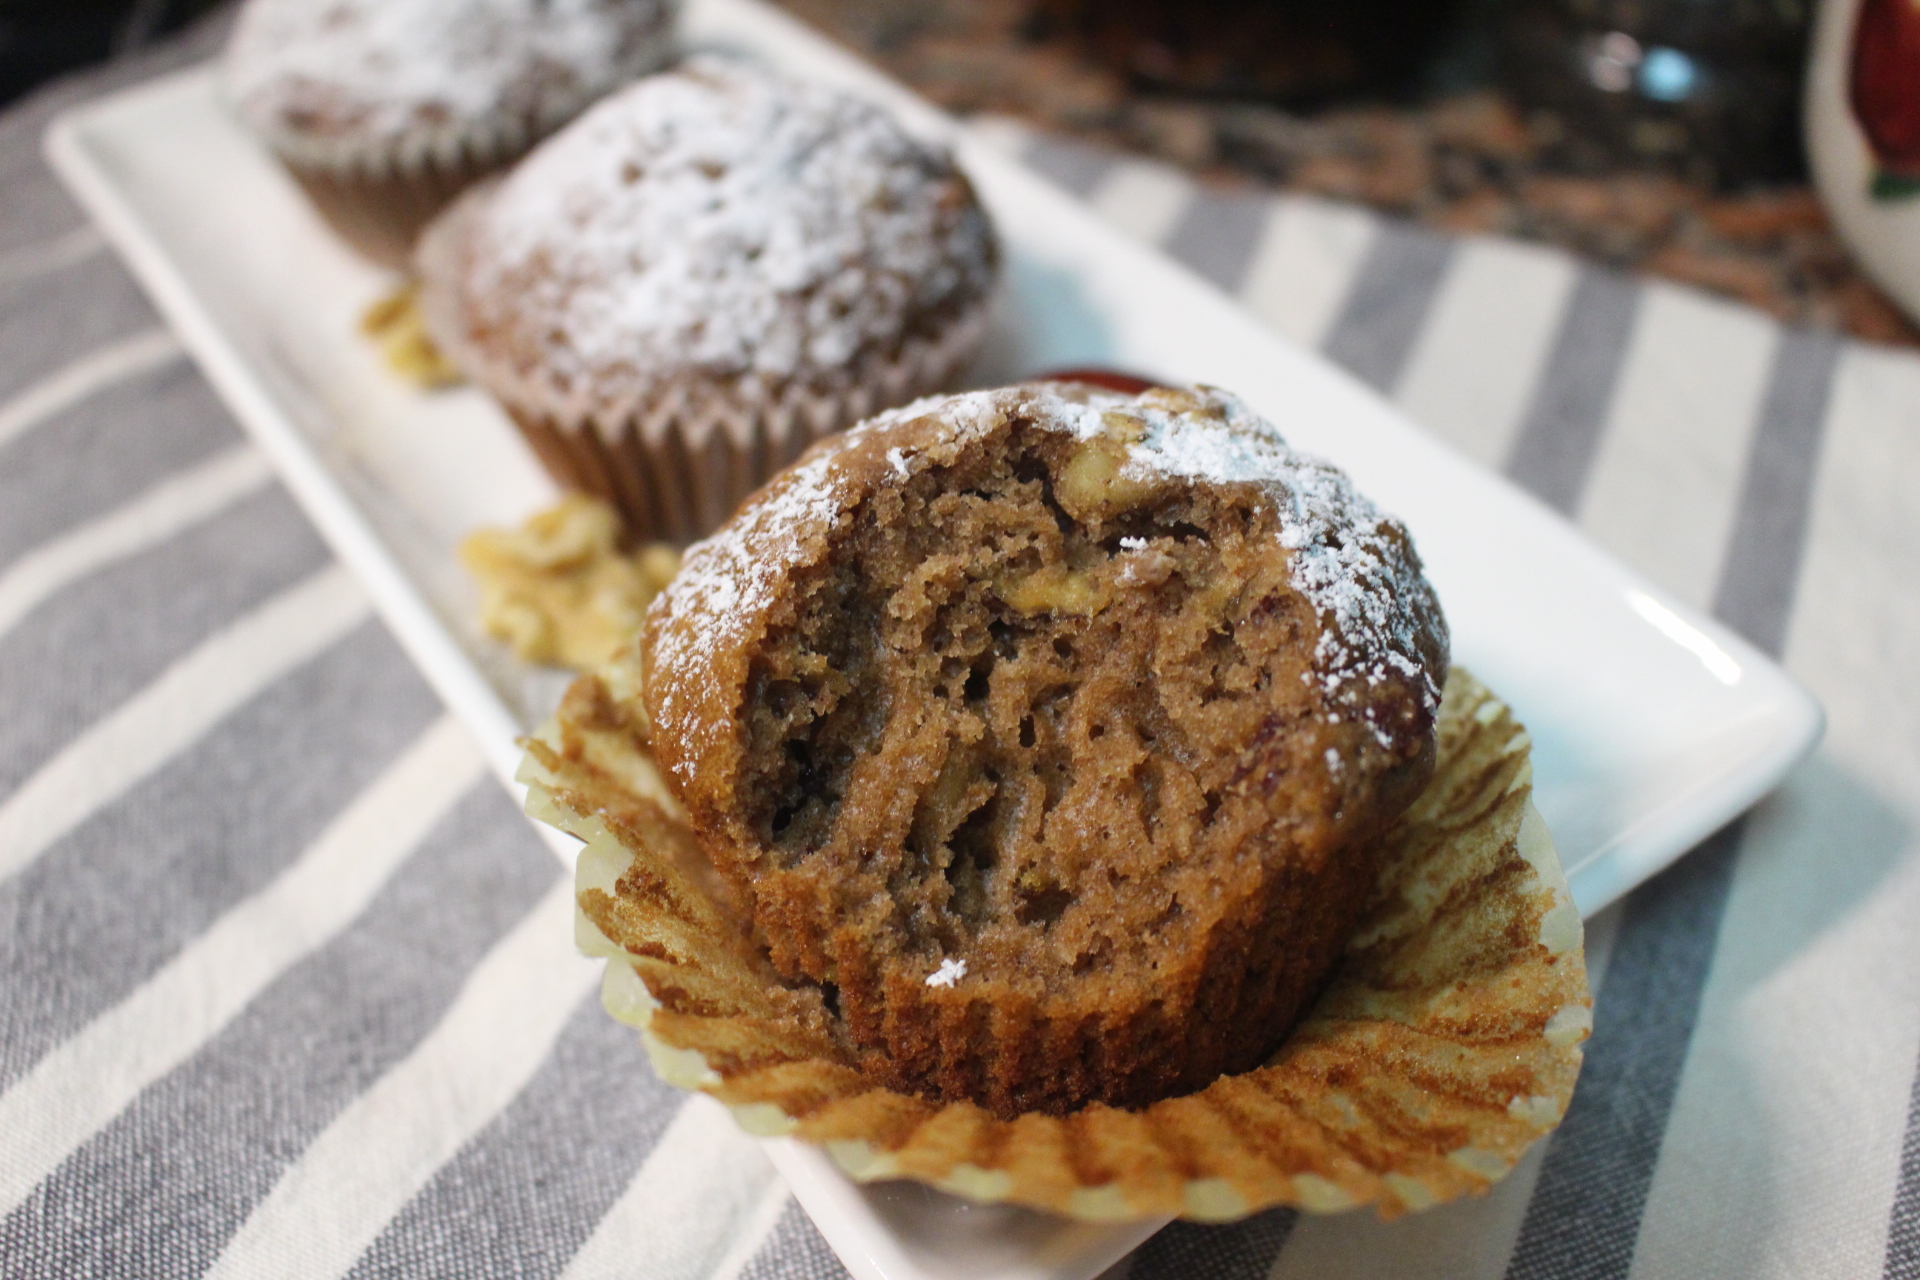
This is not Muffin, well at least it is not American muffins. I don’t have a name for it, let’s call it Chinese jujube and walnut muffin then. I have a good friend in Taiwan who owns a big bakery store, she gave me this recipe and taught me how to make it. But the recipe was for a store, I don’t need to make that many at a time, so I adjusted it a little bit and use less oil too.
Eggs 188g
Sugar 206g
Honey 19g
Cake flour 200g
Coco powder 7.5g
Baking powder 1.5g
Baking soda 1.5g
Pitted Jujube 10 pieces (big size)
Evaporated milk 135ml
Oil 110g
Walnut 50g
preheat oven to 390F
Add baking soda, baking powder and coco powder to the flour and sift.
Roughly chop the jujube and walnut into smaller size or use a food processor to do it. If your jujube is very dry, then add the jujube to the evaporated milk for 15 minutes.
Add egg, sugar, honey and oil together and mix.
Add jujube with evaporated milk and half the walnut to 3 and mix well.
Add 4 to 1 and mix again. Don’t over mix it.
Prepare your muffin tin by adding the cupcake liners. Evenly divide batter into the liners cups, then add the rest of walnut to the top of the muffins. Bake about 20 minutes, when you stick a toothpick to the center and it comes out clean it is ready.
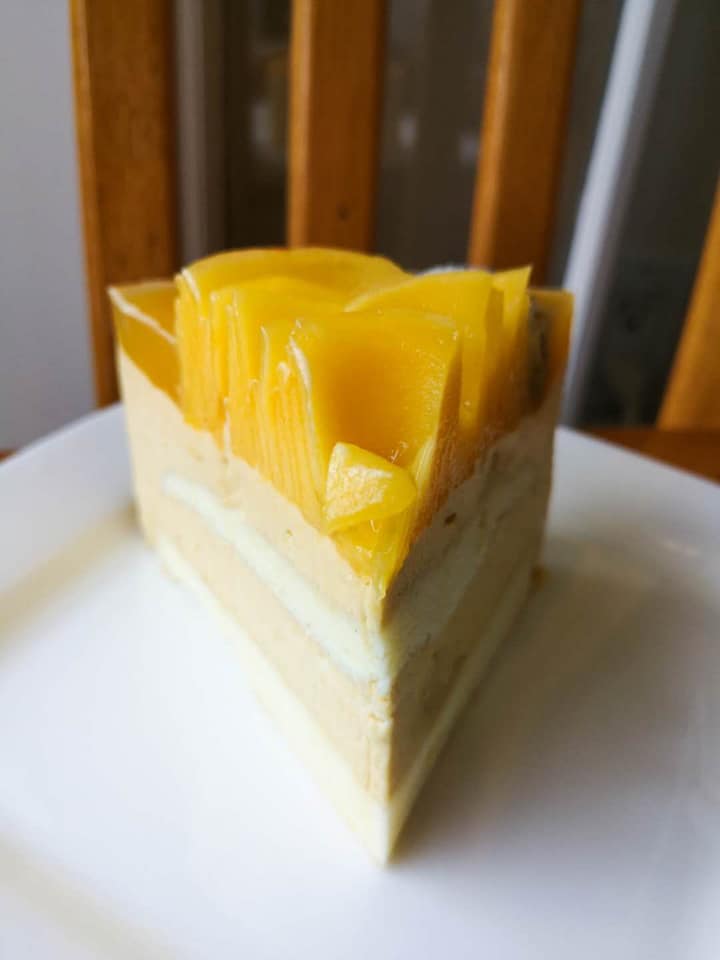
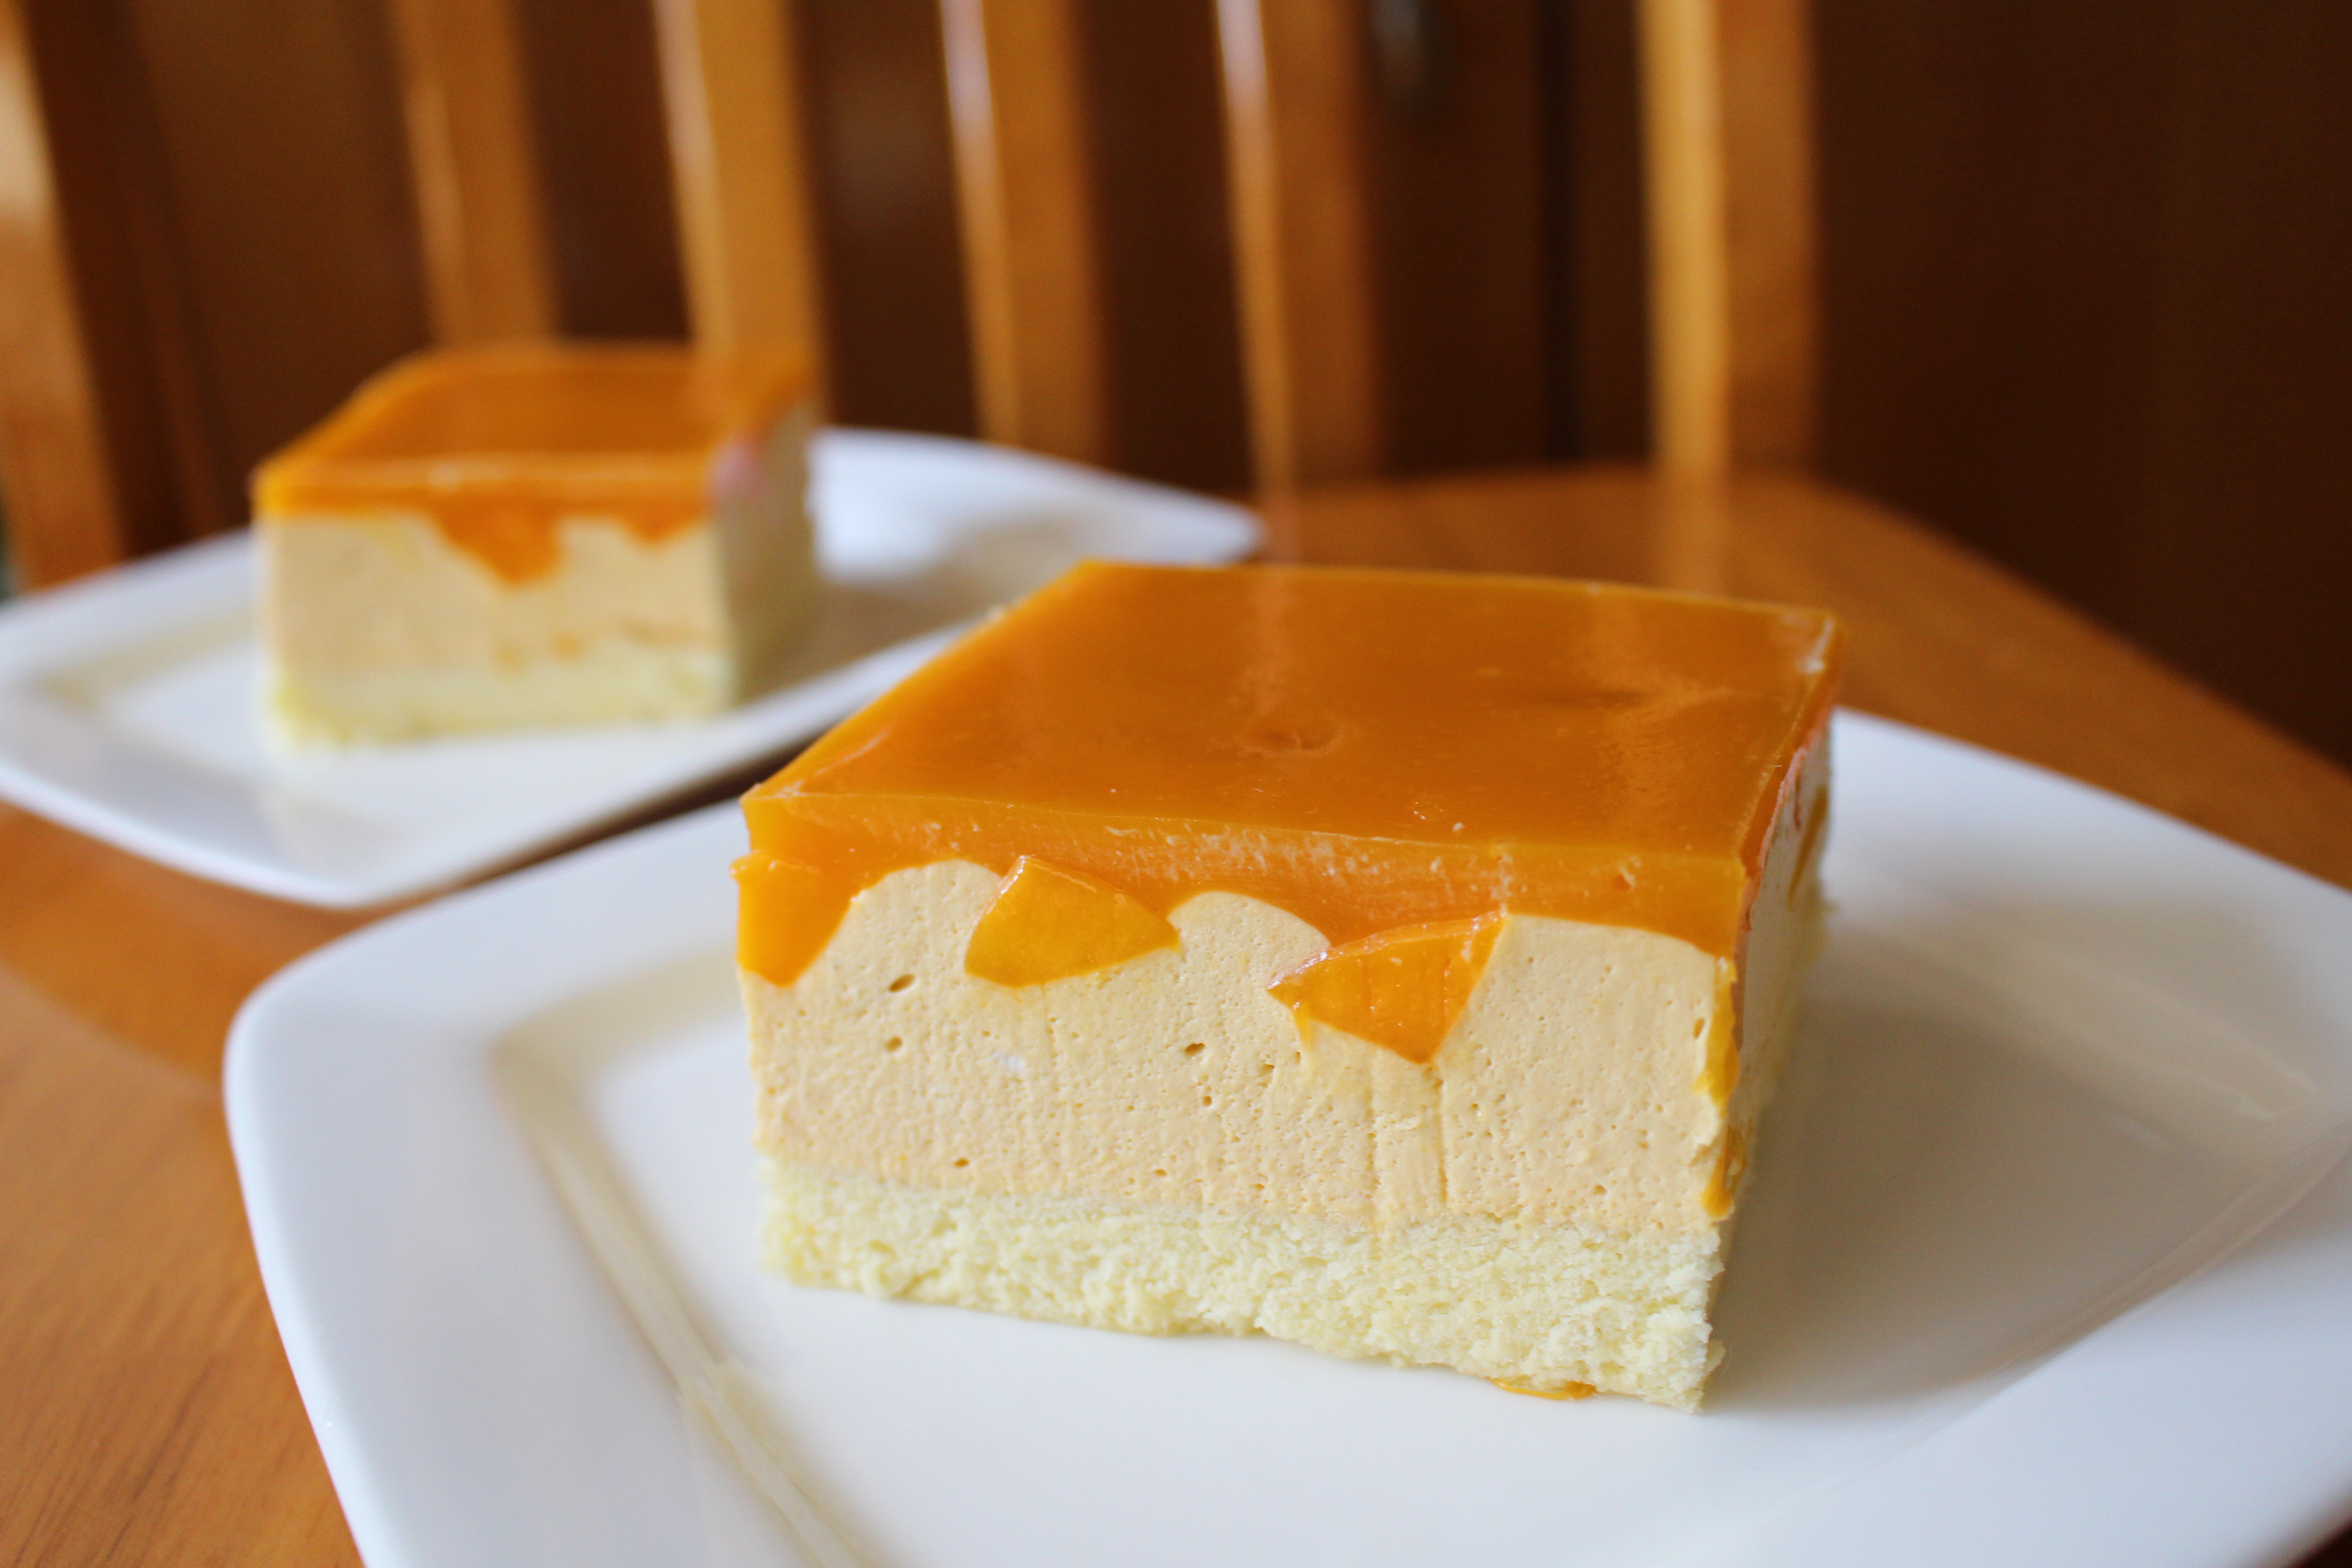
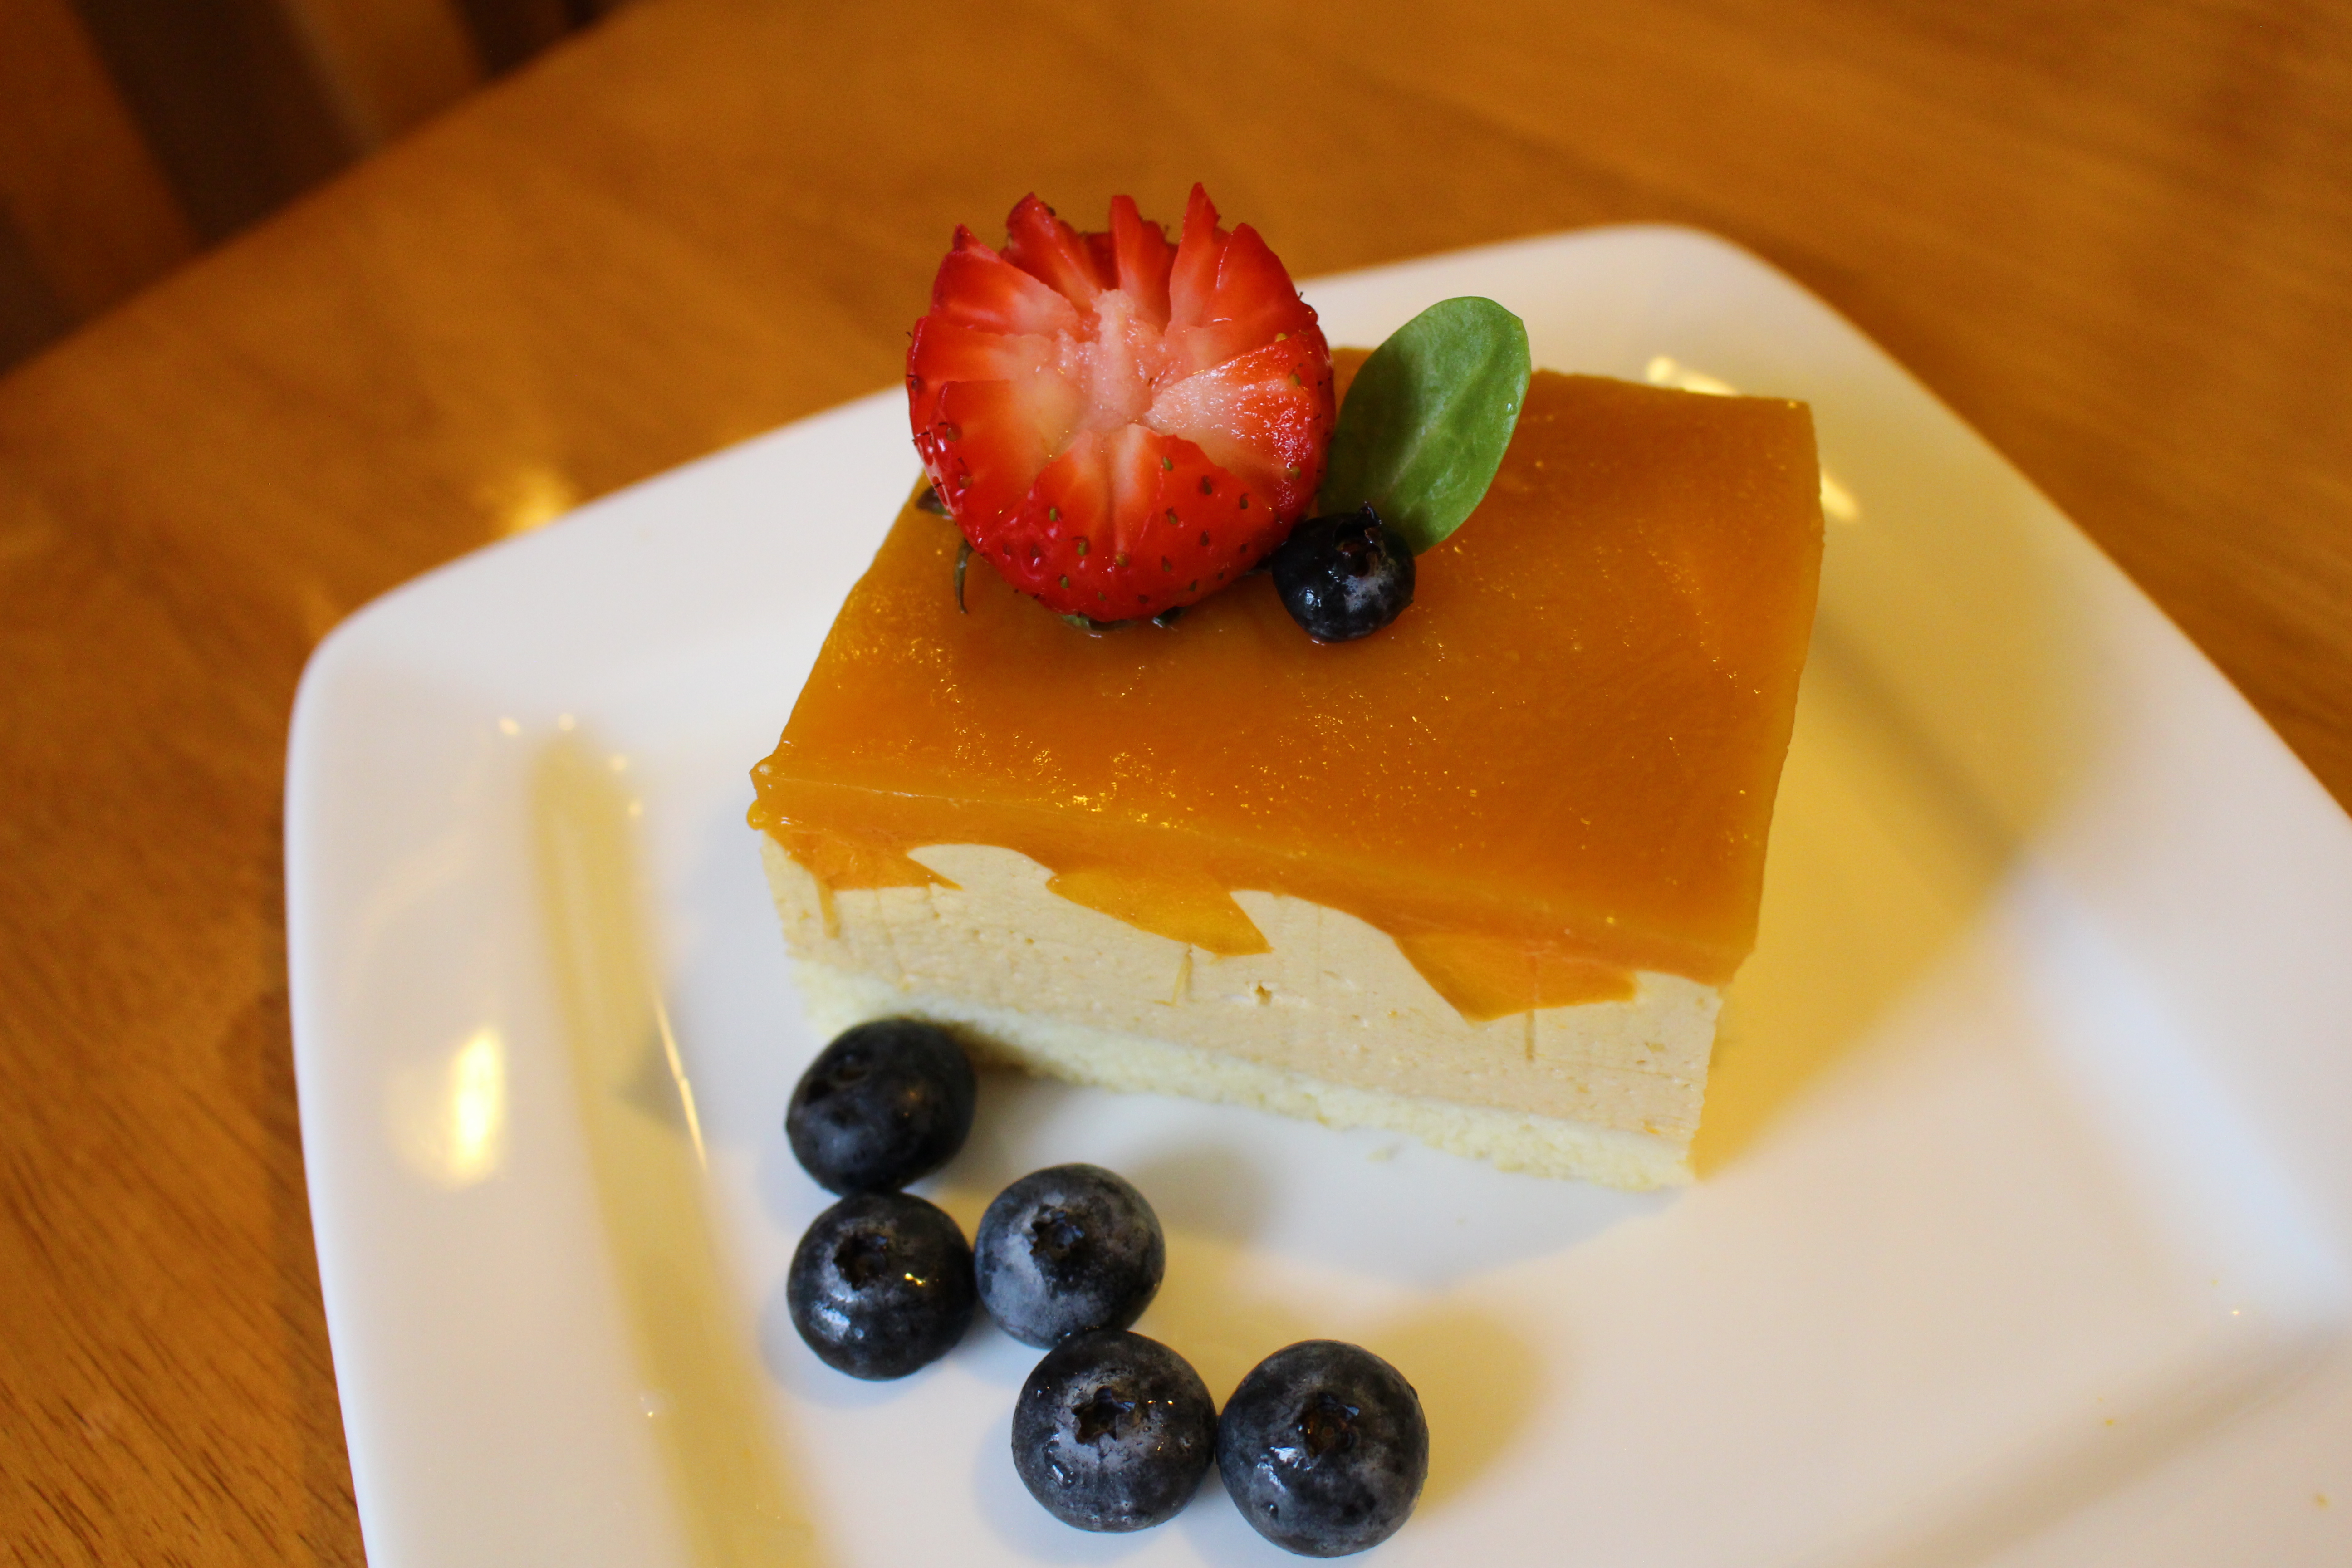
Every year at this time, I will make mango mousse cake because it is mango season again. This time I used xiao Gao Jie’s chiffon cake for base, it is really moist and delicious. Here is the link:
Water 2.5 cups (including the water to soak mushroom and scallop)
Shredded Pumpkin 200g
Dried mushroom 4 pieces
Bacon 3 pieces
Scallion 2tbsps
Dried scallop 4tbsps
Shallot 2 tbsps
Soak dried mushroom and scallop in water for at least 1 hour.
Tear scallops into small pieces, dice mushroom. Cut bacon into small pieces too.
Add 1.5 cups water to the rice flour and mix well.
Add 2 tbsps. cooking oil in a skillet then add bacon, scallop, shallot and mushroom saute for 2 minutes. Add 1tsp salt, 1/2 tsp white pepper and 1/2 tsp chicken bouillon to it and mix well.
Add pumpkin to the pan and continue to saute for 2 more minutes, add the water used to soak mushroom and scallop( about 1 cup) and continue to cook a minute.
Pour the rice flour and water mixture to the pumpkin mixture, turn the heat to medium and continue to stir until the mixture becomes solid. Turn the heat off.
Grease a 8″ tin foil pan and add a piece of parchment paper on the bottom, pour the rice flour mixture to it and smooth the surface.
Steam over boiling water for about 45 minutes.
When it cools down, you can save it in refrigerator for up to 2 weeks. when you want to eat it, cut into small pieces and pan fry them.
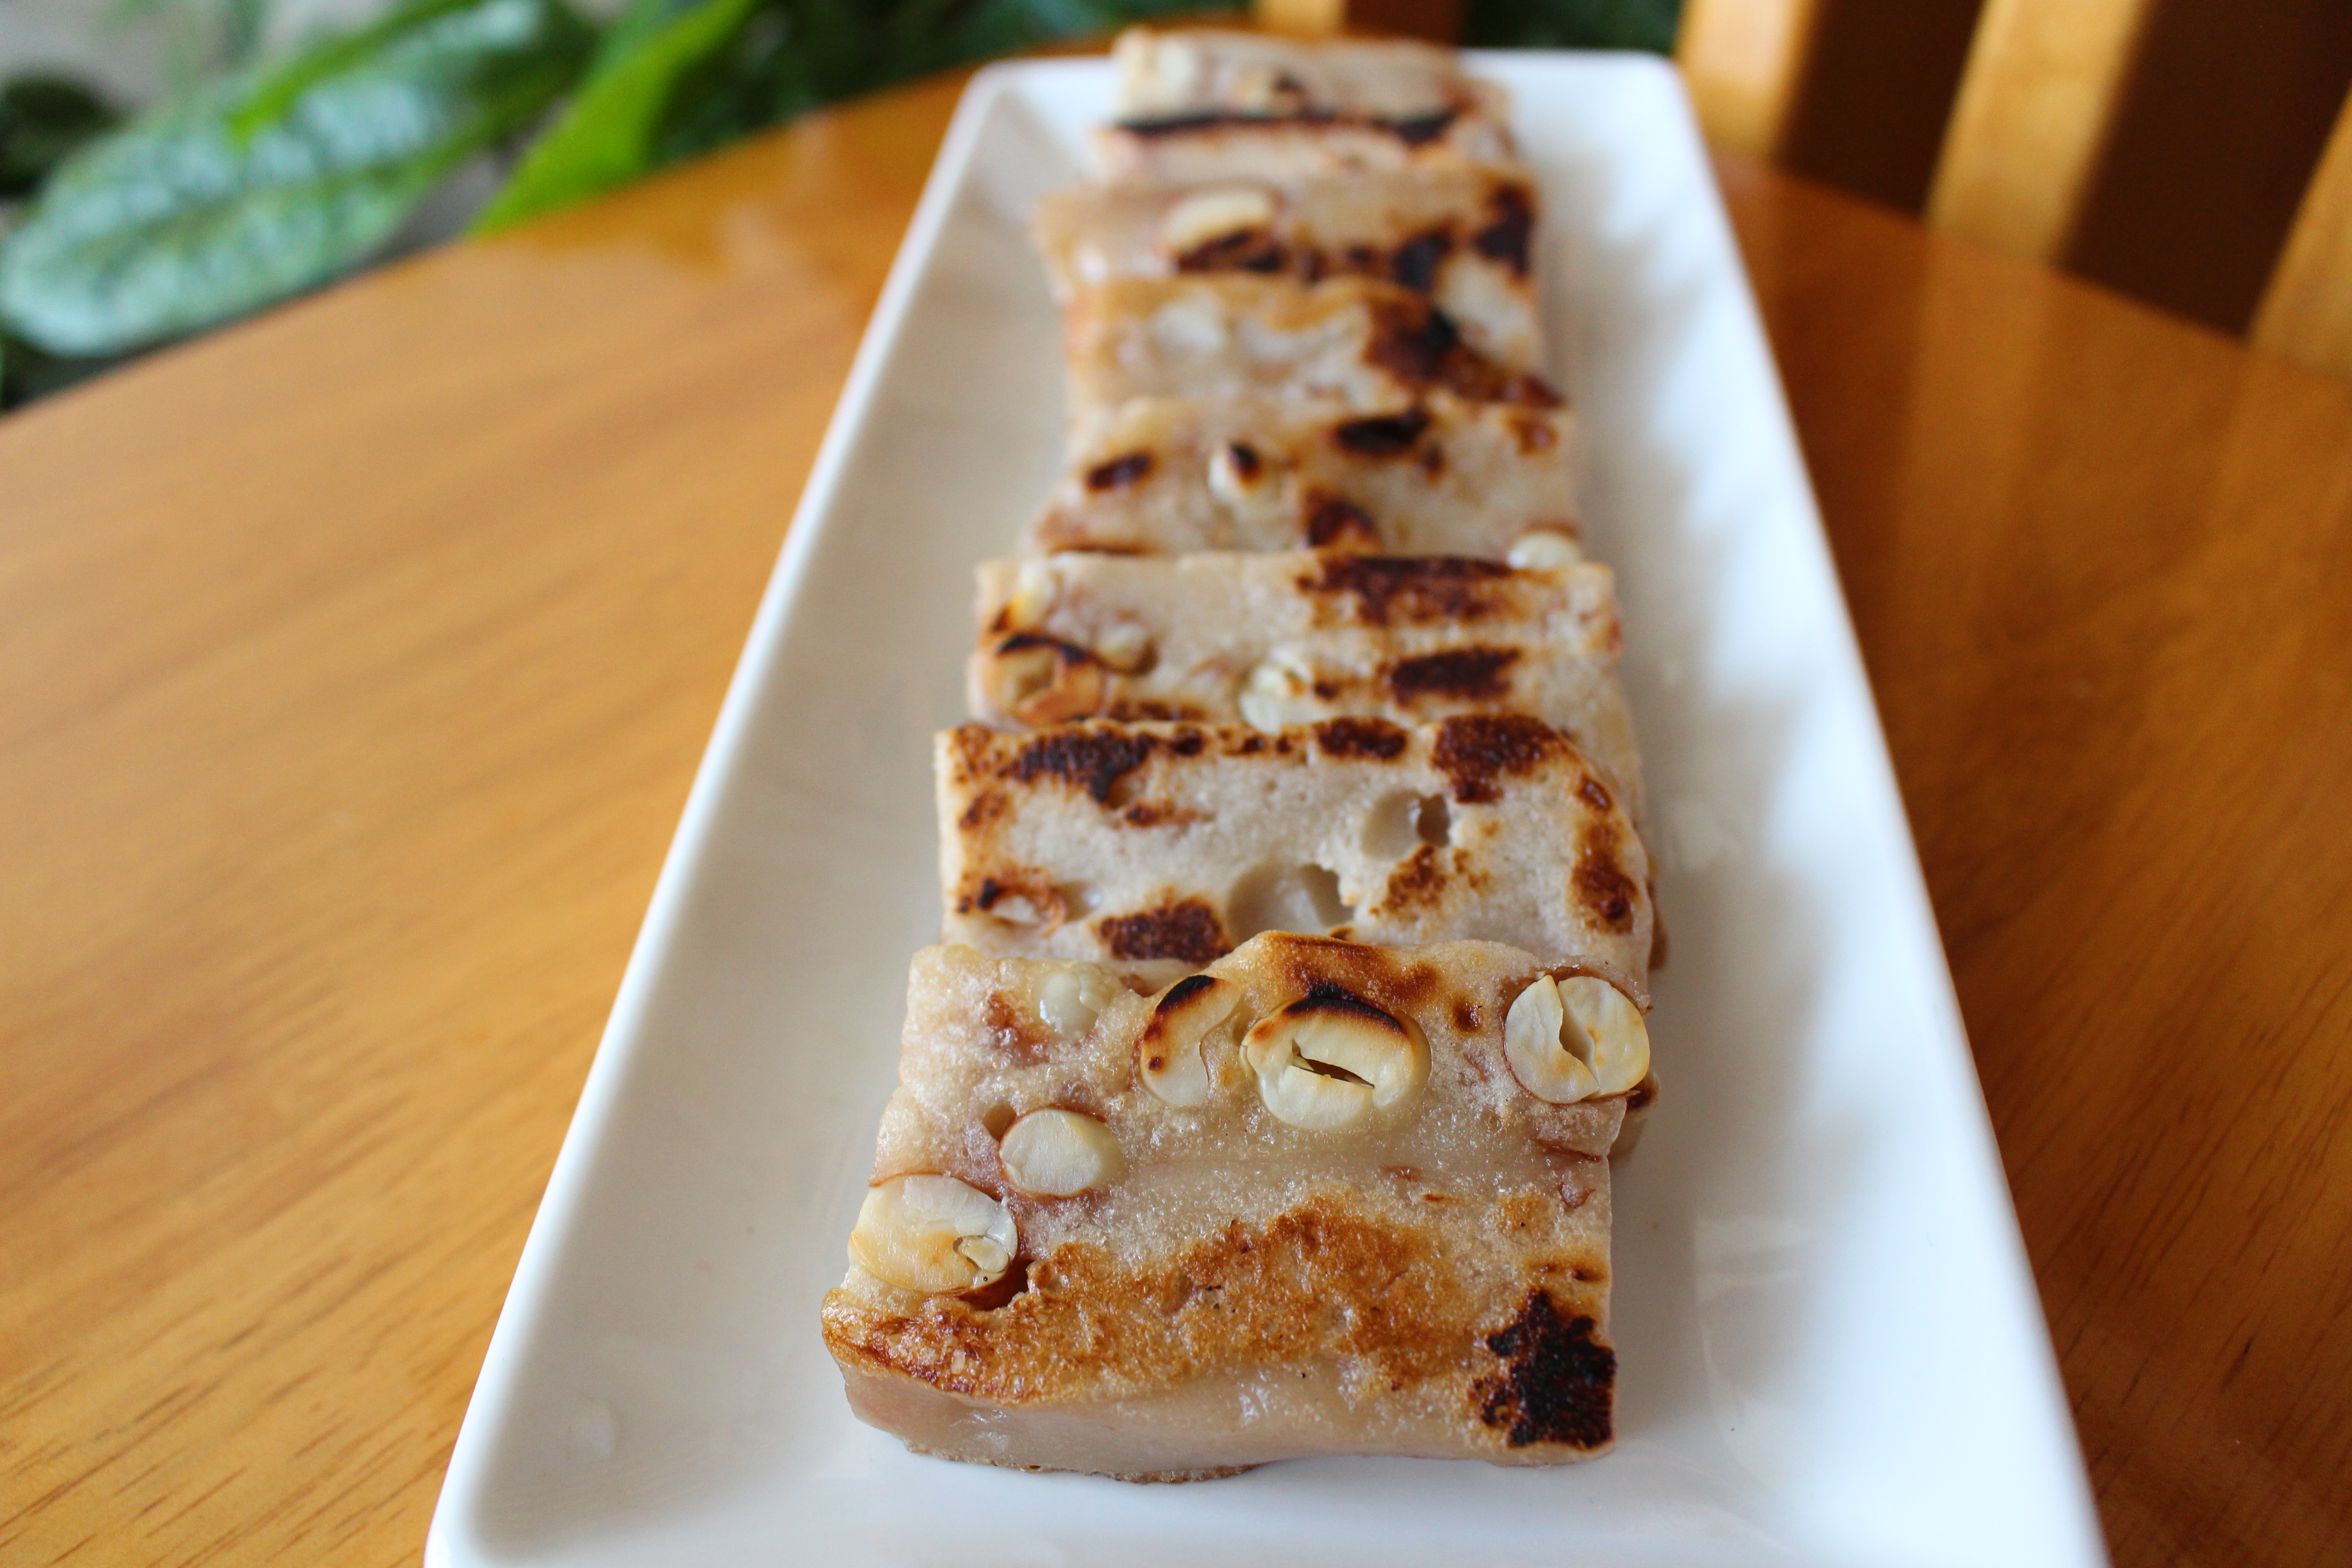
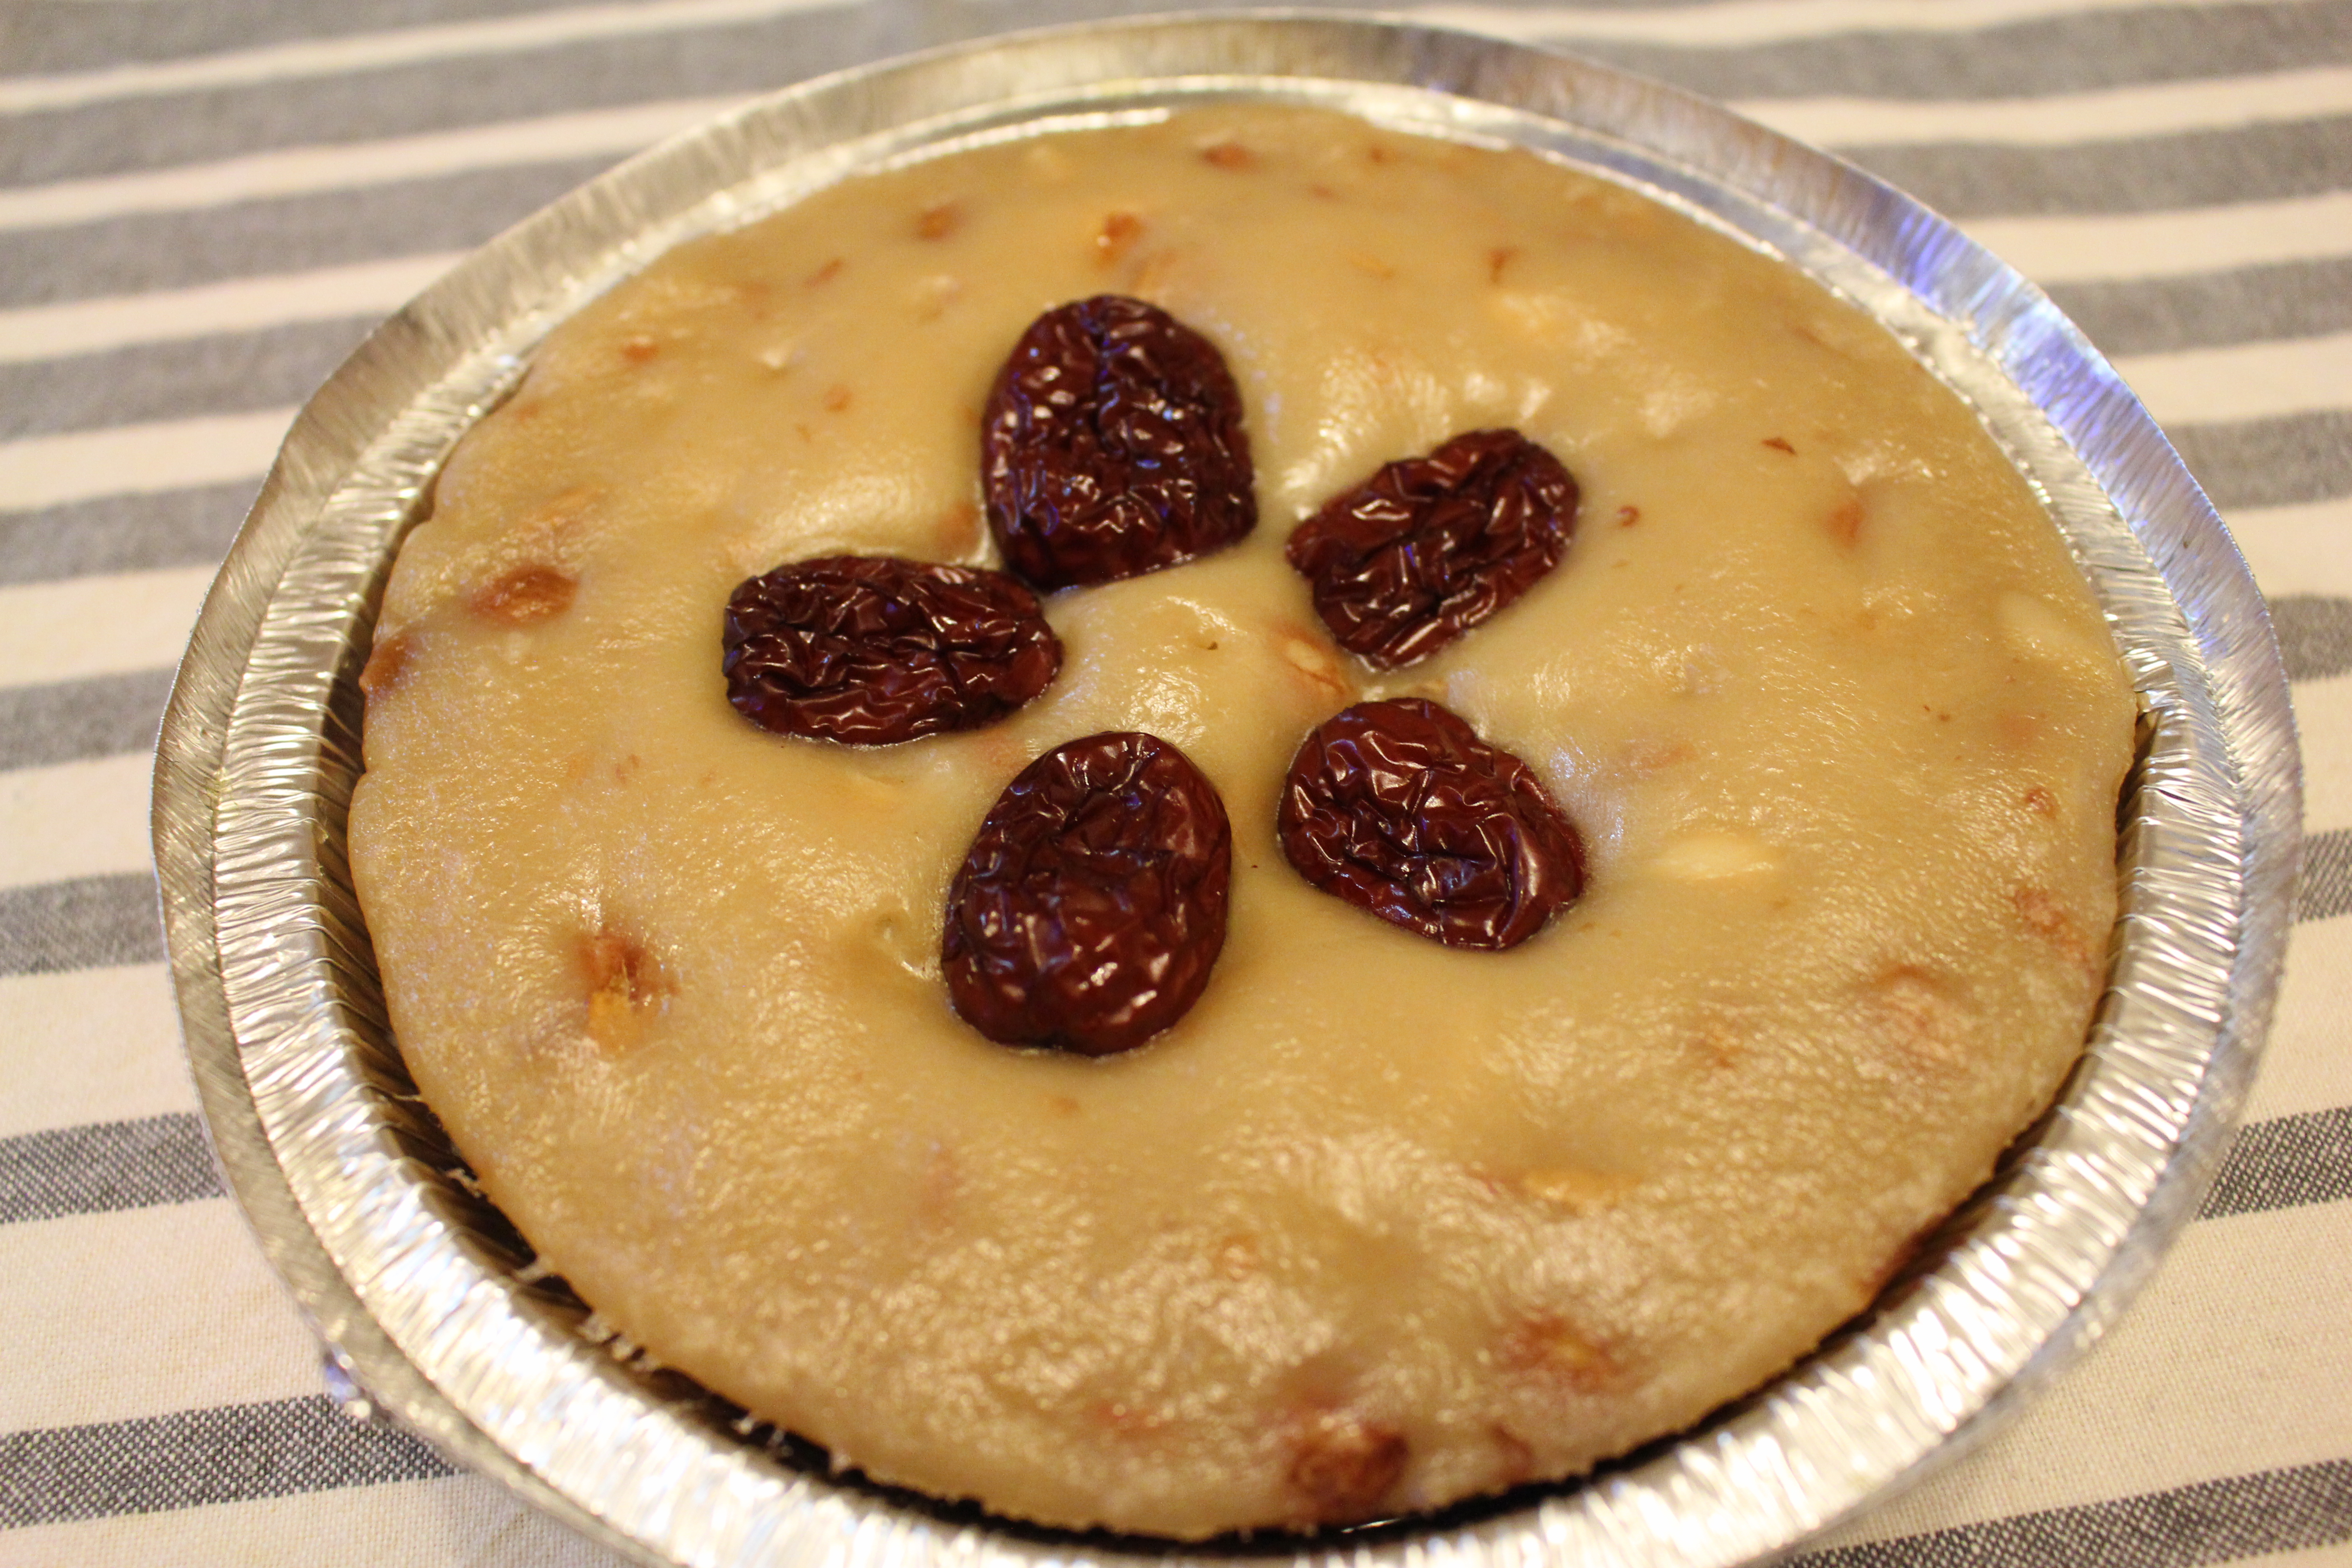
Rice cake is a must for Chinese new year. I was never good at making one, even thought it is not something complicated. I asked my mother for help and she told me the secret of making good rice cake. Today’s rice cake is a big success!
Glutinous rice flour 10 Oz.
water 1.5 cups
Rice flour 5 Oz.
Brown sugar 1/3 cup
White sugar 1/4 cup
Peanut 1/2 cup
Jujube 5 pieces
Oil 1tbsp
Add everything except Jujube and peanut in a big container, and knead with all your strength for 10 minutes.
Add peanut and mix well.
Grease a 6 inches foil pan, and put a pieces of parchment paper on the bottom, pour the rice flour mixture to the pan and smooth the surface.
Add the jujube on the top.
Steam over boiling water for 30 minutes.
When it is cool you can save it in your refrigerator for up to 2 weeks. When you want to eat it, you can pan fried, deep fried or cook it in water.
Tips:
The reason to knead it because it will become very chewy. (if you do not like it chewy then don’t need to knead, just mix everything together)
Add oil to it will prevent the cake from cracking.