Basque Burnt Cheese Cake

8 ounce cream cheese, softened

1/3 cup white sugar

One pinch fine salt

1 tablespoons cake flour

1/3 teaspoon vanilla extract

2 large eggs, at room temperature

1/3cup +1tbsp heavy cream

1tsp lemon zest

1.5 tsps lemon juice
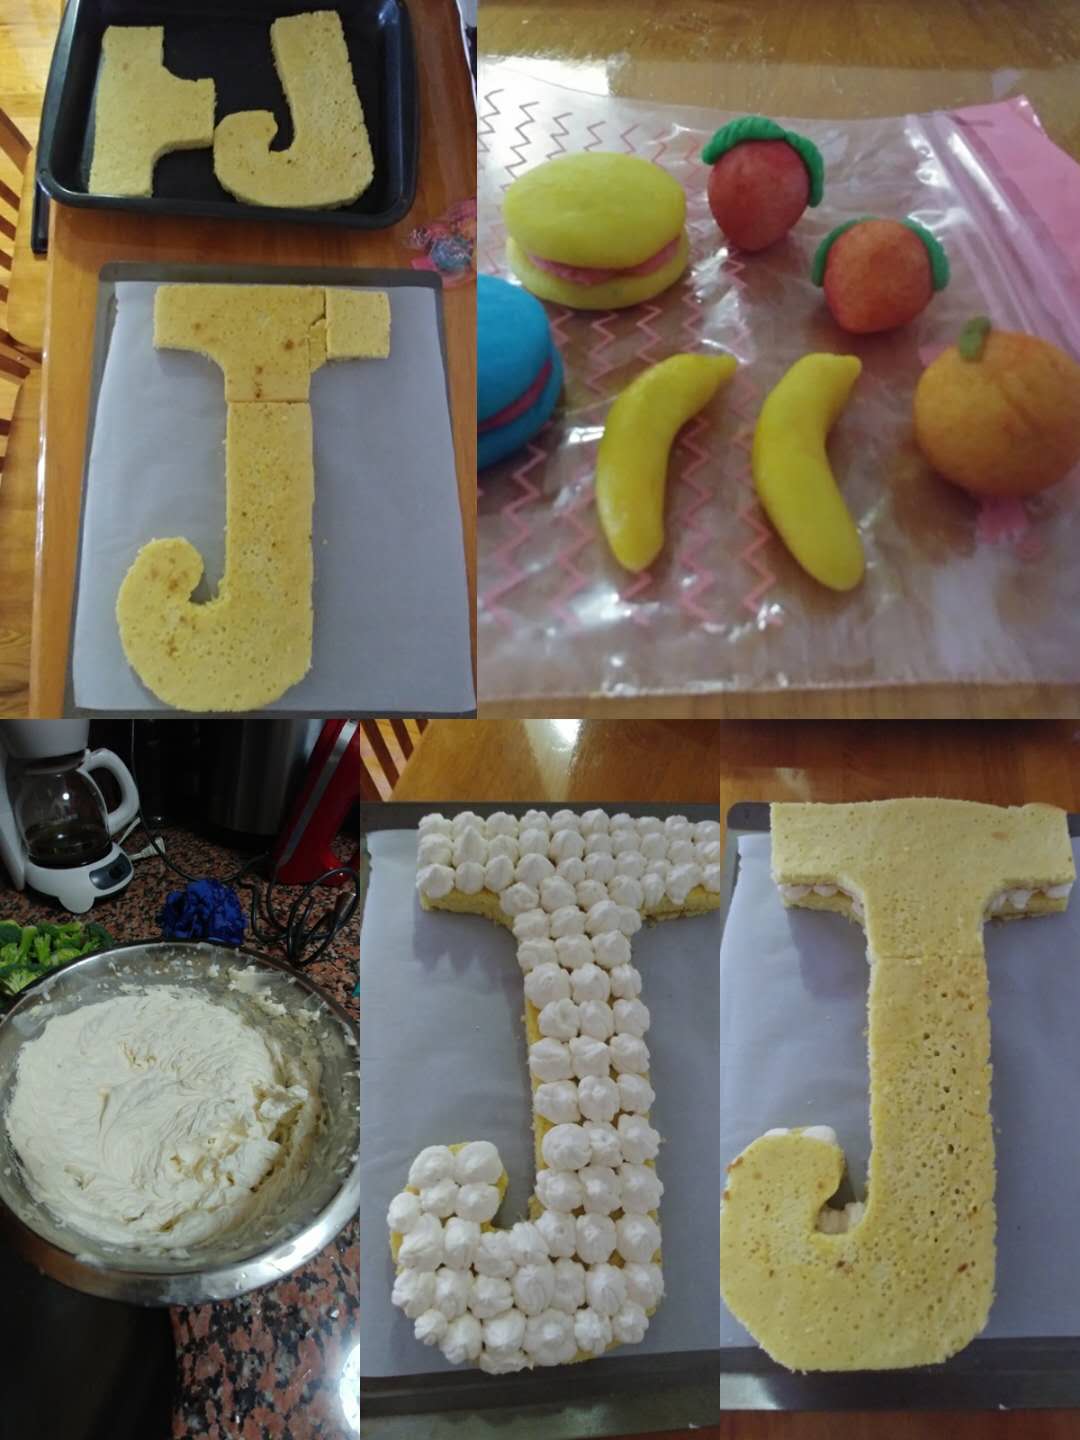
Directions

Instructions Checklist Preheat the oven to 400 degrees F (200 degrees C).

Spray a 6-inch cake pan with oil. Cut a sheet of parchment paper large enough to line the inside of the pan by a few extra inches. Press it into the pan, flattening any major creases. Trim away any excess paper from the sides until you have an inch or two of overhang.

Combine cream cheese, sugar, salt, and flour in a bowl. Stir and smear together with a spatula until very smooth and creamy. Add vanilla extract and 1 egg; whisk to combine. Whisk in remaining egg, Pour in heavy cream, lemon juice and zest and mix until smooth.

Pour batter into the prepared pan. Tap the pan against the counter to burst any excess air bubbles.

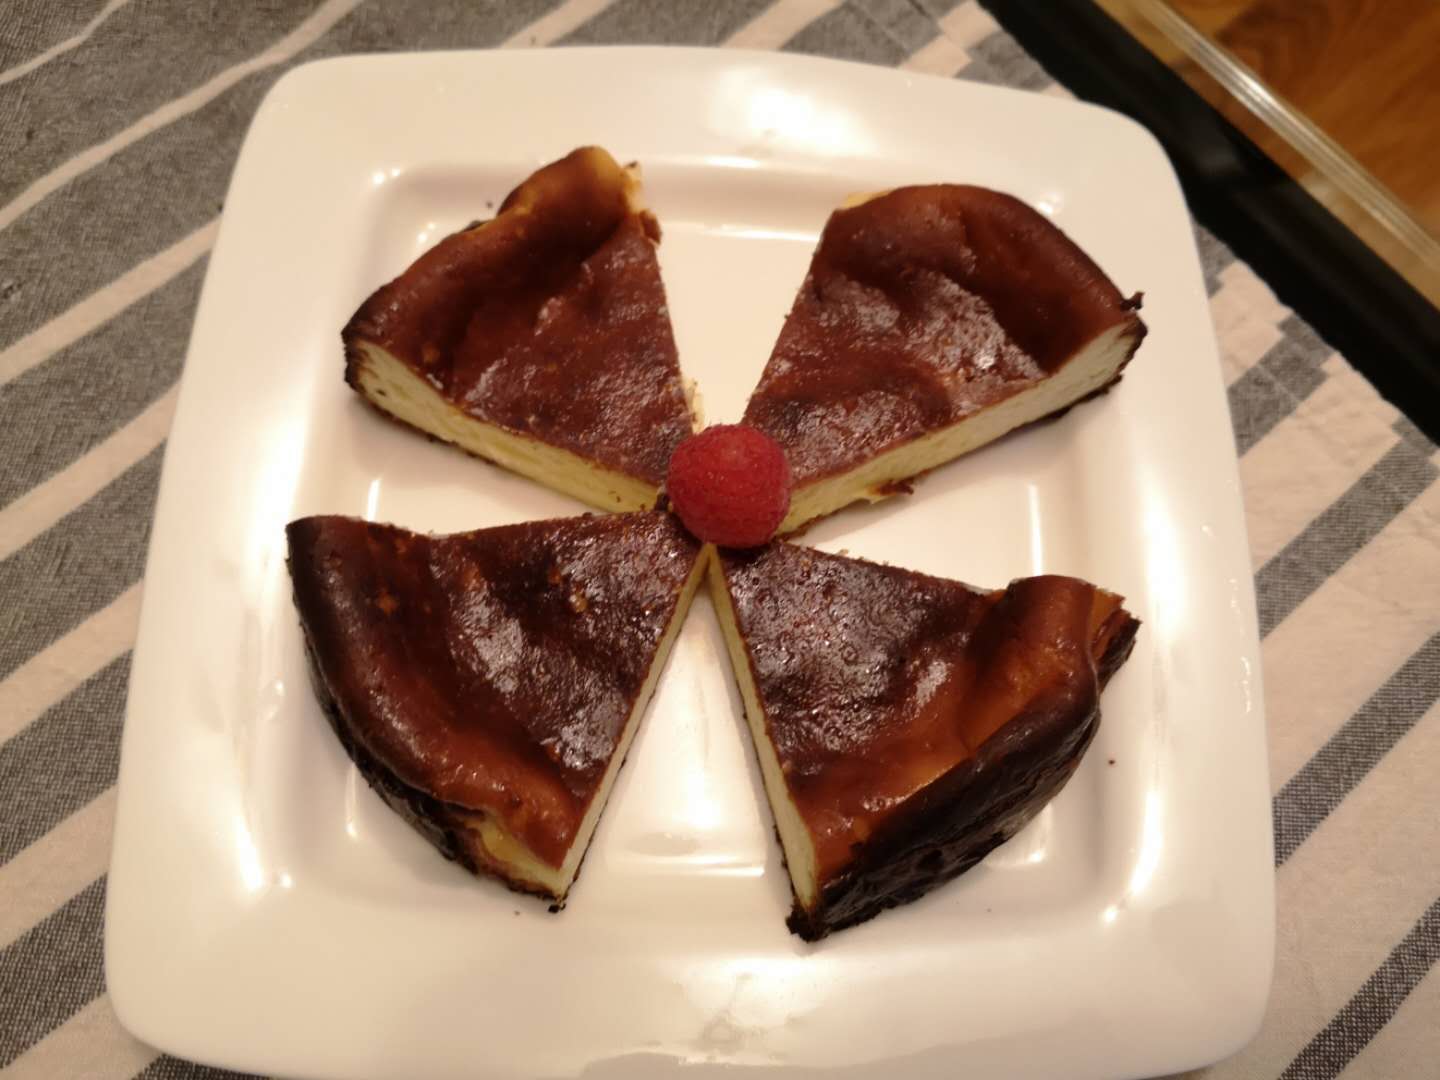
Bake in the preheated oven until puffed, very well browned, and nearly burned on the edges, 30to 35 minutes. Increase oven temperature to 425 degrees F (220 degrees C) for 10 more minutes.

Let cheesecake cool to room temperature, at least 25 minutes. Lift out onto a plate and peel back parchment paper. Refrigerate until thoroughly chilled. overnight preferred.

8 盎司奶油乳酪, 軟化

1/3 杯白糖

一小撮細鹽

1湯匙蛋糕粉

1/3茶匙香草提取物

2個大雞蛋,室溫

1/3杯+1湯匙重奶油

1茶匙 檸檬皮

1.5茶匙 檸檬汁

做法:

將烤箱預熱至 400 華氏度(200 攝氏度)。

用油噴一個 6 英寸的蛋糕盤。切一張羊皮紙,大到足以將鍋內都遮住再多幾英寸。將其壓入平底鍋中,將摺痕壓平。從側面修剪掉多餘的紙張,直到有一英寸或兩英寸的多餘。

將奶油乳酪、糖、鹽和麵粉混合在碗中。用鏟子攪拌均匀直到非常光滑。加入香草提取物和1個雞蛋繼續攪拌結合。將剩下的一個雞蛋加入攪拌,倒入重奶油,檸檬汁和皮混合至光滑。

將麵糊倒入準備好的平底鍋中。將平底鍋輕輕拿起在桌面上震幾下,將多餘的氣泡震走。

在預熱烤箱中烘烤,直到膨漲顔色成深棕色介於幾乎燒毀的邊緣,30至35分鐘。將烤箱溫度升高至 425 華氏度(220 攝氏度),再烤10 分鐘。

讓乳酪蛋糕冷卻到室溫,至少25分鐘。提出剝掉羊皮紙。冷藏冰箱至徹底冷卻。隔夜更佳。

Taro Dessert/芋頭酥

Ingredients 食材:

1. Water dough 油皮:(8个油皮面團)

150g All purpose flour 中筋面粉

30g Sugar 糖

60g Water 水

55g Pork lard 豬油

2. Oil dough 油酥: (8个油酥)

120g all purpose flour 面粉

4g Matcha powder 抹茶粉

65g pork lard 豬油

Taro fillings 芋頭馅儿:

600g taro 芋頭

Steam taro over boiling water until fork tender. /隔水蒸熟芋頭。

Add 50g of pork lard and 75g of sugar to the raro and mix well. (adjust the sugar according to your own taste)/加50克豬油和75克糖到芋頭裏攪拌均匀。(根據自己喜好增減糖的量)

Mix the ingredients for water dough and oil dough separated in two different containers.

After mix the water dough, knead it for at least 20 minutes like how we wash clothes. If you have a kitchen aid stand mixer at home it will be a great help.

Cover both dough with plastic wrap and let rest for 30 minutes.

Cut both into 8 even pieces, get one piece of water dough and use a rolling pin to roll it out and get one piece of oil dough and put in the center of the water dough and wrap it up like picture 2 below.

Roll the balls out to the oval sharp like picture 3 below.

Roll up the oval sharp dough and let rest for 20 minutes.

After 20 minutes, roll it again to the long strip like picture 6.

Roll the long strip up again and let rest for another 20 minutes.

After 20 minutes cut each roll into 2 even pieces like picture 10.

Flip the cut side up and use your palm to press it then use your rolling pin to roll it like when you make dumpling wraps (edge thinner than the center).

Add the evenly divided taro dough in the center of the wrap with the cut side down and wrap it up like picture 11 below.

將油皮面團和油酥的配料在兩個不同的容器中混合好。

混合好油皮面團后,搓揉至少20分鐘,就像我們洗衣服一樣。如果你有一個廚房攪拌機在家裡就用它代勞吧。

用塑料薄膜裝蓋住兩個麵糰,休息30分鐘。

把兩個麵糰都切成8個均勻的小團,將一塊油皮麵團用擀麵杖擀開, 放個油酥在上面包起來就像下面的圖片2。

把包起來的球擀開成橢圓形像下面的圖片3。

捲起橢圓形的麵糰,休息20分鐘。

20 分鐘后,再次擀開變長條形像圖片 6 。

再次捲起長條,讓休息20分鐘。

20分鐘后,將每個卷從中間切成2個一樣的大小像圖片10。

翻轉過來切面向上用你的手掌按壓它,然後用擀麵杖擀開像擀餃子包一樣中間厚邊緣薄。

放一塊均勻分劃好的芋頭在麵團上切面向下,然後像下面的圖片 11 一樣包裝起來。

Preheat the Oven 165°C(330℉)baking for 25 minutes 烤箱预热165°C(330℉)烤25分钟

發糕/New Year Cake

IMG_7451

低筋麵粉165克

綠茶粉10克

泡打粉6克

糖75克

熱水160克

  1. 把糖融化在熱水裏
  2. 把其他的材料在寧外的盆裏混在一起
  3. 等熱水涼了后把 2中的材料倒到1中混合到沒有顆粒
  4. 把混好的糊倒到瑪芬錫盆裏
  5. 在鍋裏燒開水后,把裝在錫盆裏的麵糊放進去蒸大概20-25分鐘

WeChat Image_20200124161807

Low-gluten flour 165g

Green tea powder 10g

Baking powder 6g

Sugar 75g

Hot water 160g

  1. Melt the sugar in hot water.
  2. Mix the other ingredients together in another container.
  3. When the hot water is cool, pour the mixture in 2 into 1 and mix well
  4. Pour the mixed batter into some muffin tins.
  5. Bring some water to boil, then steam the batter in boiling water for about 20-25 minutes.

Pumpkin Pie/南瓜派

79097041_1434931036673550_5788393369747062784_n
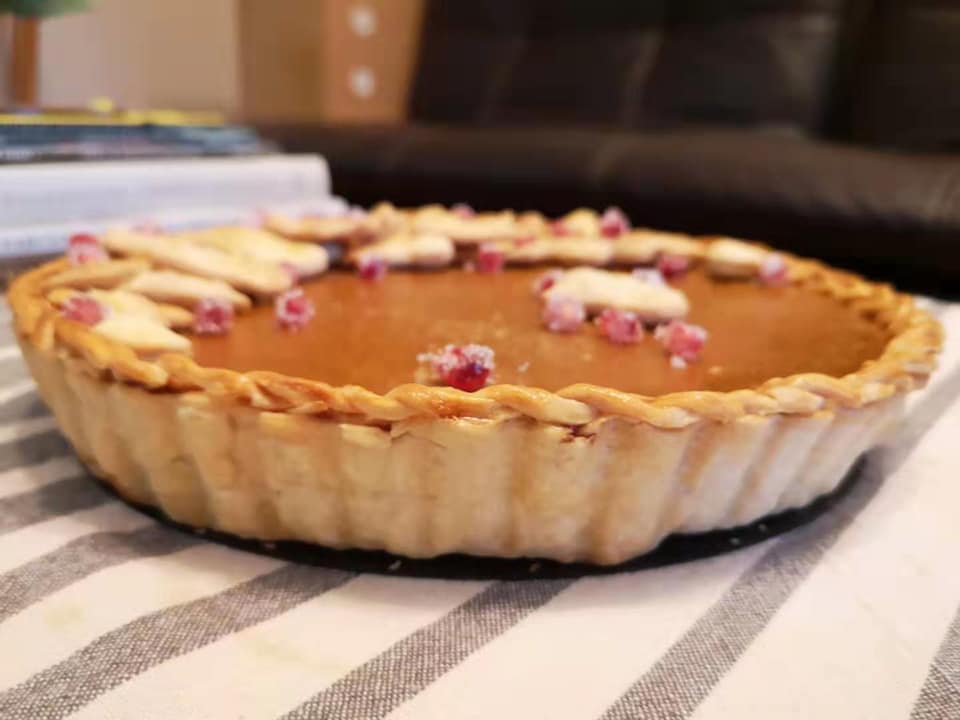
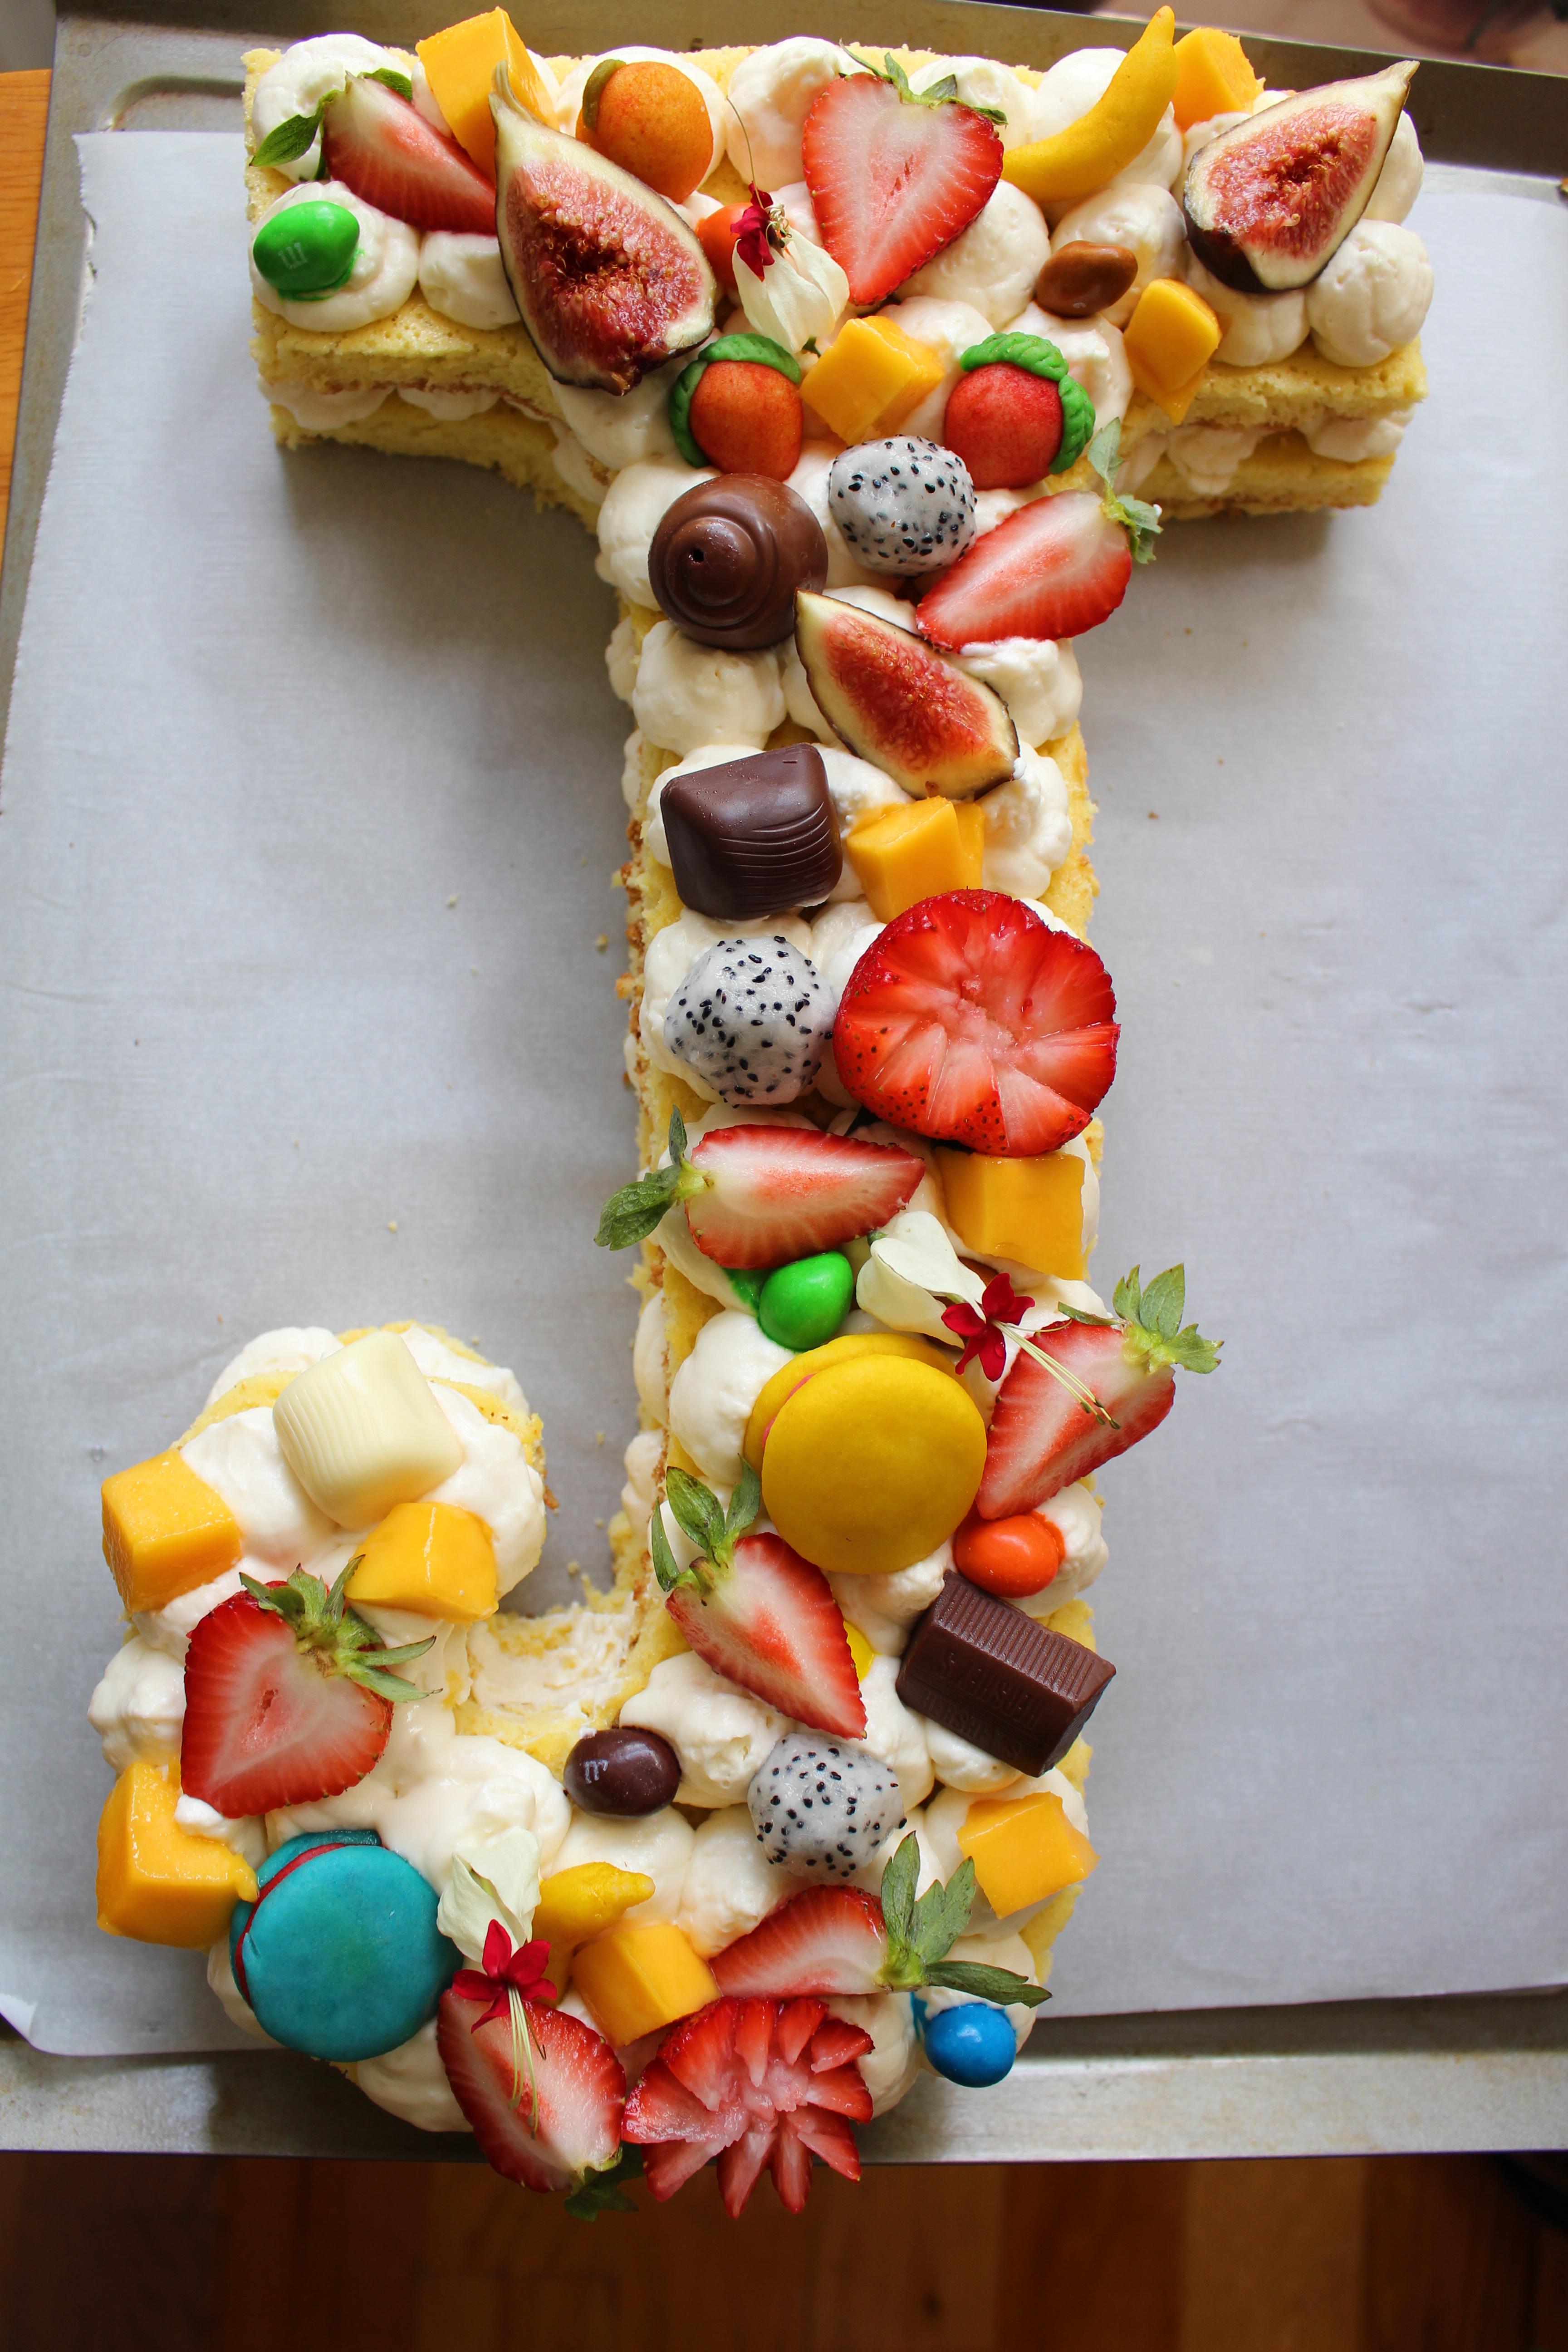
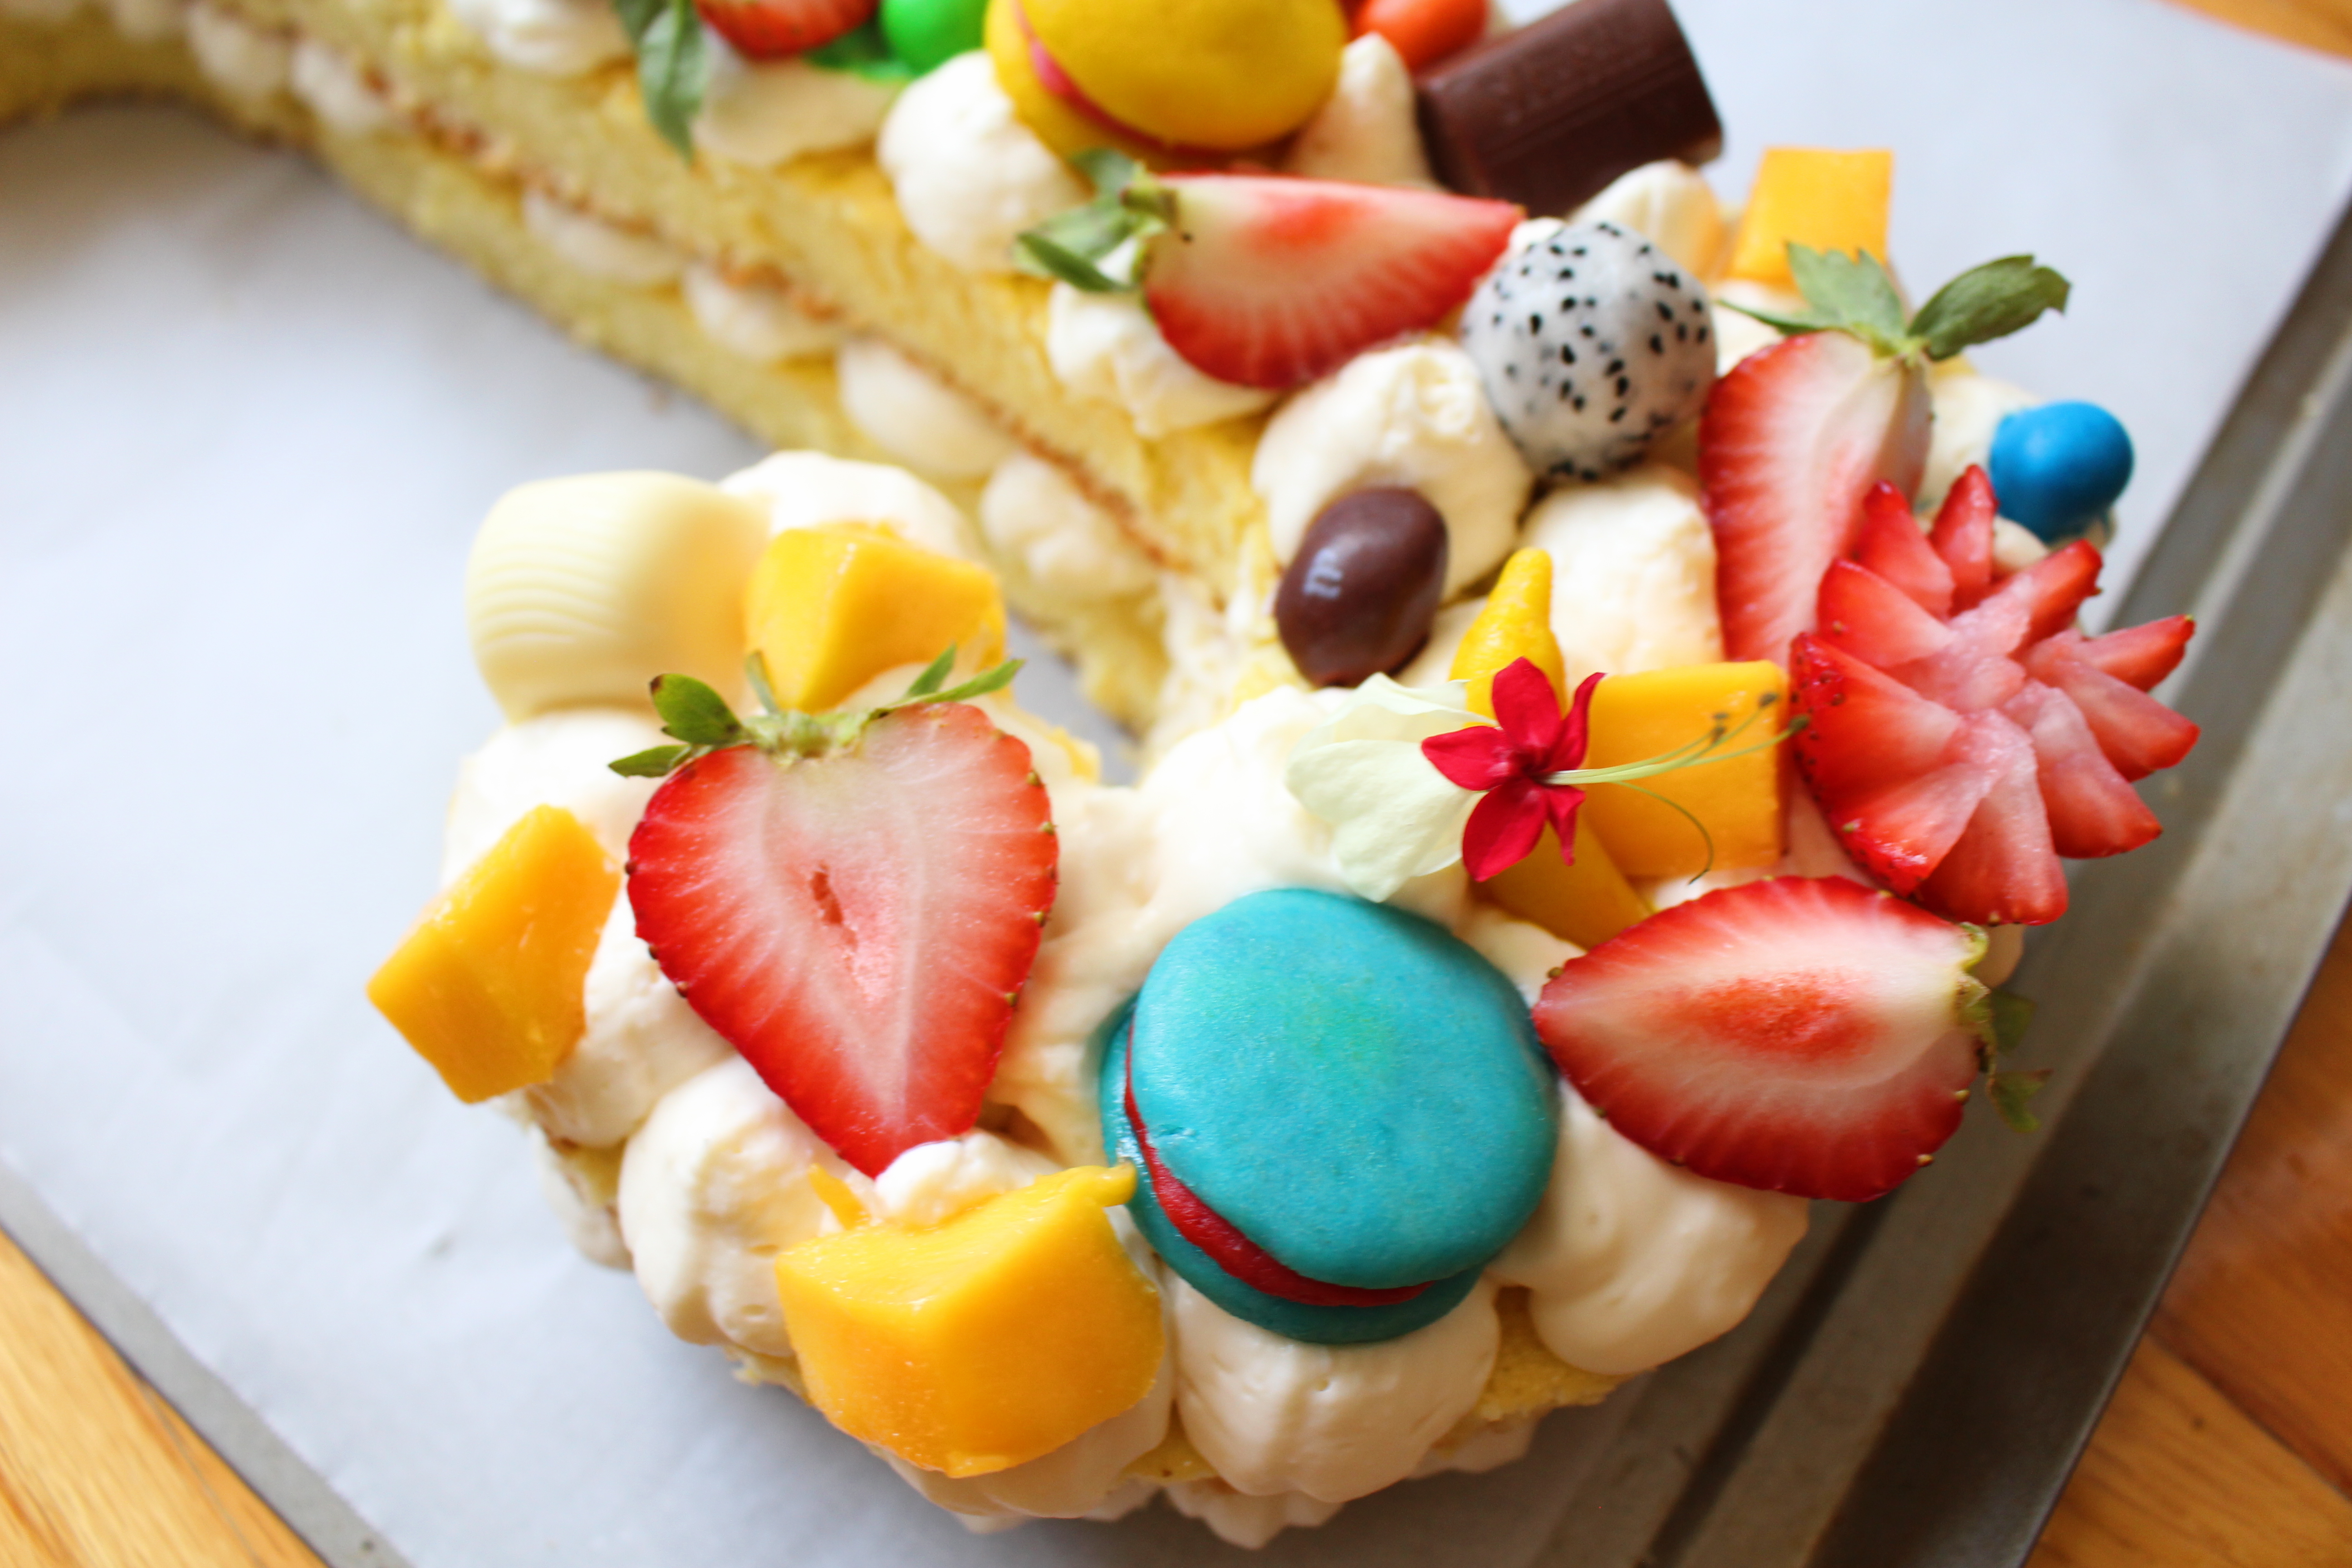
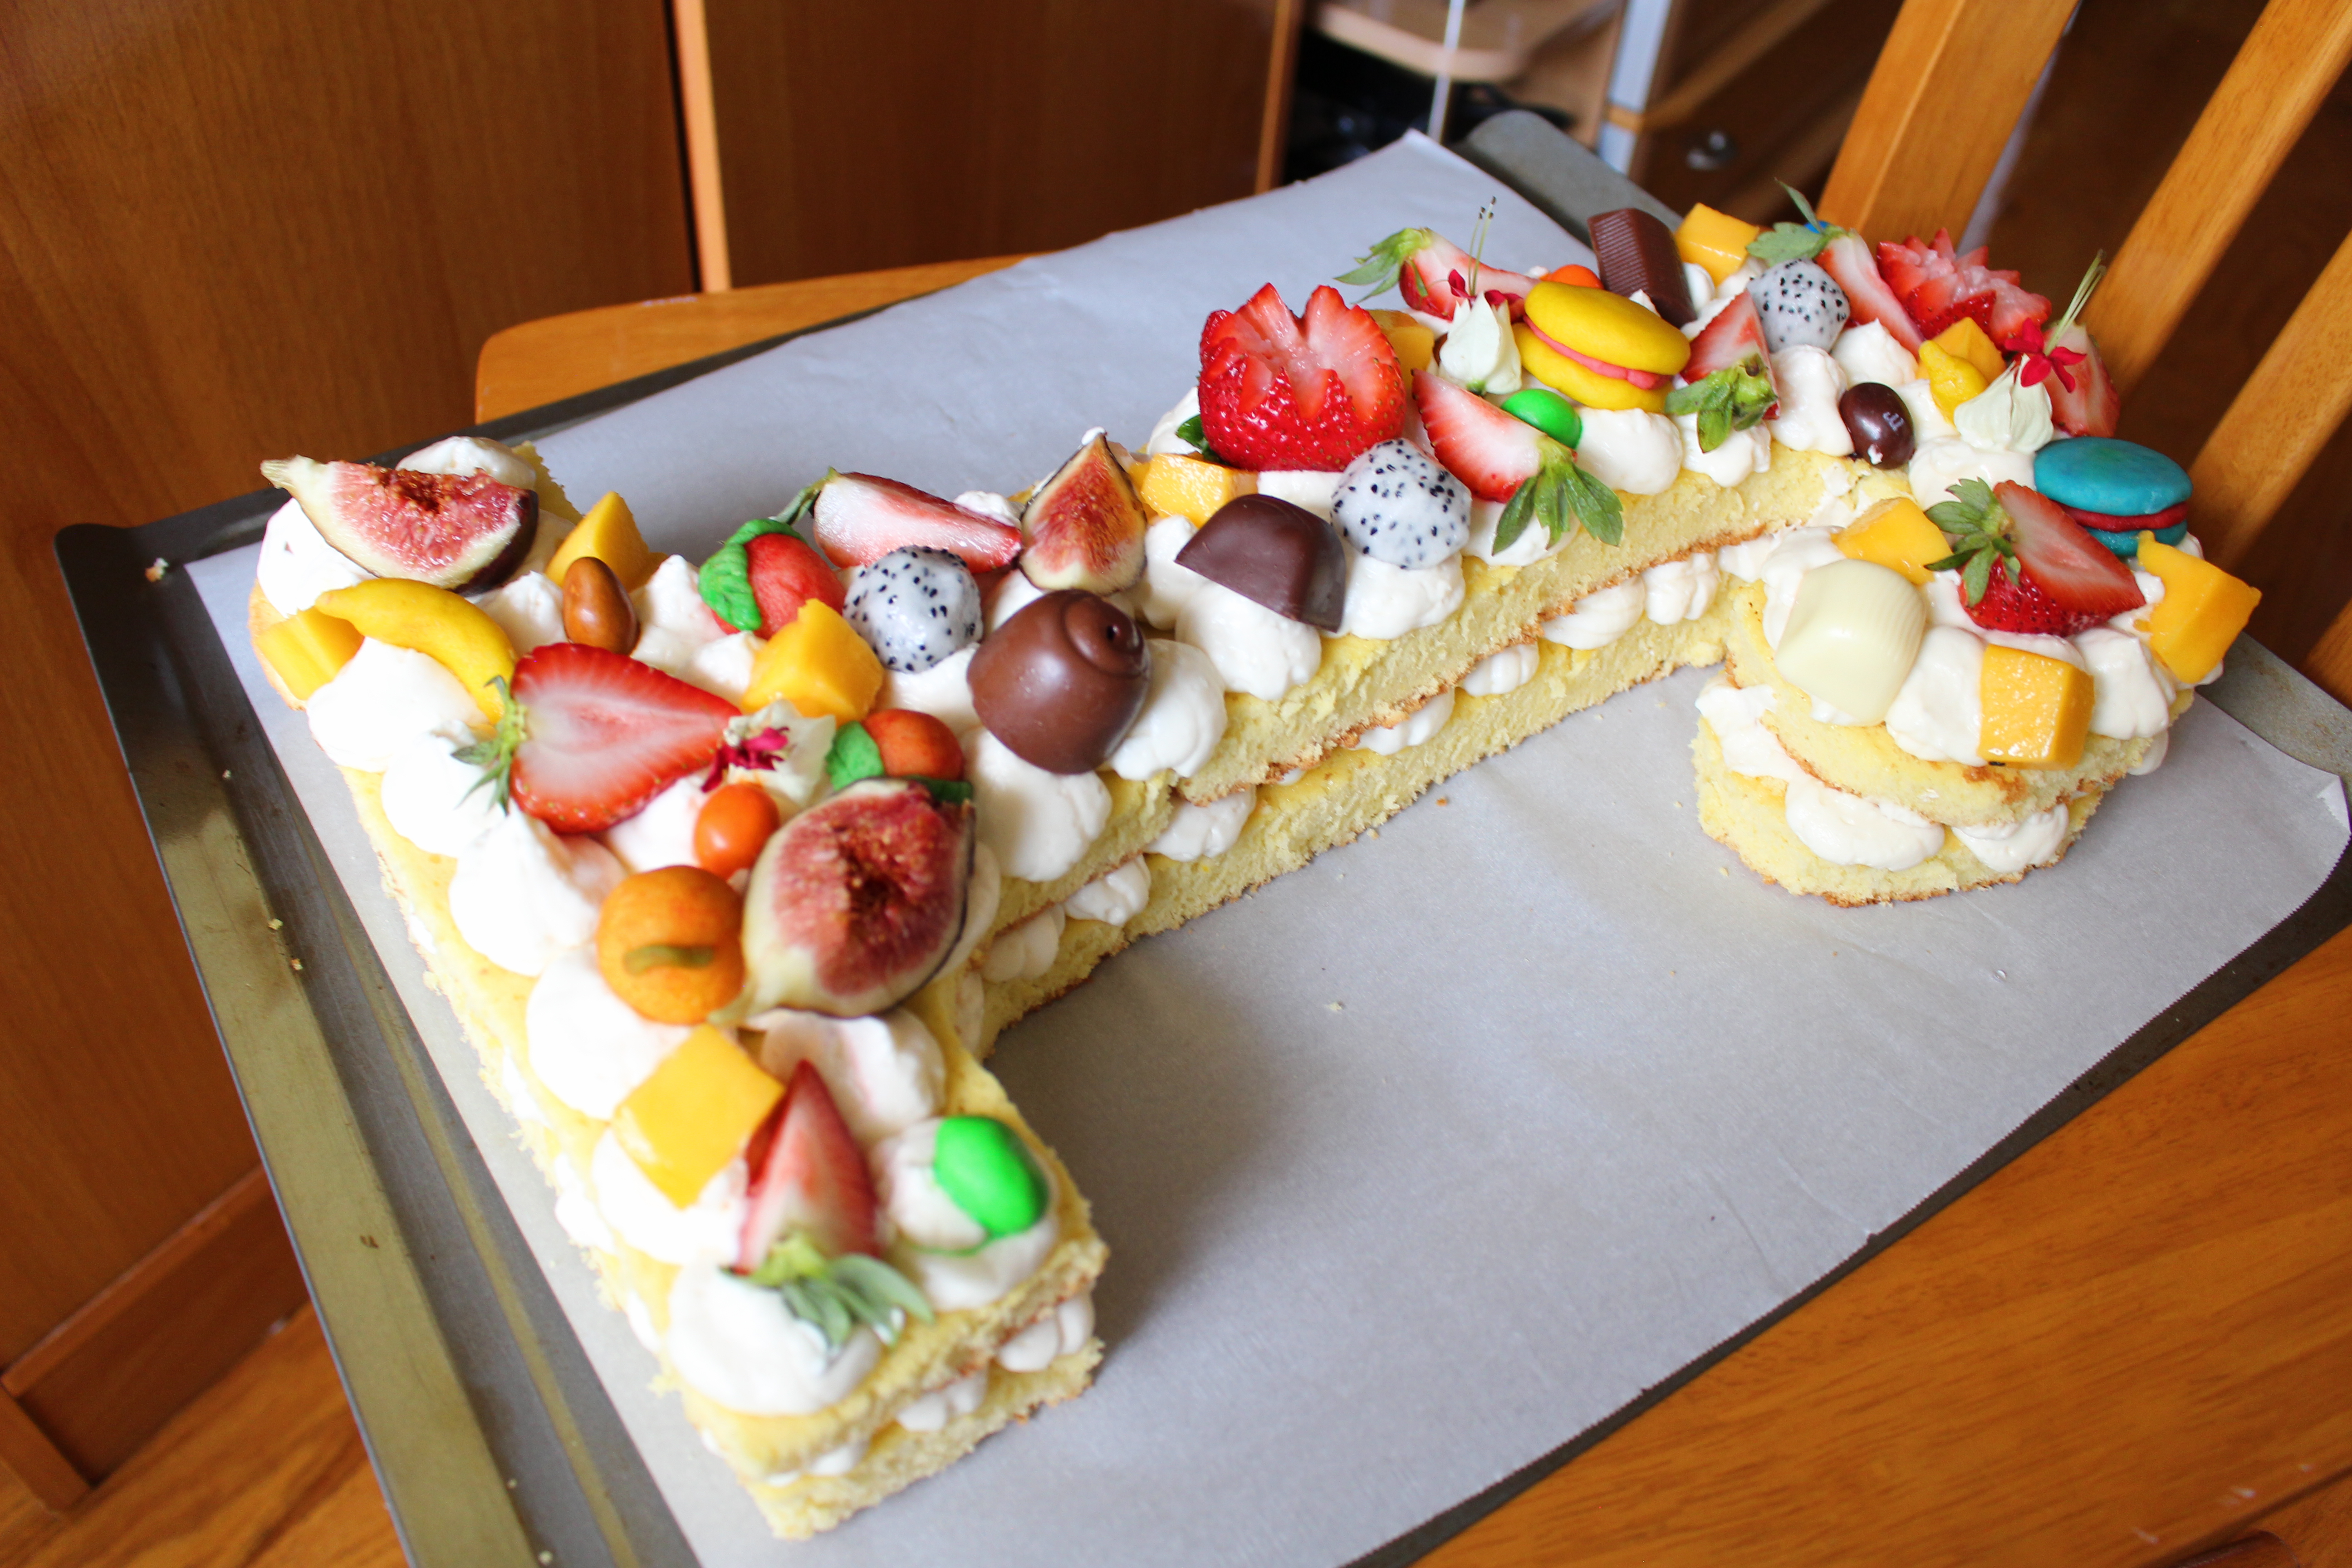
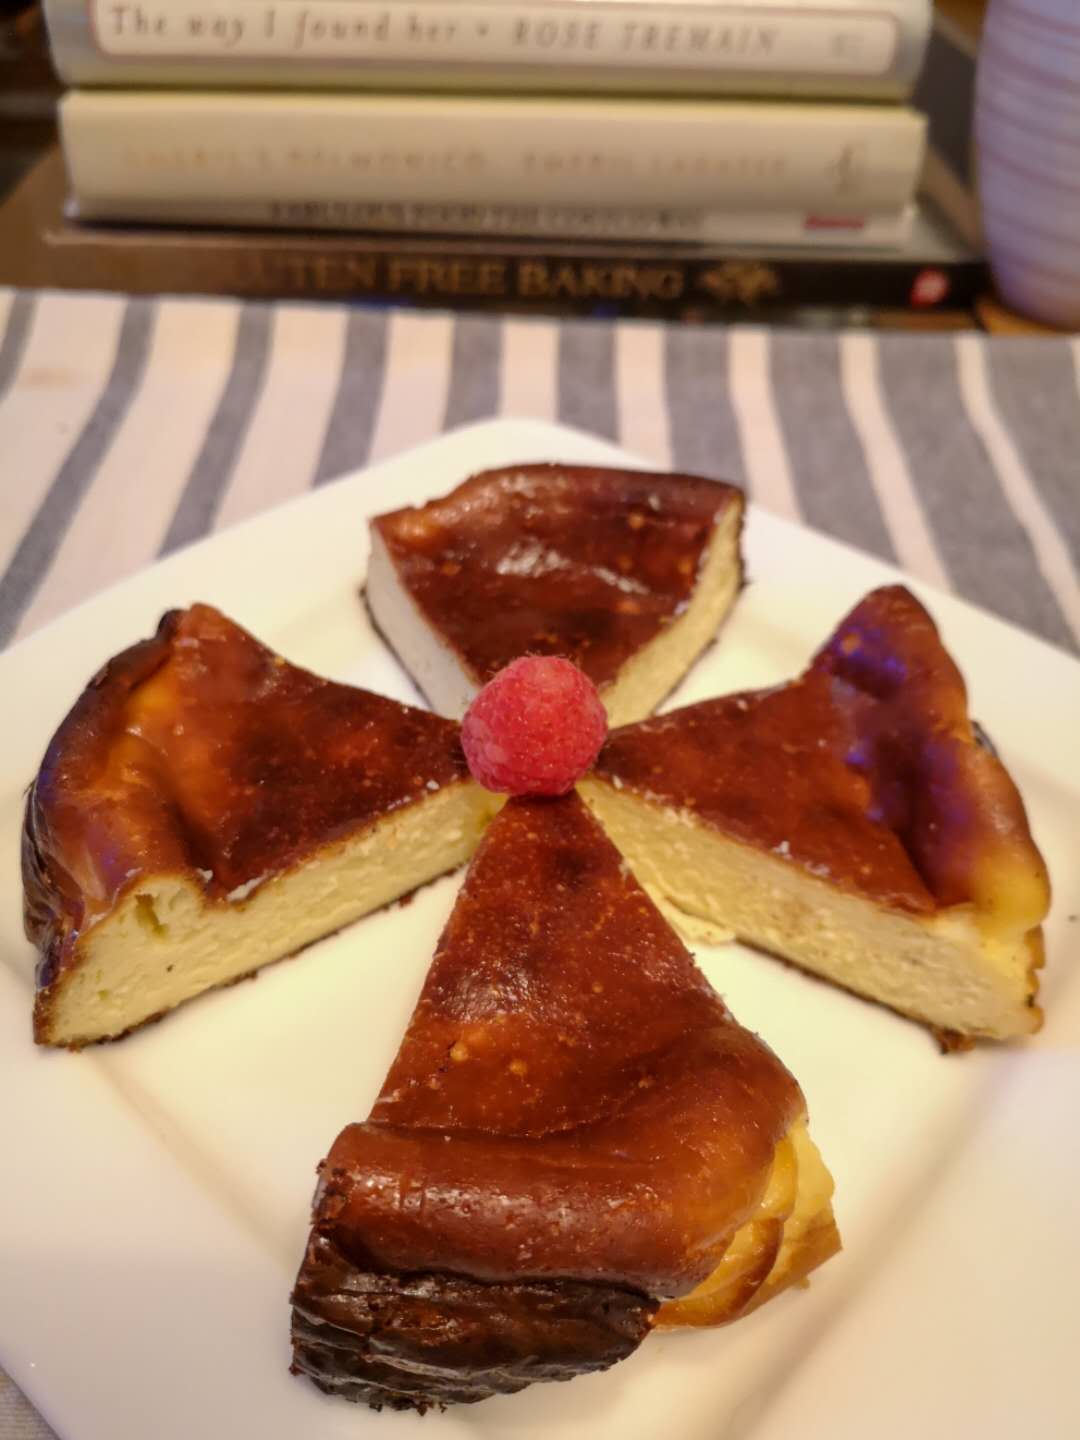
This is my first time making a pie and it turned out really good.

Ingredient:

Pie crust

Cold butter 125 g

Flour 250 g

Egg yolk 1

Salt a pinch

Cold water 60 CC

Pie filling

15 Oz. pumpkin puree

1 and 1/4 cups evaporated milk

3 eggs

1tbsp flour

1 cup brown sugar

pinch salt

1tsp cinnamon powder

1tsp grated fresh ginger

1/2 tsp nutmeg

Direction:

Pie crust:

In a food processor add flour and finely diced cold butter together and process for 15 to 20 seconds.

Add the rest of ingredients for pie crust and process for a few more seconds when everything comes together. Don’t over work it because we don’t want butter to melt.

knead the dough together and cut in 2 pieces and use a piece of plastic wrap to wrap them, put in the refrigerator overnight.

Roll out one of the dough to the size of your pie pan, I used one that is 10 inches.

Cover the pie pan then cut the edge off.

I used the other dough to make some leaves and hearts and braids to decorate the pie. But it’s not necessary. Use a fork to poke some holes on the bottom of the crust.

Bake the pie crust in the preheat oven 355F for 15 minutes, then take it out and brush some egg yolk to the crust and the braids if you have one.

Bake for another 5 minutes in the oven.

Filling:

Steam some Japanese Pumpkin over water until they are fork tender, let them cool down then use a spoon scoop the pumpkin out.

Use a food processor the make pumpkin puree.

Add the rest of ingredients for filling to the pumpkin puree and mix well.

Pour the pumpkin filling to the pie crust.

Bake in the preheat oven 350F for about 50 minutes or until the center is set. You can do the toothpick test, insert the toothpick to the center of the pie and if the toothpick comes out clean then it is good.

Tip:

You can totally use canned pumpkin.

77161737_1434931080006879_8352110484610088960_n

材料:
餅殼:

冷黃油 125 克

麵粉 250 克

蛋黃 1個

鹽一小撮

冷水 60 毫升

餡料:

15 盎司南瓜泥

1 和 1/4 杯淡奶

3個雞蛋

1湯匙麵粉

1 杯紅糖

鹽一小撮

1茶匙肉桂粉

1茶匙 磨碎的新鮮生薑

1⁄2 茶匙肉豆蔻
做法:
餅殼:

在食品加工機中加入麵粉和細切冷黃油一起,加工15至20秒。

加入餡餅殼的其餘材料,當所有的材料都混合一起后再加工幾秒鐘。不要過度攪拌因為不想讓黃油融化。

揉麵團,切成2塊,用塑料膜包好,放在冰箱裡過夜。

用一個麵團擀到你的餡餅盤的大小,我用一個是10英寸。

用剛剛擀好的皮蓋住餡餅盤,然後整理一下切斷邊緣。用叉子在底部戳一些洞。

我用另一個麵團做一些葉子,心和辮子來裝飾餡餅。但這不是必要的。

在預熱的烤箱355F華氏度中烘烤餡餅殼15分鐘,然後拿出來,刷一些蛋黃在底下和辮子上(如果你有做辮子)。

在烤箱中再烘烤5分鐘。
餡料:

將一些日本南瓜蒸熟,讓他們冷卻,然後用勺子把南瓜肉挖出來。

使用食品加工機制作南瓜泥。

加入其餘的材料到南瓜泥裏並混合好。

把南瓜餡倒到餡餅殼上。

在預熱烤箱 350F華氏度中烘烤約 50 分鐘。你可以做牙籤測試,把牙籤插入餡餅的中心,如果牙籤出來乾淨,那麼它就好了。

提示:

你可以完全使用罐裝南瓜。

78304893_1434931140006873_586049524489781248_n

Chinese Jujube And Walnut Muffin/紅棗核桃糕

IMG_7080

This is not Muffin, well at least it is not American muffins. I don’t have a name for it, let’s call it Chinese jujube and walnut muffin then. I have a good friend in Taiwan who owns a big bakery store, she gave me this recipe and taught me how to make it. But the recipe was for a store, I don’t need to make that many at a time, so I adjusted it a little bit and use less oil too.

Eggs 188g

Sugar 206g

Honey 19g

Cake flour 200g

Coco powder 7.5g

Baking powder 1.5g

Baking soda 1.5g

Pitted Jujube 10 pieces (big size)

Evaporated milk 135ml

Oil 110g

Walnut 50g

preheat oven to 390F

  1. Add baking soda, baking powder and coco powder to the flour and sift.
  2. Roughly chop the jujube and walnut into smaller size or use a food processor to do it. If your jujube is very dry, then add the jujube to the evaporated milk for 15 minutes.
  3. Add egg, sugar, honey and oil together and mix.
  4. Add jujube with evaporated milk and half the walnut to 3 and mix well.
  5. Add 4 to 1 and mix again. Don’t over mix it.
  6. Prepare your muffin tin by adding the cupcake liners. Evenly divide batter into the liners cups, then add the rest of walnut to the top of the muffins. Bake about 20 minutes, when you stick a toothpick to the center and it comes out clean it is ready.

IMG_7087

IMG_7076

這不是松餅,至少不是美國的松餅。我沒有名字,我們就叫它中國紅棗核桃松餅吧。我在臺灣有一個好朋友,她開了一家很大的面包店,是她給了我這個食譜,還教我怎麼做。但食譜是給店裏做出來賣的,我就是自己吃不需要一次做這麼多,所以我調整了一點點,也為了健康使用更少的油。

雞蛋 188克

糖 206克

蜂蜜 19克

蛋糕麵粉 200克

可可粉 7.5克

烘焙泡打粉 1.5克

烘焙蘇打粉 1.5克

無核紅棗 10 顆(大隻的)

淡奶 135毫升

油 110克

胡桃木 50克

預熱烤箱至390F 華氏度

  1. 將小蘇打粉、泡打粉和可哥粉加入麵粉拌匀過篩。
  2. 稍微切碎紅棗和核桃成或使用食品加工機來切。如果你的紅棗很乾,那麼在淡奶中加入紅棗泡15分鐘。
  3. 將雞蛋、糖、蜂蜜和油加在一起混合好。
  4. 加入紅棗與淡奶和一半的核桃到3裏面拌匀。
  5. 將 4 添加到 1裏面,然後再次拌匀。注意不要過度攪拌它以防做出來的瑪芬不鬆軟。
  6. 加紙杯到瑪芬盆裏面,將麵糊均勻地分到紙杯裏,然後將剩下的核桃放在松餅頂部。烘烤約20分鐘,當你把一根牙籤插到中心,拔出來的時候是乾净沒有麵糊粘連著的話就是好了。

Thai Mango Sticky Rice/泰國芒果糯米飯

IMG_6224.JPG

Last year when I first tried Thai mango sticky rice I was so amazed by this dish, I wanted to make it myself, but after I came back home I totally forgot about it until last night I saw the dish online again. I have all the ingredients at home, so I made it this morning.

Sticky sweet rice 1 cup

Coconut milk 1can (13.5oz.)

Sugar 4 tbsps

Mango 1

Salt 2 pinches

If you have a rice cooker at home, then this is super easy. If you don’t have one, it will be more steps but you can still do it.

With rice cooker:

Wash rice then pour all the rice to the rice cooker, add 2/3 of coconut milk and 2tbsps sugar to the it then close the lid cook it under the sweet rice setting.

Pour the rest of coconut milk in a small sauce pan, add the rest sugar and salt then bring it to boil. Add a little bit of starch water to thicken the sauce up. Cover it up and set aside.

When rice is ready, serve the rice with the sauce on the top and some mango slices or mango chunks on the side. I added some black sesame seeks to garnish it.

Without a rice cooker:

First you need to soak the rice in the water overnight then steam it over the boiling water for 15 minutes.

Bring all the coconut milk to boil, then add 2/3 of coconut milk and 2tbsps sugar to the rice while the rice is still hot, stir until mixed.

Cover the rice with a lid and leave it for 20 minutes or until all the coconut milk is absorbed by the rice.

Meanwhile add the rest sugar and salt to the rest of coconut milk. Add a little bit of starch water to thicken the sauce up. Cover it up and set aside.

When rice is ready, serve the rice with the sauce on the top and some mango slices or mango chunks on the side. I added some black sesame seeks to garnish it.

IMG_6202

IMG_6235

去年當我第一次嘗試泰國芒果糯米飯的時候, 我對這道菜感覺是驚爲天人, 我想自己回家也要做一下, 但回家後我完全忘了, 直到昨晚我又在網上看到了這道菜。我家裡有所有的食材, 所以今天早上就做了。

糯米飯1杯

椰奶1罐 (13.5 盎司)

糖 4 湯匙

芒果1 個

鹽2小捏

如果你家裡有電飯煲, 做這道甜點就超級容易了。如果你沒有, 那麽步驟會多一點, 但你仍然可以做到。

有電飯煲:

將米洗乾淨倒入電飯煲裏, 加入 2/3椰奶和2湯匙糖, 然後設置糯米蓋上蓋上煮熟。

把剩下的椰奶倒在一個小鍋裡, 加入剩下的糖和鹽, 然後煮開。加入一點澱粉水使醬汁變濃稠。把它蓋起來, 放在一邊。

糯米煮熟后, 把上面的醬汁淋在飯上面加一些芒果片或芒果塊就可以吃了。我加了一些黑芝麻裝飾它。

沒有電飯煲:

首先, 你需要把米浸泡在水中過夜, 然後隔滾水蒸 1 5分鐘到熟。

把所有的椰奶倒到一小鍋裏煮開, 然後在糯米飯還熱的時候加入 2/3 椰奶和2湯匙糖, , 攪拌至混合。

在米飯上蓋上蓋子, 放 20分鐘, 或者直到所有的椰奶都被米飯吸收。

同時將剩下的糖和鹽加入到剩下的椰奶中加入一點澱粉水將其煮開, 使醬汁變濃稠。把它蓋起來, 放在一邊。

糯米煮熟后, 把上面的醬汁淋在飯上面加一些芒果片或芒果塊就可以吃了。我加了一些黑芝麻裝飾它。

Fruit Jello/水果果凍

I bought a lot of mango recently, so I need to come up with some more ways of eating them. I found out I have a bag of Agar-agar powder at home so I decided to make fruit jello for mother’s day dessert. This tastes much better than store bought jello, very fruity!!! Most importantly you can adjust the sugar according to your own preferences. The ratio of agar-agar powder to the water/juice/puree is 1gram : 120 gram. You can use other kind of juice, fruit to make this.

IMG_6115

Mango layer

  • Mango puree 260g
  • Water 220g
  • Sugar 2 tbsps
  • Agar-agar powder 4g

Strawberry layer

  • Strawberry puree 120g
  • water 240g
  • sugar 4tbsp
  • Agar-agar powder 3g

Coconut layer

  • Coconut milk 200g
  • Water 160g
  • Sugar 4tbsp
  • Agar-agar powder 3g

Add agar-agar powder and sugar to the cold water and bring it to boil, while cooking stir the mixture constantly.

Turn the heat off and let it cool down a bit to warm temperature.

Add the mixture to the mango puree and mix well.

Pour it to a container (I used a square glass one)

Leave it in the refrigerator for 15-20 minutes.

Repeat the above steps for strawberry layer, then pour it over the mango layer. leave it in the refrigerator for 15 minutes.

Repeat the same for coconut layer.

I added some Mango chunks to the mango layer, but you don’t have too. I just want to use more mango.

IMG_6135

Agar Agar Powder Asian Food Desserts Vegetable Dietary Fiber For Vegans 25 g.


芒果層

芒果泥260 克
水220克
糖 2 湯匙
燕菜精4克

草莓層

草莓泥120克
水240克
糖4湯匙
燕菜精3克

椰奶層

椰奶200克
水 160 克
糖4湯匙
燕菜精3克

加入燕菜精和糖到冷水中開火煮開, 同時要不斷攪伴。

煮開后把火關掉, 讓它冷卻一點。

將混合物加入芒果泥中, 攪拌均勻。

把它倒到一個容器裡 (我用了一個方形的玻璃容器)

把它放在冰箱裡15-20分鐘。

草莓層也是重複上述步驟, 做好晾涼後將其倒在芒果層上。把它放在冰箱裡15分鐘。

椰奶層重複同樣的步驟。

我在芒果層增加了一些芒果塊, 但你也可以不放。我只想用多一點芒果。

IMG_6118

Letter Cake/字母蛋糕

I’ve been wanting to make a number cake for such a long time. But I don’t like the idea of using cookies for base. I believe a lot of people have the same thought when it comes to cutting the cake. It is cookie, how do you cut it without breaking it? how do you cut it evenly? So, the thought of making one faded after a while until recently I saw another beautiful one. I started think really hard and I decided to make a cake base instead of cookie base.

I wanted to make a letter cake for my birthday 2 weeks ago, but my birthday day is my all I can eat junk food day so I didn’t have extra stomach for cake. And this week I finally decided to make one because today is my Chinese Lunar birthday. The fun part is decorating. I should have bought some fresh flower to make it better looking.

This cake is easier than it seems. I use below cake recipe for base, and I made 1.5 times as much of batter for my letter cake( depends on how big you want to make your cake, adjust accordingly):

https://caiqinchen.com/2017/06/07/sponge-cake%e6%b5%b7%e7%bb%b5%e8%9b%8b%e7%b3%95/

IMG_3885

IMG_3929

The Cream Cheese Whipped Cream Frosting:

12 oz. cream cheese

1/2 to 2/3 cup sugar

1.5 cups heavy cream

1.5 tsp Vanilla extra

Add cream cheese and sugar together and mix them with a electronic mixer until creamy.

Add vanilla extra and heavy cream and continue to mix until firm about 4 minutes.

Assembly:

  1.  placing one layer of the letter onto a cake platter. Using a pastry bag fitted with a large round tip, pipe the whipped cream frosting over the cake in dollops. You can choose to evenly spread the frosting too, I don’t have a round tip, so I used one that is similar.
  2. Place the second layer of the letter cake on top of frosting. Pipe some more frosting on top in dollops.
  3. Finally, decorate the cake with your desired toppings. I used fresh fruit, M&M, chocolate, fake macarons that are made of marzipan,  I also use marzipan to make some fruits.

Tips:

If you are making a number cake, this recipe is good, if you are making double digits, make sure you double everything.

IMG_3930

我一直想做一个数字蛋糕。但我不喜欢用饼干做底。当要切蛋糕的时候我相信很多人都有同样的想法。它是饼干 你怎么切它而不会碎呢?你怎么可以切得均匀呢?后来我也就忘记了要去做,直到最近我看到了另一个漂亮的数字蛋糕。我就很努力的想要怎么做,后来我决定做一个蛋糕底的。

2周前 我想为我自己的生日做一个字母蛋糕, 但我的生日那天是我吃垃圾食品的时候, 所以我没有额外的胃容量来装蛋糕了。这个星期我终于决定做一个因为今天是我的农历生日。做这个蛋糕最有趣的部分是装饰。我应该买些鲜花让它看起来更漂亮。

这个蛋糕比看起来容易。我用下面的蛋糕食谱做的基底, 我做了1.5 倍的面糊 (取决于你的蛋糕大小相应 调整):

https://caiqinchen.com/2017/06/07/sponge-cake%e6%b5%b7%e7%bb%b5%e8%9b%8b%e7%b3%95/

IMG_3908

IMG_3895

奶油乳酪奶油霜:

12盎司奶油乳酪

1/2 到2/3 杯糖

1.5 杯动物奶油

1.5 茶匙香草精

加奶油奶酪和糖在一大盆里,用电子搅拌器搅拌在一起, 直到奶油变软。

添加香草精和奶油, 并继续混合, 直到硬挺约4分钟。

装配:

把一层字母基底放在蛋糕盘上。用一个装着大圆尖挤奶油嘴的糕点袋里装上奶油霜。你可以选择均匀的涂抹奶油霜在基底上, 我没有圆尖的奶油嘴, 所以我用了一个类似的。把奶油均匀的挤在第一层的基底上。
将字母蛋糕的第二层放在挤好奶油霜的第一层上。再在第二层上挤奶油霜。
最后, 用你想要的配料装饰蛋糕。我用了新鲜水果, M&M巧克力, 巧克力, 由杏仁糖制成的假马卡龙 , 我也用杏仁糖做一些水果。

技巧:

如果你是做一个数字蛋糕, 这个食谱也可以了, 如果你是做两位数的, 那你材料要加一倍的量了。

WeChat Image_20180826155500

Cold Rice Soup/冰饭

This is a very famous cold dessert from my home town. Compare to other desserts, this is relatively healthy. In a summer time like this, this is just beyond delicious!

IMG_3688.JPG

Sticky rice 2 cups

Raisin 1/3 cup

Water melon 1 cup

Papaya 1 cup

Crispy peanut 1/3 cup

Cold water 1-2 quarts

Sugar 1/2-2/3 cup

Banana extract 1-2tsps

IMG_3665

Soak rice in water for 2-3 hours

Steam rice over boiling water for 15 minutes

Let cool then refrigerate for a few hours or until rice are harden.

Cut fruits into smaller pieces.

Add sugar, banana extra to the cold water and stir to dissolve the sugar.

Add rice and everything else to the cold flavored water.

Tips:

You can use any kind of tropical fruits you want. If you don’t have banana extra,  use any other kind of extract you prefer. I tried maple bourbon pecan and it was pretty good too.

You can use honey or syrup instead of sugar.

Adjust the amount of water and everything else to your own preferences.

糯米 2 杯

葡萄干1/3 杯

西瓜 1 杯

木瓜1杯

酥花生1/3 杯

冰水 1-2夸脱

糖1/2-2/3 杯

香蕉精1-2茶匙

做法:

米泡水2-3 小时

隔滚水蒸15分钟

糯米饭凉了以后冷藏几个小时到米变硬

水果切小块

香精,糖加入冰水里。搅拌到糖融化

将所有的食材加入到调过味的冰水里。

小贴士:

家里如果没有香蕉精可以用其他的香精替代。也可用蜂蜜和蜜糖替代白糖。

用料可以根据自己喜欢来调整。

IMG_3678

Flavored Mochi/糯米糍

Since last time I made mochi, I always wanted to do it with different flavors. So this time I made some red bean paste as filling and made 3 different flavors: green tea, peanut meal and coco. They are all really good!!!

IMG_1236

Here is the recipes for red bean paste filling:

Red bean 225g

Water 2 cups

Sugar 250g

Vegetable oil 45g

Glutinous rice flour 15g + 3tbsps water (mix well)

Salt 1/3 tsp.

Soak the red bean in water overnight.

Cook the red bean and water in a pressure cooker for 15 minutes.

After the bean is cooled, pour half of it to a blender and blend until smooth.

Cook the bean paste in a cooking pan with the rest of ingredients until it is in thick paste condition, about 20-30 minutes. when it is ready, the bean paste will become whole big piece and not stick to the edge of the cooking pan.

The other half just use a potato smasher to smash it a little. then mix it with the other half that is already in paste form. I like some different texture in the filling, so I want some chunk red bean mix in it.

Here is the link to how to make mochi

https://caiqinchen.com/2018/06/27/peanut-mochi-%e8%8a%b1%e7%94%9f%e7%b3%af%e7%b1%b3%e7%b3%8d/

Make small size red bean paste balls.

Divide the flour dough into even size balls too.

Wrap the red bean paste inside the flour dough then cook in boiling water.

Wrap the cooked balls with the green tea powder, coco powder or peanut meal. ( don’t wrap them with too much of coco powder or green tea powder, they can be bitter)

Tips:

Mochi dough is very sticky, so it is extremely hard to shape them. It is very important to get a pair of gloves when you are working on them. Also add some Cooking oil to the dough will help to make the work easier too.

IMG_1243

IMG_1261

IMG_1269.JPG