Basic Dough:
Bread flour 300 g
All purpose flour 100 g
Sugar 50 g
Salt 2 g
Egg 1
Milk 100 g
Instant yeast 6 g
Warm water 100 g
Unsalted butter 30 g
Add everything except water and butter to a stand mixer, and turn the mixer on to speed 2 for a minute, add the water gradually when the machine is on.
Turn the speed to 4 after a minute, when everything comes together ( after about 3-4 minutes), add the soften butter.
Let the mixer working on speed 4 for about 15-20 minutes.
Get the hook off the bowl, cover the bowl with a piece of plastic wrap and leave it for about one hour or until it is twice in size.
Get the dough out of oven, knead it a little bit to get the air out. Cut the dough into even 10 -12 pieces.
基礎面團:
麵包粉 300 克
普通麵粉 100 克
糖 50 克
鹽 2 克
雞蛋 1個
牛奶 100 克
快速發酵酵母 6 克
溫水 100 克
無鹽黃油 30 克
將水和黃油以外的所有東西加到立式攪拌機中,並將攪拌機打開以 2檔 的速度攪拌,機器打開后逐漸加水。
當所有材料都混在一起時(大約3-4分鐘后),加入軟化的黃油。
以速度 4 繼續攪拌15-20 分鐘。
把鈎子從攪拌機上拿開,用一塊塑料薄膜蓋住碗發酵一個小時,或者直到它變成兩倍大。
把麵糰從烤箱裡拿出來放桌子上揉一下把空氣揉出來。將麵團切成10-12份。
Hot Dog Bun/熱狗麵包


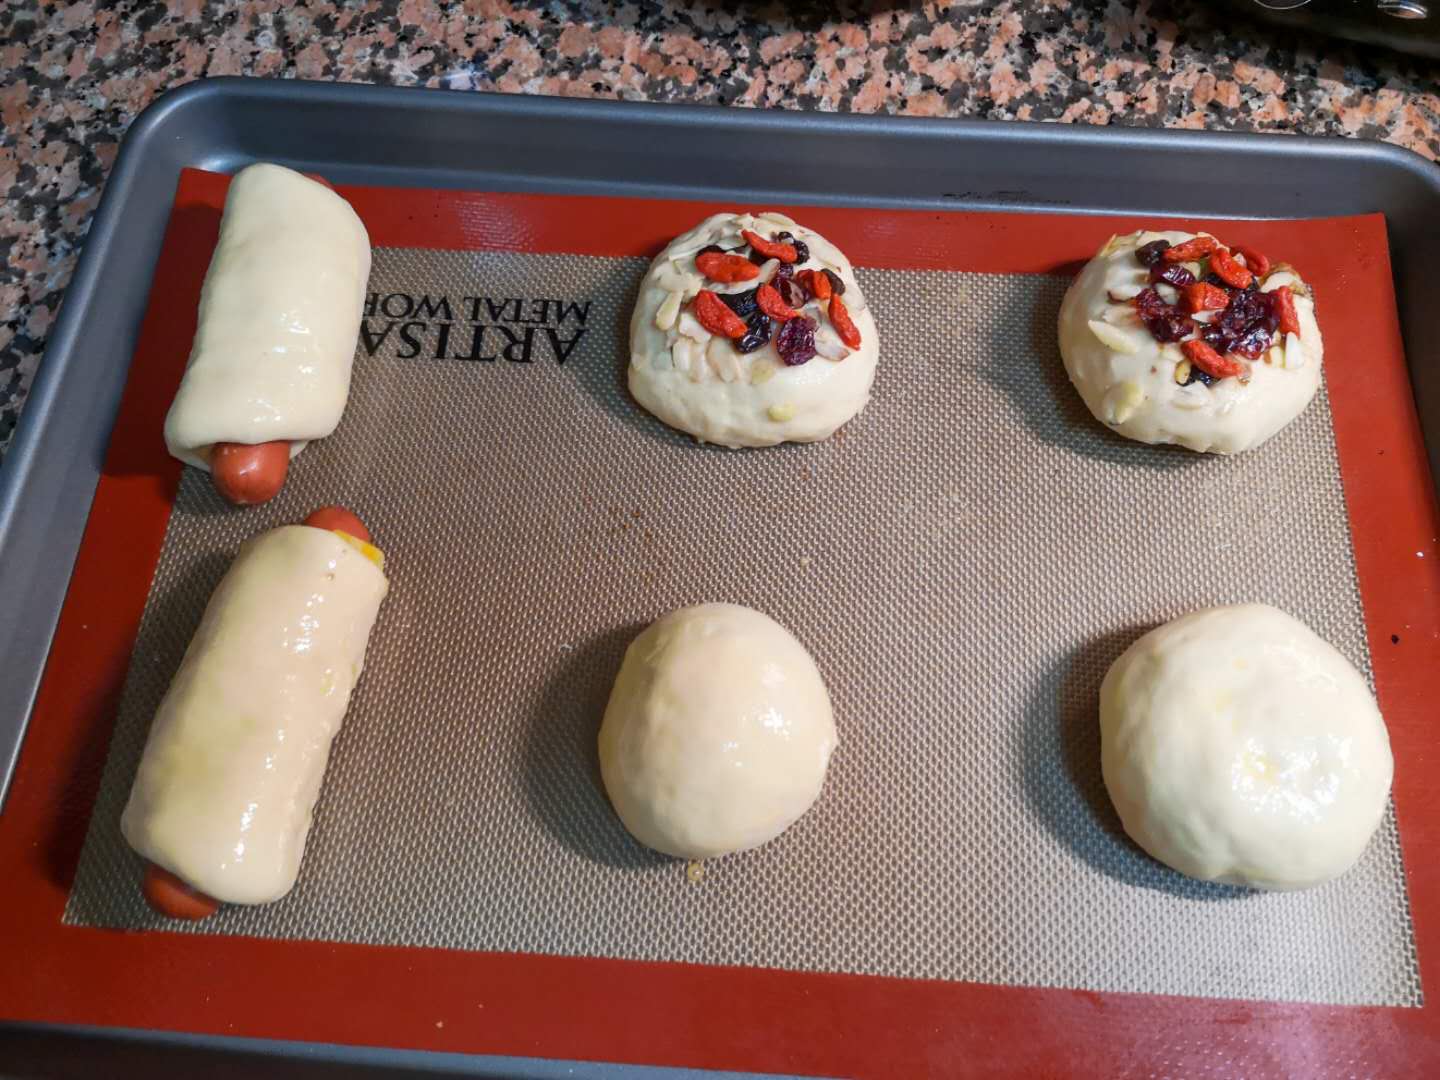
Take one piece of the dough and knead it with a rolling pin to a little shorter than the length of hot dog, wrap the hot dog with the dough and roll over. I happen to have some extra cheese at hand so I added the cheese too. Keep them in the oven with the light on and with a big bowl of hot water underneath the bowl of dough for another 45 minutes. Bake in preheat oven of 355F for about 20 to 23 minutes.
拿一塊麵糰,用擀麵杖擀一下,擀成比熱狗的長度短一點,用麵糰包住熱狗,然後包起來。我碰巧有一些額外的乳酪,所以我加了些乳酪包進去。
整好型后,繼續放烤箱裏然後在底下放一大盆的熱水發酵約45分鐘。 放預熱好355華氏度的烤箱烤大概20-23分鐘。
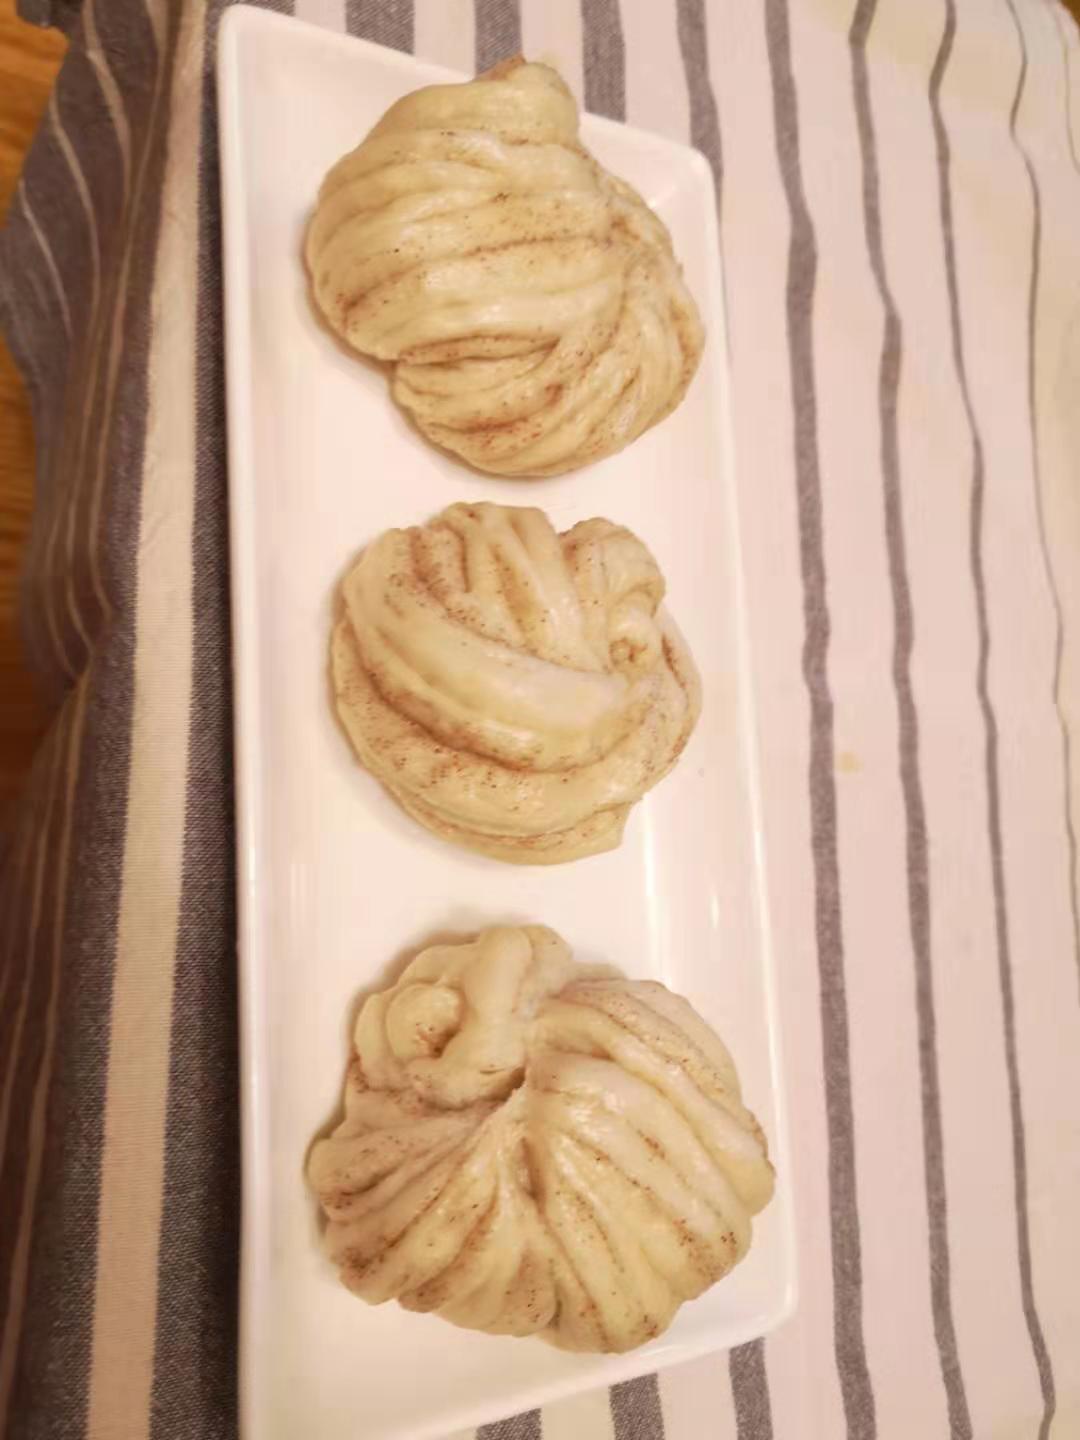
Red Bean Bun/紅豆包

This one is a little extra work, but it is easy too.
Take a piece of dough and roll it into round sharp, add about 25 g of store bought red bean paste then wrap it up to a ball.
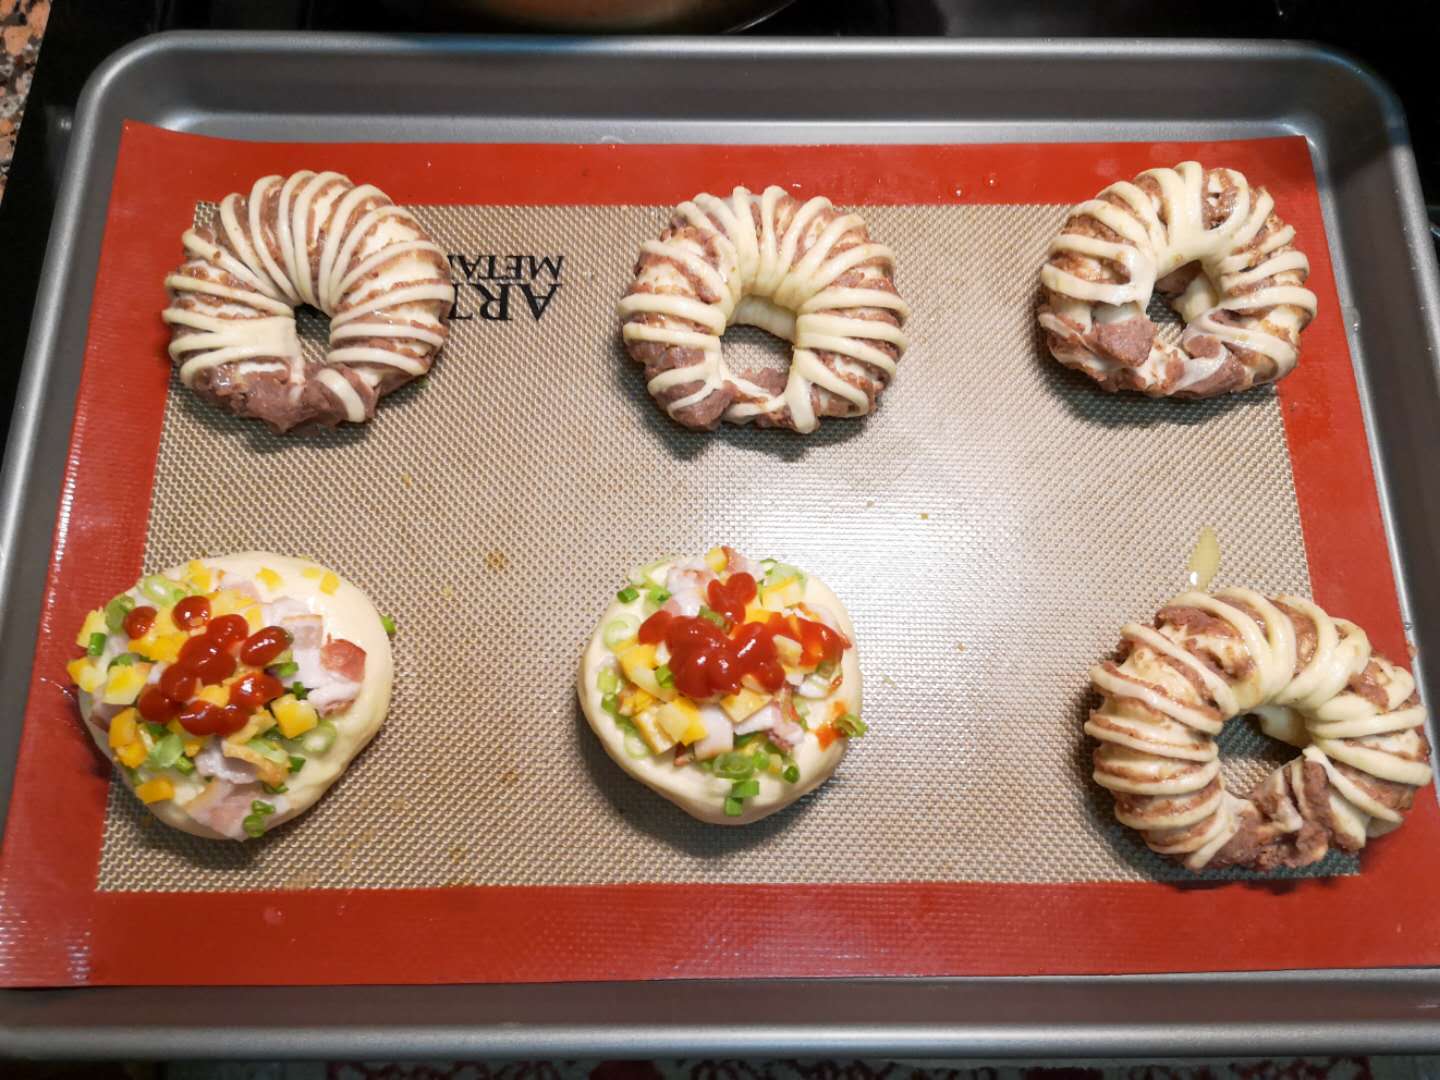
Put the ball on the counter and use your palm to press it down a little, then use a rolling pin to roll it into a oval sharp, get a sharp knife cut one side of the dough to thin strips ( don’t cut them through)
Flip the dough over and fold it twice to a roll as the pictures shown below. Get the two ends and stick them together.
Keep them in the oven with the light on and with a big bowl of hot water underneath the bowl of dough for another 45 minutes. Bake in preheat oven of 355F for about 20 to 23 minutes.
這個可能多一些工序,但它也很容易。
拿一塊麵團用擀麵杖擀成圓形,加入約25克店裏買的紅豆餡,然後把它包成一個球。
把球放在臺上,用手掌輕輕按一下,然後擀成橢圓形,用一把鋒利的刀在麵團的一面切細條(不要切斷)
麵團翻轉到另一面,並將其摺疊兩次成卷,如下圖所示。抓住兩端,把它們粘在一起。
整好型后,繼續放烤箱裏然後在底下放一大盆的熱水發酵約45分鐘。 放預熱好355華氏度的烤箱烤大概20-23分鐘。

I also make some other flavors. They are all relatively easier.
還有其他的一些口味
Dried Pork Floss/肉鬆包
After the bread is out of oven and totally cool down, spread some mayonnaise on top of the bread and roll it over some dried pork floss.
加一些蛋黃醬在麵包上面,在肉鬆上粘一下。

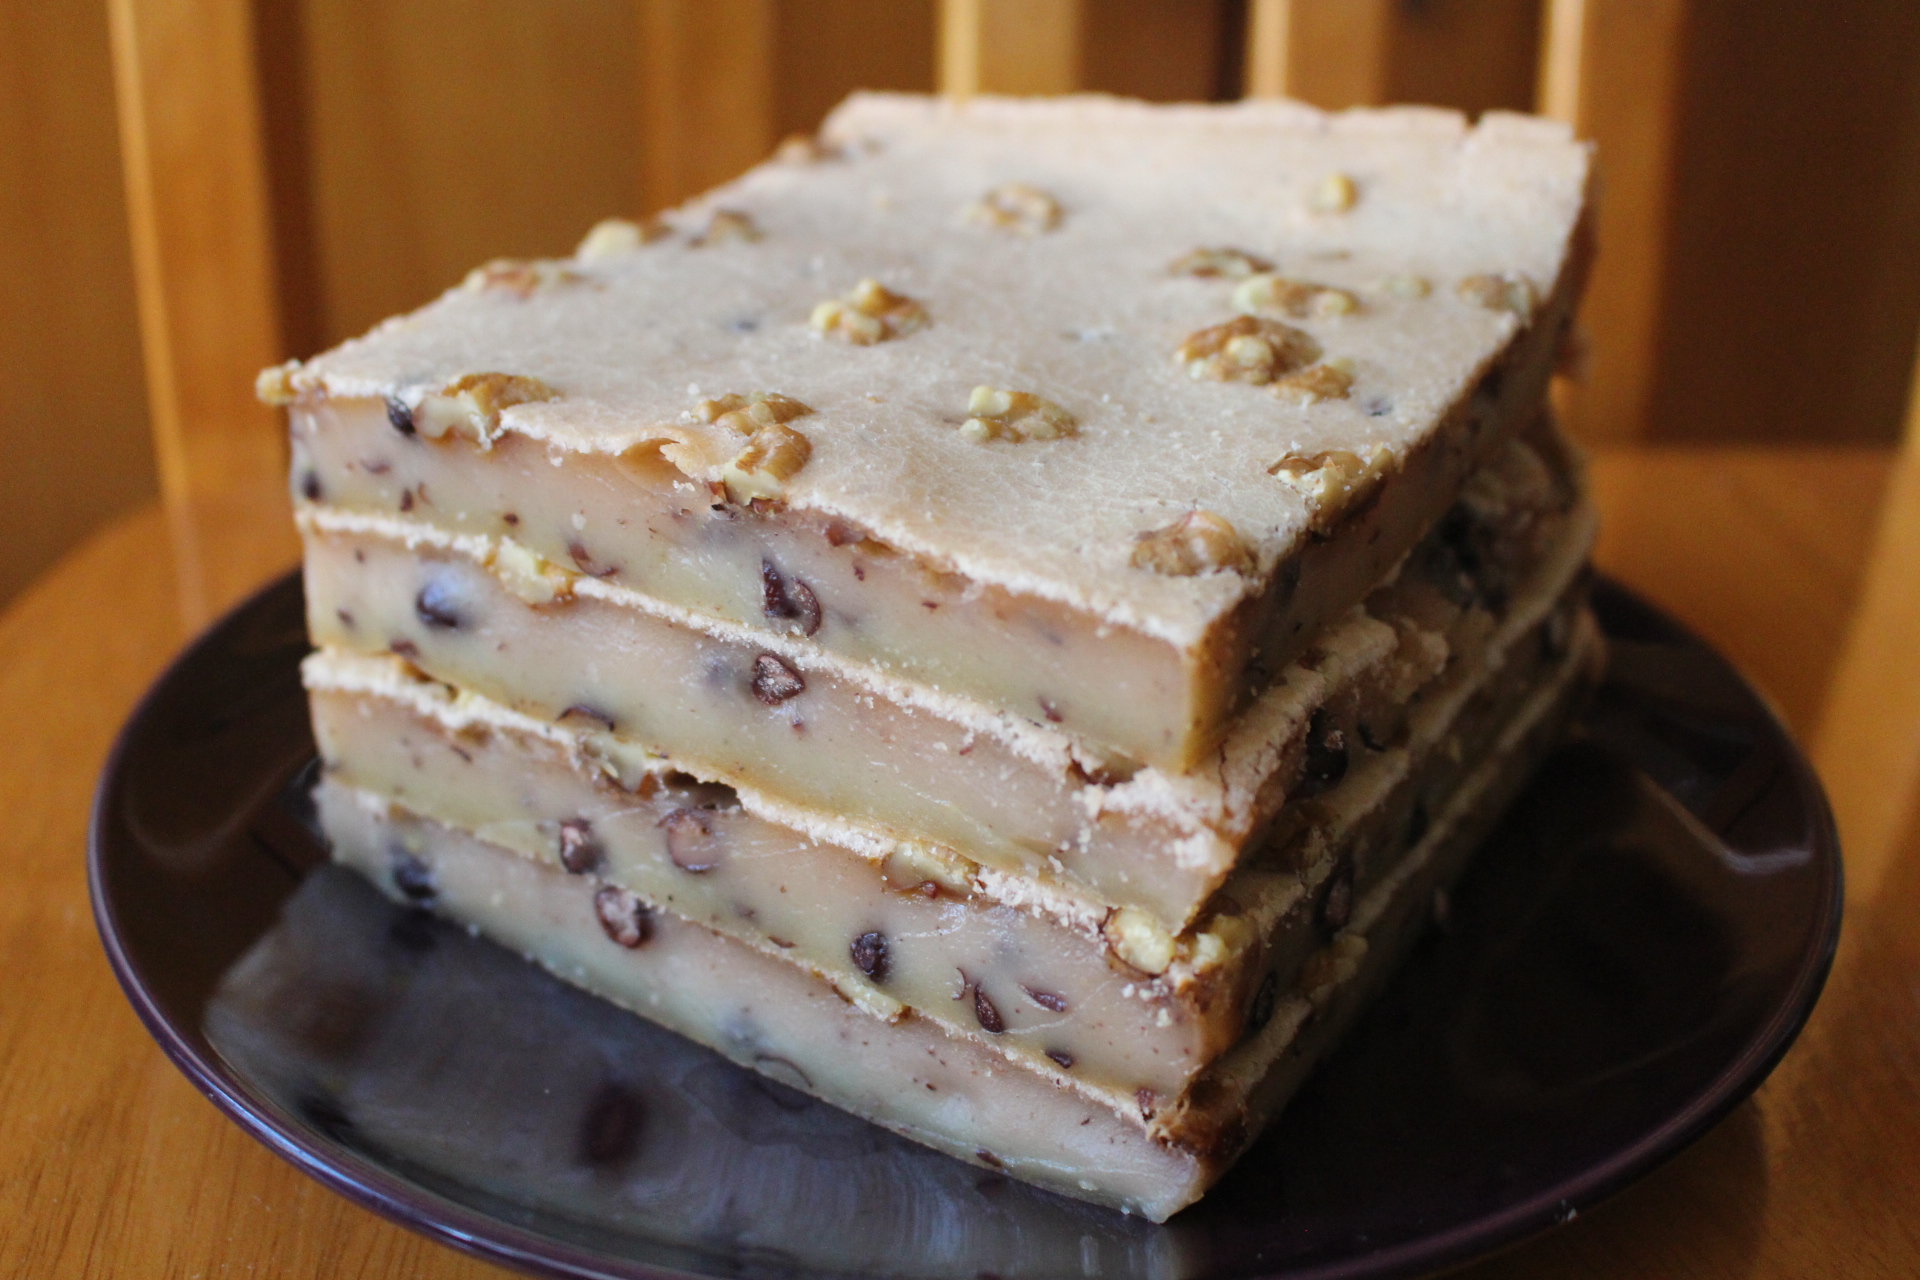
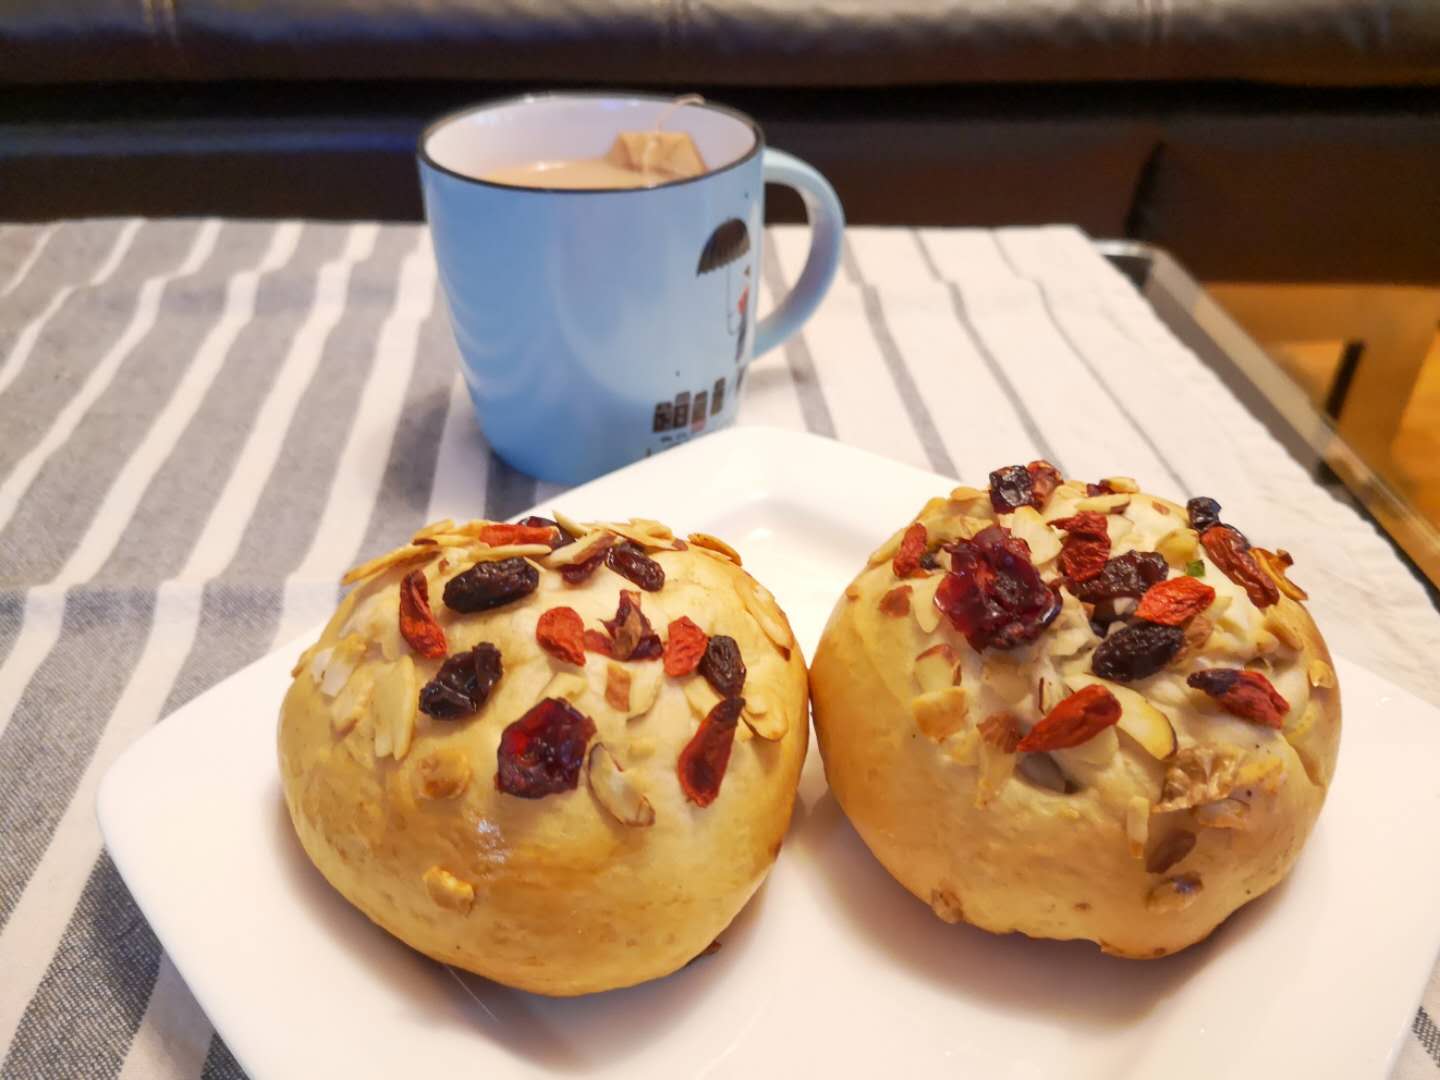
Mix Nuts/雜果包
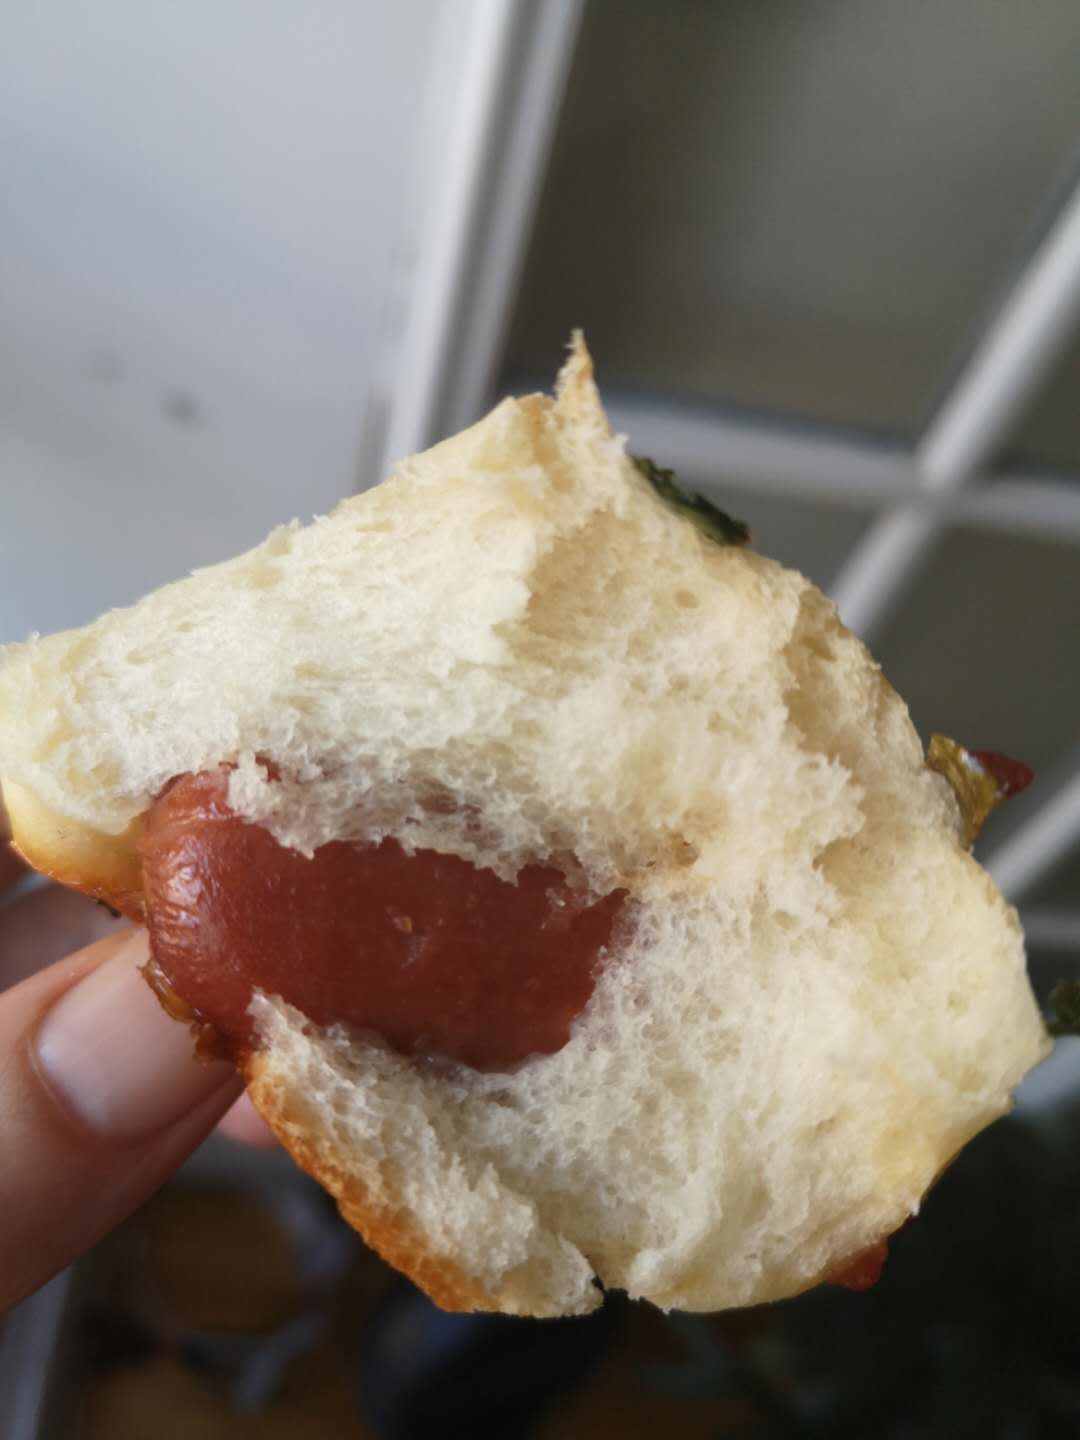
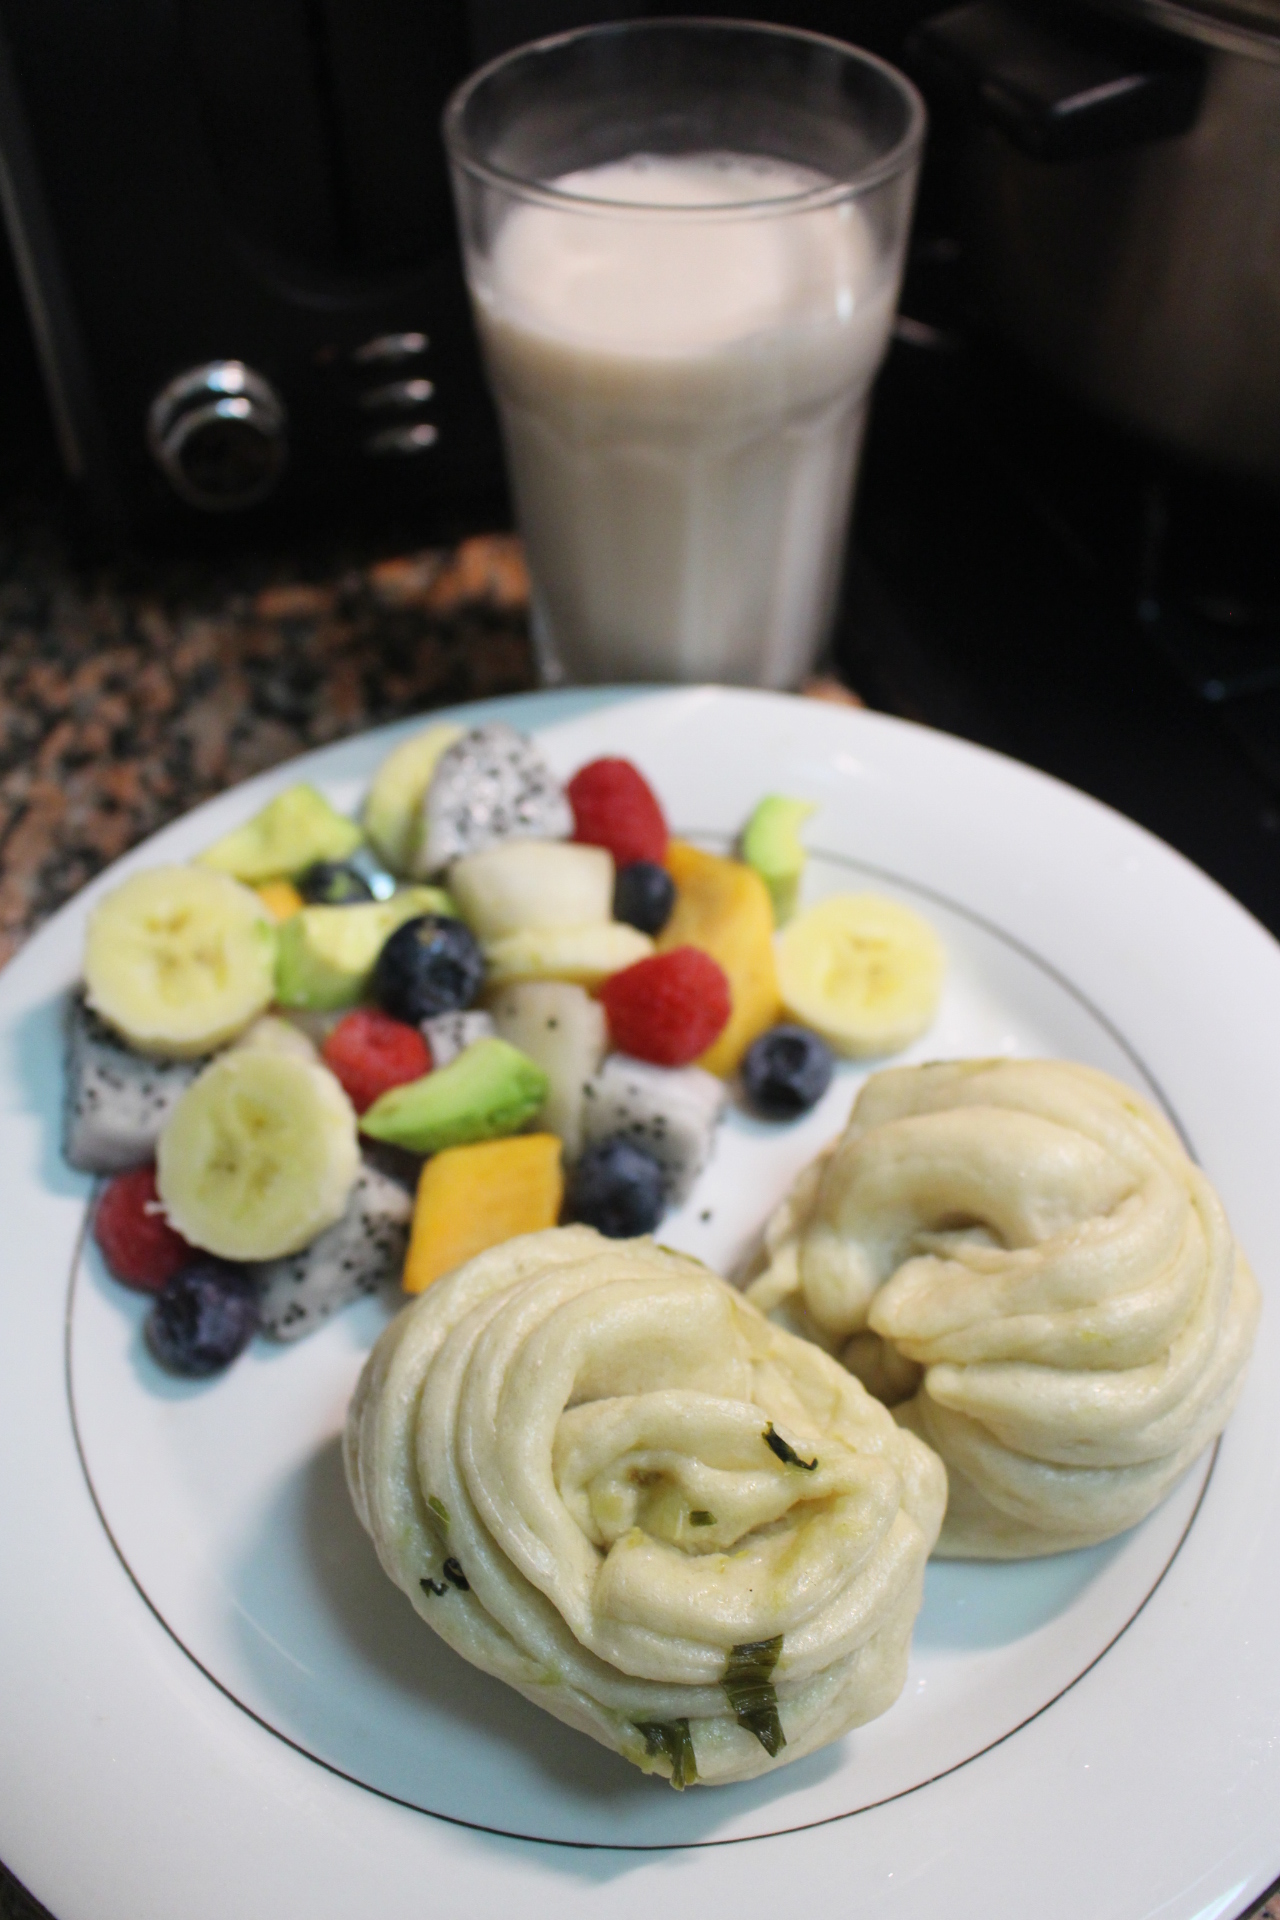
Bacon Cheese And Scallion/培根芝士香葱包
Cut some bacon into small pieces, add it alone with cheese, scallion and ketchup on top of the bread.
Keep them in the oven with the light on and with a big bowl of hot water underneath the bowl of dough for another 45 minutes. Bake in preheat oven of 355F for about 20 to 23 minutes.
培根切碎, 加培根,芝士和香葱在麵包上面再加一點番茄醬。
整好型后,繼續放烤箱裏然後在底下放一大盆的熱水發酵約45分鐘。 放預熱好355華氏度的烤箱烤大概20-23分鐘。